Table of Contents
If your home gym feels “garage-bright” or “basement-dim,” your lighting plan’s probably missing targets and layers. Start by setting a lumen goal per square foot, then standardize on high-CRI fixtures at 4000–5000K so colors and skin tones stay accurate. Place overhead lights for uniformity, add task light at racks and benches, and use diffused accents to define zones without glare off mirrors or metal. The placement details are where it turns pro.
Set Your Lumen Target for a Bright Gym
If you set a lumen target up front, you’ll get consistent, gym-bright illumination instead of guessing with “watts.” For a home gym, aim for roughly 50–100 foot-candles (fc) on the primary workout area, which corresponds to about 500–1,000 lux****.
Then size total fixture output by multiplying your floor area (in square feet) by the fc target to estimate required lumens (since lumens ≈ fc × ft²). Use task zoning: keep platforms and racks near the upper end, and mobility zones near the lower end.
Verify lighting intensity with a phone lux meter at floor and eye level, and correct for dark walls by adding 10–20% lumens. Confirm fixture datasheets list delivered lumens, not “equivalent.” Keep color temperature consistent across fixtures to avoid perceived unevenness.
Choose 4000–5000K Color Temperature for Focus
Set your gym lighting to a neutral white 4000–5000K CCT range to keep color rendering balanced and surfaces easy to read. You’ll typically feel more alert in this band because it supports higher perceived contrast without the harshness of cooler “daylight” lamps.
Match the CCT to your task lighting needs—closer to 4000K for general training zones and nearer 5000K for precision work like form checks and equipment setup.
Balanced Neutral White Range
Why does 4000–5000K matter in a home gym? It targets balanced neutral white, aligning with common task-lighting practices and keeping surfaces readable without the warm tint of 2700–3000K or the harsh cast of 6500K.
You’ll see better color consistency across mats, walls, and equipment, so your space looks uniform on camera and in mirrors. That supports mood enhancement by reducing visual strain from mixed CCTs.
Specify fixtures labeled 4000K or 5000K with tight binning and a published chromaticity tolerance (ideally ≤3 SDCM). Pair them with high CRI (≥90) to keep skin tones and safety markings accurate.
Keep all primary luminaires within the same CCT range to avoid patchy neutral-to-cool shifts.
Boosting Alertness And Focus
How do you keep your training space mentally “on” without washing it out? Set your primary ambient lighting to a correlated color temperature (CCT) between 4000K and 5000K. This neutral-to-cool band aligns with common indoor work-light practice and supports alertness by increasing perceived contrast and visual acuary.
In color psychology terms, cooler whites cue vigilance and reduce the “relaxation” signal you get from warm light. Aim for consistent CCT across fixtures to avoid mixed-white fatigue, and choose high color rendering (CRI ≥90) so equipment markings and skin tones stay readable.
Add light dimming with a flicker-free driver (IEEE 1789-aware) so you can drop intensity for recovery sets without shifting CCT or triggering eyestrain.
Matching Task Lighting Needs
Once your ambient layer sits in the 4000–5000K band for alertness, task lighting should reinforce that same neutral-to-cool white where you need precision. Match CCT across layers to avoid chromatic adaptation that can reduce contrast on controls, dials, or screens.
Aim for higher vertical illuminance at eye level for mirrors and form checks, and higher horizontal illuminance on benches for setup tasks.
Use adjustable, glare-controlled luminaires (UGR-conscious placement) so light stays out of your direct sightline.
Choose high CRI (≥90) so skin tone and bruising cues read accurately at this CCT.
Keep decorative fixtures on the same CCT or dimmed low so they support ambient ambiance without color shift.
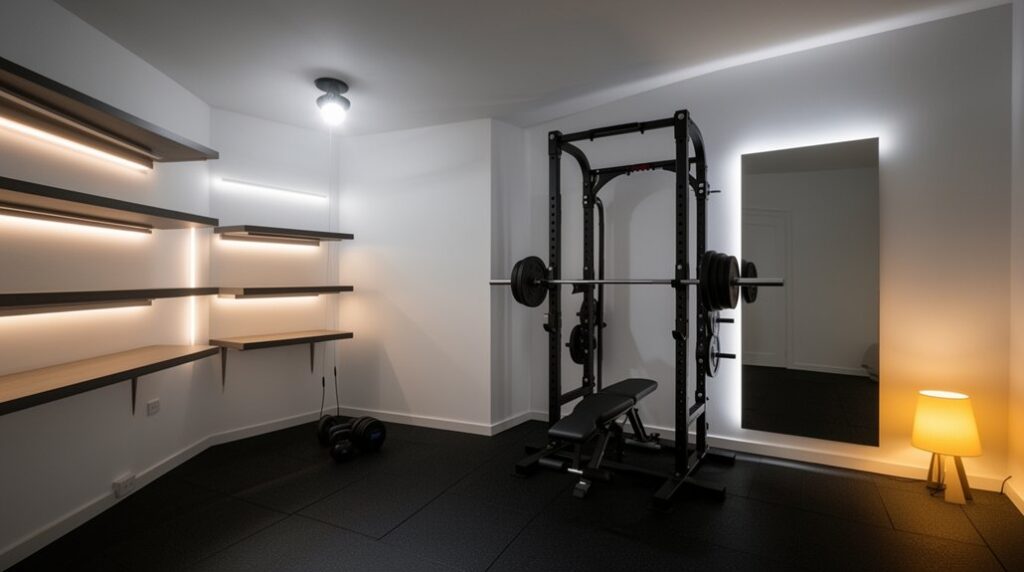
Place Overhead Lights for Even Coverage
Even if you’ve got strong task lighting, you’ll still need overhead fixtures as the baseline layer to keep the entire training area uniformly lit and shadow-controlled.
Target 300–500 lux on the floor plane, with a uniformity ratio (Emin/Eavg) of ≥0.6 to reduce harsh contrast during movement.
Use wide-beam LED panels or linear battens, spaced about 0.8–1.2× mounting height, and align runs with your primary training lane to minimize lateral shadows.
Keep CCT consistent at 3500–4000K and aim for CRI ≥90 for accurate form checks.
Add dimming to tune Ambient glow without creating hotspots.
If you choose Decorative fixtures, confirm they’re diffused and rated for the space, with glare control (UGR <19).
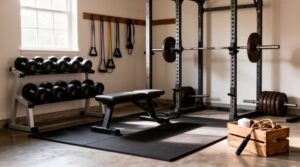
Add Task Lights for Racks, Benches, and Mats
Because racks, benches, and floor mats create deep self-shadowing under load, you should add dedicated task lighting to push illuminance on the working plane (bench surface, J-cups/pin holes, and the mat zone) into the 500–750 lux range without increasing whole-room glare.
Mount linear LED battens or compact floods 0.6–1.0 m in front of the rack uprights, aimed 30–45° downward to improve rack illumination and reveal hole numbers and safety positions.
For bench lighting, place a low-profile bar on the wall or ceiling offset from your head position, using a wide beam (60–90°) and shielding to keep UGR low.
For mats, use adjustable heads at knee height to reduce shadows and prevent strobe; choose flicker-free drivers and 80+ CRI.
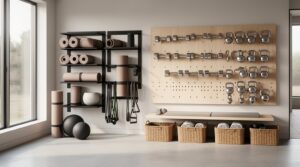
Use Accent Lighting to Define Gym Zones
Where do you want your eye (and your movement) to go when you step into the gym—rack, cardio, mobility, or recovery? Use accent lighting to assign each zone a clear visual boundary. Install dimmable LED strips under wall shelves or along baseboards to outline the lifting bay without adding glare.
Add narrow-beam wall washers or track heads to “paint” the cardio wall; aim at 30–45° to reduce reflections on displays. Set zones with controlled color temperature: 4000–5000K for work areas, 2700–3000K for recovery, and use color contrast only as a secondary cue.
Choose decorative fixtures over the stretching area if they’re rated for damp/dust and have shielding to limit UGR. Program scenes so progressions stay consistent.
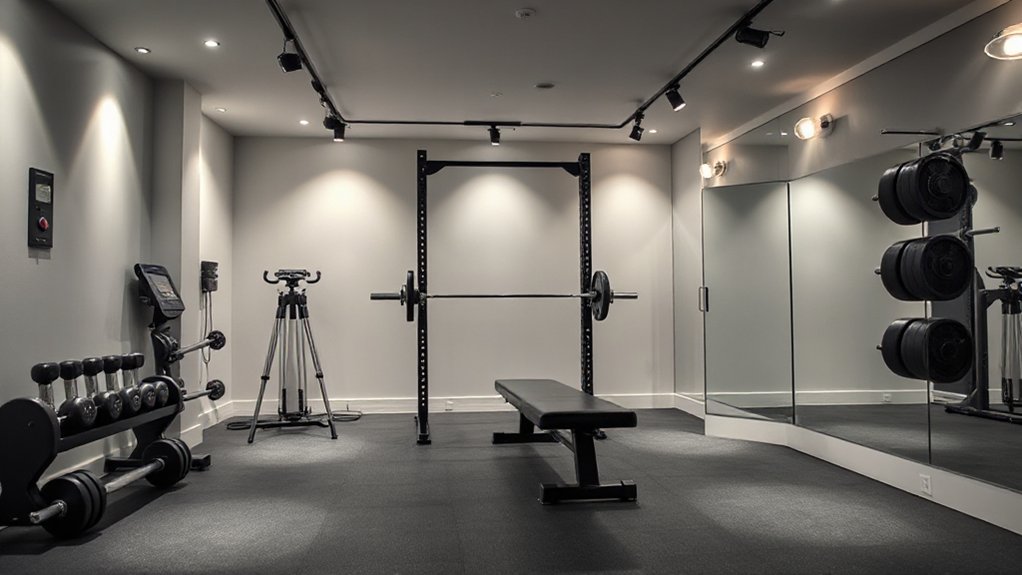
Bounce Light With Mirrors and Light-Colored Walls
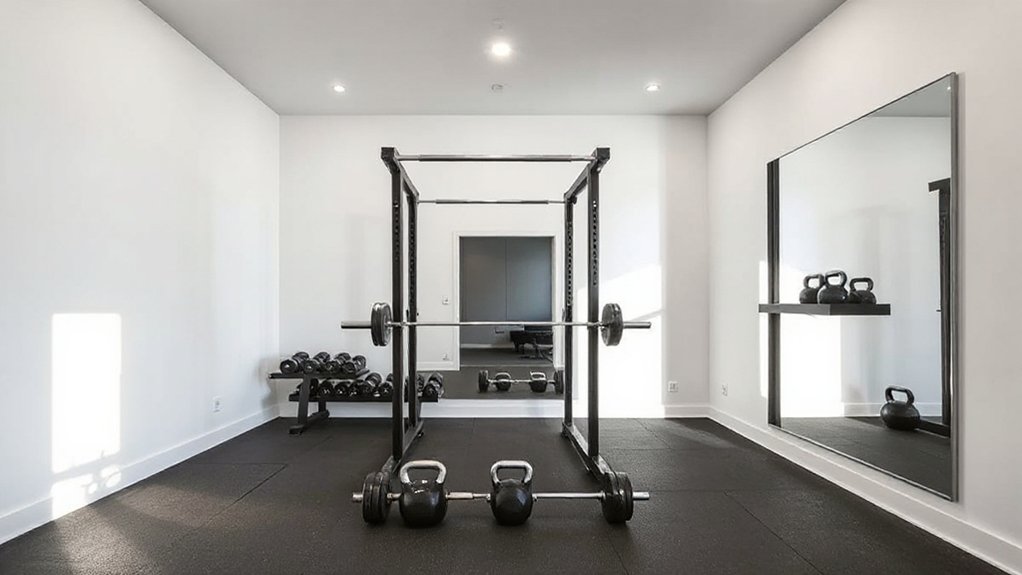
If you control surface reflectance, you can raise perceived brightness and improve uniformity without increasing fixture wattage. Prioritize wall color choices with high light reflectance value (LRV): aim for matte whites or very light neutrals (LRV ≥ 70) on primary walls and ceiling to support diffuse interreflection.
Keep floors slightly darker to preserve visual contrast for equipment edges. Use Mirror placement strategically to return useful lumens into the task plane: locate mirrors opposite luminaires or bright walls so they “recycle” light back toward racks, platforms, and cardio zones.
Size mirrors to cover the dominant field of view at standing height, and align seams and frames to avoid interrupting the reflective plane. Treat adjacent trim and doors with similarly light finishes for continuity.
Fix Glare and Shadows Around Mirrors and Metal
Angle your fixtures so the mirror sits outside the beam’s specular reflection path, keeping the reflected hot spot out of your eye line.
Add diffusion (frosted lens, softbox, or bounced light) to reduce high-contrast reflections off chrome bars and polished plates.
Place fill lighting at opposing angles to keep shadows off your face and form-check zones while maintaining uniform illuminance across the mirror.
Angle Lights Away From Mirrors
Although mirrors help you check form, they also behave like specular reflectors that bounce high-intensity light straight back into your line of sight, creating glare hotspots and hard-edged shadows on adjacent metal surfaces.
Set fixtures so the incident beam never equals the viewing angle: aim 20–30° off the mirror’s normal, and keep your sightline outside the reflected cone.
If you use ceiling cans or track heads, yaw them laterally, not downward, so the mirror returns light toward a side wall.
Maintain uniformity by placing pairs symmetrically and matching beam spreads to avoid scalloping.
Don’t rely on higher lumens; control lighting angles first.
For mirror maintenance, clean with non-streak cleaner to reduce micro-glare and keep aiming checks accurate.
Soften Reflections On Metal
When chrome handles, barbells, and rack uprights catch a bare lamp, they act like small mirrors and throw specular glare into your eyes while casting harsh, high-contrast shadows near wall mirrors.
For glare reduction, increase source size and control beam spread: put a diffuser (opal acrylic, frosted globe, or softbox) over fixtures, or bounce light off a matte white ceiling.
Keep luminaires out of the mirror’s specular path by using 30–45° off-axis placement and add eggcrate or barn doors to limit spill.
Choose matte or satin paint on nearby walls to damp metal reflections.
If you must use strips, add aluminum channels with diffusers and aim them away from polished steel.
Make Your Home Gym Lighting Camera-Ready on a Budget
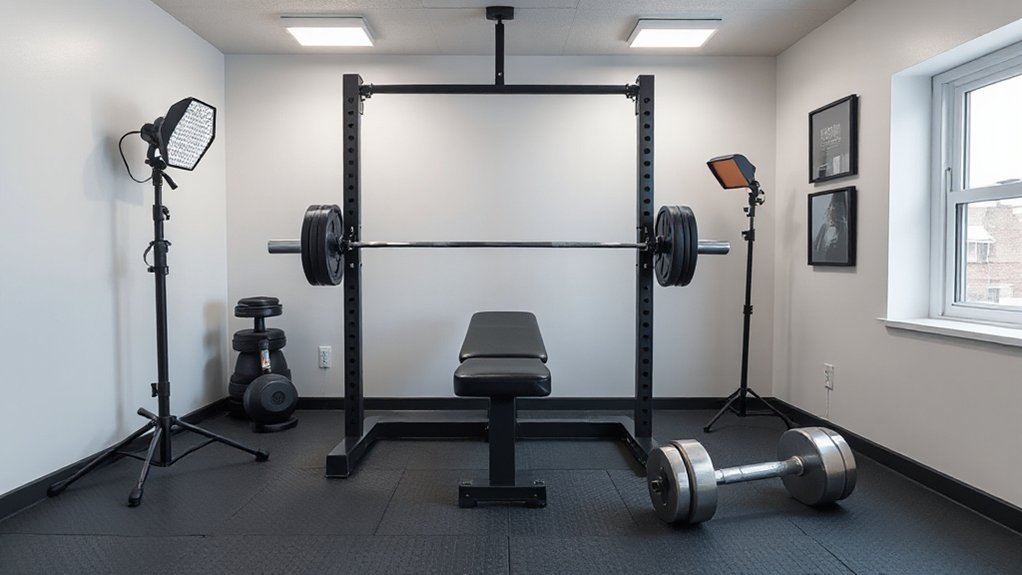
To make your home gym camera-ready without overspending, start by treating lighting like a basic video standard: even facial exposure, controlled contrast, and repeatable color. Set a consistent color temperature (daylight 5600K or tungsten 3200K) across all fixtures; mixed sources create shift and uneven skin tones.
Build a soft key with a clamp light plus diffusion (shower curtain or parchment) placed 30–45° off camera, slightly above eye line. Add low-cost fill using a white foam board opposite the key to keep contrast near 2:1.
Maintain stable ambient lighting with one dimmable overhead or bounced lamp to lift shadows without flattening. Lock camera white balance, avoid auto, and mark light positions for repeatable sessions.
Frequently Asked Questions
What Permits or Electrical Codes Apply When Adding New Gym Lighting Circuits?
You’ll typically need Permitting requirements for any new branch circuit or panel work; you must follow electrical safety standards (NEC plus local amendments): AFCI/GFCI where required, proper conductor sizing, grounding, box fill, and inspection.
How Do I Choose Flicker-Free LEDS to Prevent Headaches During Workouts?
Choose LEDs with high flicker frequency (≥2 kHz) and low percent flicker per IEEE 1789 guidance. You should verify “flicker-free” test data, buy high LED quality drivers (constant-current), and avoid cheap dimmers.
What’s the Best Lighting Setup for Early-Morning Workouts Without Disturbing Others?
Choose dimmable, directed, dawn-friendly lighting: use warm 2700–3000K LEDs on task zones, keep ≤200 lux at doors. For workout ambiance, prioritize light placement—baffles, wall-washers, and motion dimming—so you won’t wake others.
How Can I Integrate Smart Lighting Schedules With My Workout Routines?
You integrate smart schedules by mapping workout timing to lighting automation scenes: pre-warm dim amber, active cool white, cooldown low lux. Use ISO/CIE targets, sync via calendar/API triggers, and enable occupancy overrides.
Which Lighting Options Are Safest for Humid Garage Gyms or Basement Spaces?
When push comes to shove, you’ll choose UL/ETL-listed damp- or wet-location LED fixtures with gasketed housings, corrosion-resistant hardware, and GFCI-protected circuits. Add Humidity control via ventilation/dehumidifiers, and prioritize Lighting aesthetics using sealed, diffuse lenses.
Conclusion
You’ve now built a standards-driven lighting plan: hit your lumen target, keep fixtures at 4000–5000K with high CRI, and layer overhead, task, and accent light to control shadows and glare. That precision matters—poor lighting can reduce visual performance by up to 20%, making every rep feel harder and less safe. Use dimmers, diffusion, and high-LRV surfaces to balance reflections, then tune placement until your gym looks—and films—like a pro setup.