Table of Contents
In a small space, every inch has to earn its keep, so a Compact Home Gym is one option. You start by measuring your floor area and ceiling height, then you lock in clear goals and the handful of movements you can’t skip. From there, you choose equipment that covers the most patterns—adjustable dumbbells, a compact bench, and a pulley or bands—so you can train hard without clutter. But before you buy anything, there’s one layout choice that decides whether your setup feels cramped or performs like a real gym…
Measure Your Space and Ceiling Height
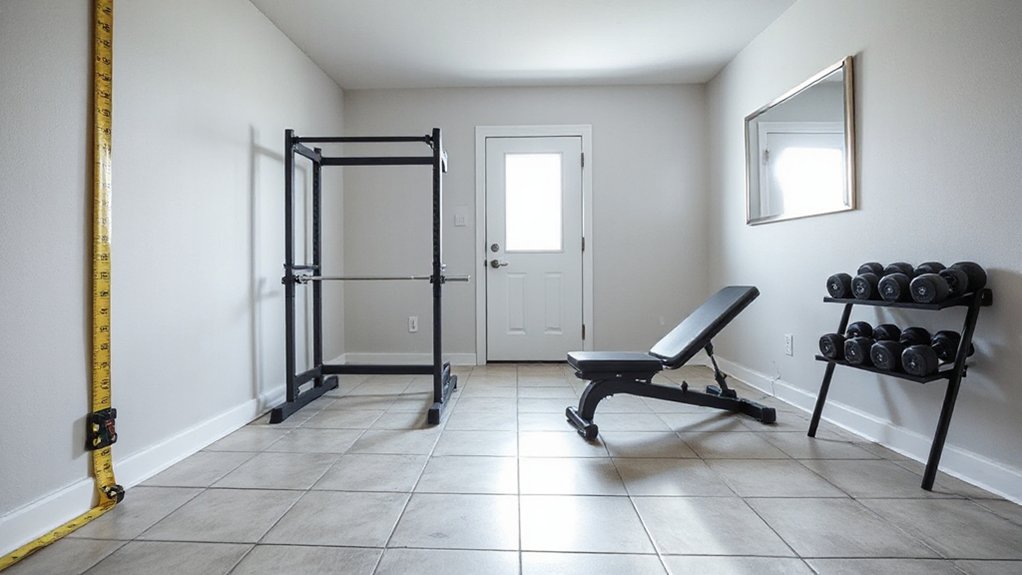
Before you buy a single piece of equipment, measure your available floor area and ceiling height—those two numbers determine what actually fits and what you can use safely.
Map the footprint of doors, vents, and outlets, then mark a clear training rectangle with tape so you don’t crowd your movement patterns.
Check overhead clearance for presses, pull-ups, and jump work; most adults need at least 8 ft, and more if you’ll raise arms on a platform.
Account for equipment height plus plates or attachments, not just the frame.
Choose flooring options based on load and noise: dense rubber tiles reduce impact and improve traction in tight spaces.
Add wall mounted mirrors to verify depth and alignment without needing extra floor space.
Define Goals and Your “Must-Do” Exercises
Once you know what you’re training for—strength, fat loss, hypertrophy, endurance, mobility, or sport performance—you can build a compact gym around the few exercises you’ll actually do consistently.
Pick 4–6 “must-do” movements that cover squat, hinge, push, pull, carry, and core, since these patterns drive broad adaptations and transfer well to daily life. Define simple targets (load, reps, time, or range of motion) so you can track progressive overload or improved work capacity without guesswork.
Then layer in Exercise variety by rotating grips, stances, tempos, and rep ranges every 4–6 weeks to reduce overuse and keep progress moving.
Use Motivation strategies like scheduling short sessions, presetting “minimum viable” workouts, and logging wins to sustain adherence when space and time feel tight.
Pick Multitask Equipment for a Compact Home Gym
To maximize training variety without sacrificing floor space, you’ll get the most return by prioritizing adjustable dumbbells that replace a full rack while still supporting progressive overload.
Pair them with a space-saving cable system, since cables let you hit push, pull, hinge, and core patterns with consistent resistance and minimal footprint.
With these two picks, you can cover most strength goals in a compact setup and keep upgrades targeted, not sprawling.
Prioritize Adjustable Dumbbells
Because floor space disappears fast in a home gym, adjustable dumbbells give you the biggest strength-training payoff per square foot: one compact set can replace an entire rack of fixed weights while still supporting progressive overload.
Choose adjustable weights with fast, secure changes, clear increments, and a base that stores cleanly. You’ll lift heavier over time without buying more gear, which directly supports strength and hypertrophy.
Use them for versatile routines: presses, rows, squats, hinges, lunges, carries, curls, and triceps work—full-body training from one footprint.
Prioritize models that feel balanced in hand and don’t rattle, so you can train with control and higher-quality reps. Track loads and reps, then add weight weekly to keep progress measurable.
Choose Space-Saving Cable Systems
How do you add more exercise options without adding more floor space? Install a wall- or ceiling-mounted compact cable system. A single stack or plate-loaded trolley gives you dozens of movement patterns—presses, rows, pulldowns, curls, face pulls—by changing handles and angles, not machines.
Research consistently shows cables keep tension through the full range, which supports hypertrophy and joint-friendly strength work.
Choose a space saving pulley with adjustable height and a smooth bearing track, then anchor it to studs or a rated joist. Pair it with a small bench and a door-jamb bar for vertical pulls.
Use quick-change carabiners and a short/long strap set to reduce clutter. You’ll train upper body, lower body, and core efficiently.
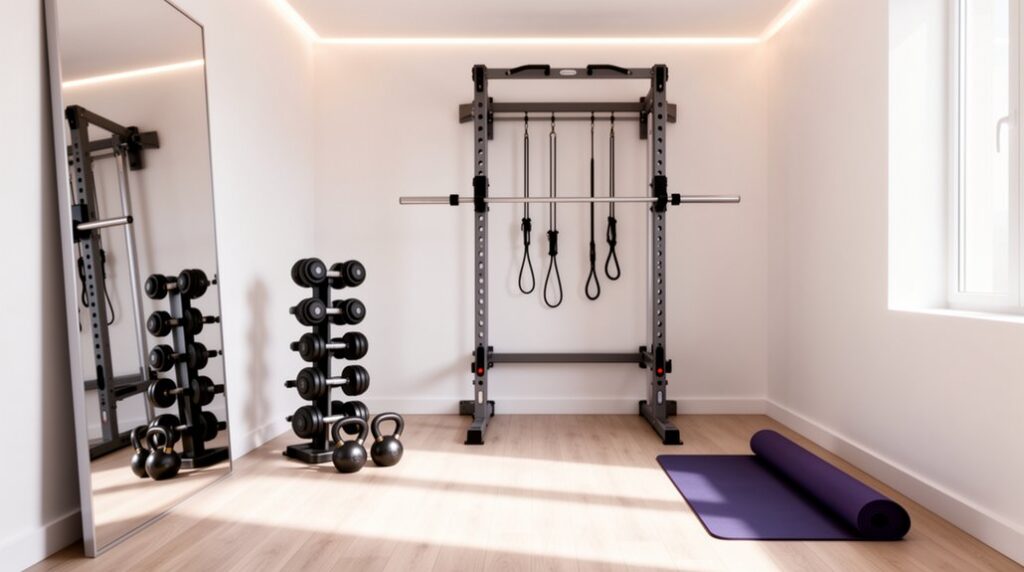
Plan Your Compact Home Gym Layout (Zones + Clearance)
Even if you’re working with a tight room, you can make it feel bigger and train safer by mapping your gym into clear zones and honoring the clearance each movement needs. Start with zone differentiation: a strength zone (rack/bench), a cable/conditioning zone, and a floor/mobility zone.
Then lock in equipment placement so the heaviest, least-moved items sit against a wall, while you keep your open lane in the center. Aim for 24–36 inches for walking paths, 36–48 inches around benches and cable handles, and a full arm-span plus step length for swings, lunges, and presses.
Check overhead clearance for pull-ups and presses, and avoid placing mirrors or fragile items in swing arcs. You’ll move faster, reset less, and stay injury-resistant.
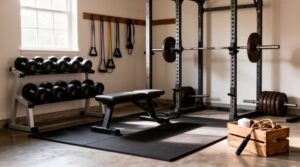
Add Compact Storage That’s Fast to Reset
If you can reset your space in under a minute, you’ll train more often and keep the room safer between sets. Treat storage as part of your training loop: finish a set, park the gear, move on.
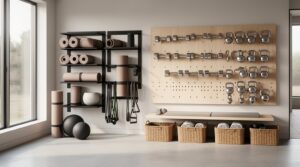
Choose storage solutions that keep items visible and one-motion to stow—wall hooks for bands, a vertical rack for dumbbells, and a slim bin for collars, straps, and timers.
Mount frequently used tools at chest height to cut bending and searching, which adds friction and steals sessions over time.
Use a rolling cart only if it locks into one parking spot.
Label shelves by zone so everything has a home. A consistent “put-back” rule creates a quick reset and preserves your workout flow.
Build Safety and Progression Into Your Setup
You’ll get better results—and fewer setbacks—when your compact gym reinforces safe movement patterns with stable footing, controlled ranges of motion, and smart exercise choices.
You should also bake in progressive overload by choosing gear and layouts that let you add load, reps, tempo, or range without increasing risk.
Finally, reserve a small spot for essential recovery tools like a mat, foam roller, and light bands so you can keep training quality high week to week.
Prioritize Safe Movement Patterns
Because your space is limited, every piece of equipment should reinforce safe, repeatable movement patterns you can load and progress without compromising joint position or balance. Favor tools that “lock in” alignment: a bench for stable presses and rows, a pull-up bar with controlled grips, and resistance bands for joint-friendly ranges.
Set up your zone around five patterns: squat, hinge, push, pull, and carry. Choose variations you can execute with a neutral spine, stacked ribs over pelvis, and steady foot pressure. Use mirrors or your phone to check depth and symmetry, then adjust stance or grip before adding intensity.
This supports forming habits that stick and reduces compensations. Prioritizing controlled tempo and full-range control is one of the simplest ways of preventing injuries.
Plan Progressive Overload Options
Once you’ve dialed in clean movement patterns, build your compact gym around progressive overload you can apply in small, safe steps: add load, reps, range of motion, or density (same work in less time) without changing the exercise’s mechanics.
Choose tools that scale precisely: adjustable dumbbells or kettlebells, microplates for a bar, and loop bands for tiny jumps. Add a doorway pull-up bar with a belt for weighted holds, or rings so you can progress leverage and depth.
Use a bench or sturdy box to standardize ROM for split squats, step-ups, and presses. Track sets, reps, RPE, and weekly tonnage so your strength progression stays objective.
When you stall, rotate one variable, not everything, and keep technique constant.
Add Essential Recovery Tools
Even in a compact home gym, recovery tools keep training quality high by reducing soreness-driven technique breakdown and helping you tolerate more weekly volume. Start with one dense foam roller and one set of massage balls; they store in a drawer and cover most soft-tissue needs.
Use the roller for large areas (quads, glutes, lats) with slow passes, then switch to massage balls for pinpoint work under the shoulder blade, hip, or foot. Keep sessions brief: 30–60 seconds per area after lifting or on rest days, focusing on tender spots without excessive pain.
Pair tissue work with mobility drills and nasal breathing to downshift. You’ll recover faster, move better, and keep overload progressing safely week to week.
Frequently Asked Questions
How Do I Soundproof a Home Gym to Avoid Bothering Neighbors?
Use dense rubber flooring, acoustic panels, and door seals as soundproofing materials; decouple equipment with isolation pads. Keep workouts away from shared walls. For neighbor considerations, limit drop lifts, train at reasonable hours, and add curtains.
What Lighting and Ventilation Upgrades Make Workouts More Comfortable?
Use natural light where possible, add dimmable LEDs for evenings, and aim fans toward your workout zone. Improve air circulation with a window exhaust fan or compact HRV. You’ll reduce heat, odors, and fatigue.
How Much Should I Budget for a Compact Home Gym Setup?
Budget $300–$1,200: start with resistance bands, adjustable dumbbells, a mat; add a bench, pull-up bar, cardio later. Budget planning balances Equipment costs, footprint, and progressive overload so you train safely, consistently, measurably.
Do I Need Special Flooring to Protect Joints and Reduce Noise?
You don’t need special flooring, but you’ll reduce joint stress and noise with Exercise mats or Rubber flooring. Use thicker mats for jumps, thin mats for weights; rubber tiles absorb impact and save space.
How Do I Maintain and Clean Equipment to Prevent Rust and Odors?
You’ll prevent rust and odors by wiping gear after use, drying sweat, and weekly disinfecting handles. For Equipment maintenance, lubricate moving parts and inspect bolts monthly. For Odor control, air out mats, wash fabrics, and use desiccants.
Conclusion
You don’t need a sprawling garage to get big results; you need measured space, clear goals, and equipment that earns its footprint. Pair adjustable dumbbells and a wall pulley with a fold-flat bench—small tools, heavy outcomes. Lay out zones with safe clearance: tight walkways, smooth sessions. Use fast-reset storage so friction stays low and consistency stays high. Track loads, add reps, protect recovery. Minimal square footage, maximal training effect.