You probably don’t know that your biggest home‑gym limiter is usually floor loading and clearance, not equipment cost. If you define your training outcomes first, you can buy only high‑ROI tools—adjustable dumbbells, bands, a stable bench, and a pull‑up bar—and still hit progressive overload. Measure your usable footprint and movement paths, then prioritize durability and safe used purchases. The next step is choosing the weight system that won’t cap your progress.
Set Your Budget Home Gym Goals First
Before you buy a single piece of equipment, define exactly what you’re training for—strength, hypertrophy, conditioning, mobility, or general health—because your goal determines the minimum effective tools you need.
If strength is primary, you’ll prioritize progressive overload with heavy compound patterns and long rest.
If hypertrophy, you’ll emphasize higher weekly set volume, moderate loads, and shorter rest.
For conditioning, you’ll target repeatable intervals and measurable pace or wattage.
For mobility, you’ll bias end‑range control and time under tension.
Then reverse‑engineer your workout routines: list core movements, required loading range, and progression method.
Only after that do you price exercise equipment that supports those demands without redundancies or gimmicks.
You’ll spend less and progress faster.
Measure Your Space for a Safe Budget Home Gym
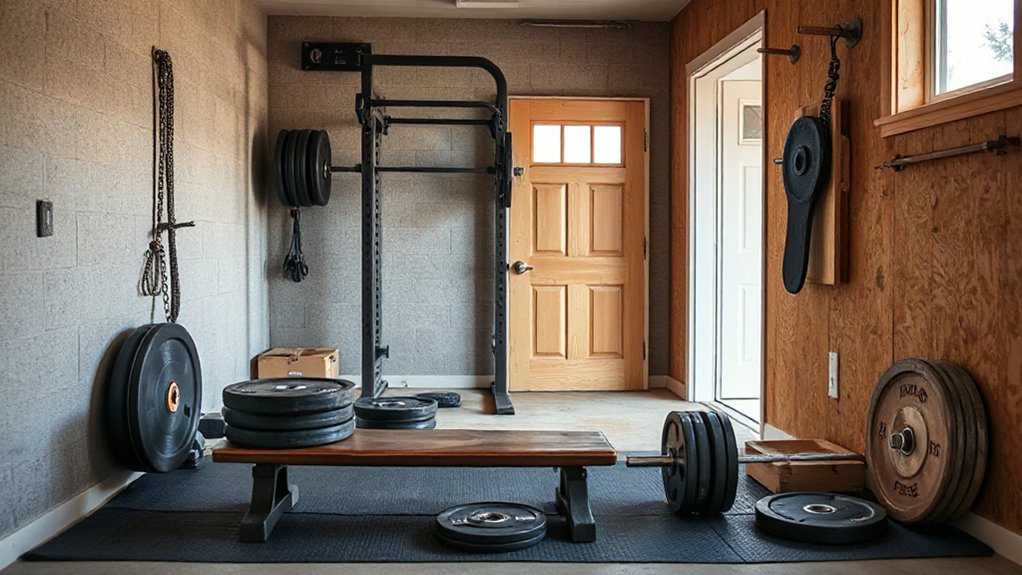
Before you buy equipment, you’ll map your usable floor dimensions so each station fits without forcing compromised movement paths.
Next, you’ll check ceiling clearance for overhead presses, pull-ups, and any loaded lifts, accounting for your full reach plus the bar and plates.
Finally, you’ll plan safety buffer zones around racks, benches, and cardio machines so you can bail, rerack, and shift without collisions.
Map Floor Dimensions
How much usable floor space do you actually have once you account for doors, low ceilings, vents, and furniture? Start with a tape measure and sketch a scaled rectangle of the room, then subtract no-go zones like door swings, radiator clearance, and walkway paths. This floor planning step prevents collisions and improves training flow.
Mark the footprint of each item using manufacturer dimensions plus a safety buffer: 24–36 inches for access around benches, racks, and storage, and at least a clear lane for carries. Use painter’s tape to mock placements and test transitions between lifts.
For layout optimization, cluster equipment by movement pattern (push/pull/hinge) so you minimize steps, reduce setup time, and keep loads stable. Re-measure after you place mats.
Check Ceiling Clearance
Where will the bar and your hands actually travel once plates leave the floor? Measure your Ceiling height from finished floor to the lowest obstruction: joists, lights, garage door rails, HVAC, or sprinkler lines.
Then compare it to the tallest movement you’ll train: strict press, jerk, snatch, pull-ups, and medicine-ball throws.
For barbell work, estimate peak height as your standing reach plus bar diameter and plate radius at lockout; add head position changes during a split jerk. You need reliable overhead clearance even when fatigue drives less precise paths.
If clearance is tight, choose seated pressing, landmine variations, or shorter plates until you can raise the station. Recheck after adding flooring, since mats reduce usable height.
Plan Safety Buffer Zones
Ceiling clearance only solves the vertical problem; you still need lateral “miss space” so a failed rep doesn’t turn into a wall strike or a trip hazard. Map safety zones around each station: for barbell lifts, keep at least 1 m (3 ft) clear on both ends and 0.6–1 m behind you for bailouts and reracks.
For dumbbells and kettlebells, maintain a 1.5 m (5 ft) radius so dropped loads don’t ricochet into furniture. Mark boundaries with tape and store plates, bands, and collars outside the lifting envelope to cut trip risk.
Build hazard awareness by checking door swing, low shelves, and pets’ traffic lines before every session. If space is tight, prioritize fewer movements, not tighter margins.
Budget Home Gym Essentials: Your ROI Checklist
Because your budget has limits, your equipment list needs a return-on-investment filter: prioritize tools that deliver the most training stimulus per dollar, per square foot, and per minute.
Start with adjustable dumbbells or a barbell plus plates for scalable loading across major movement patterns.
Add a flat/incline bench and a pull-up option to cover presses, rows, and vertical pulling.
Use bands for accommodating resistance and joint-friendly volume.
Choose a stable rack or sturdy stands only if you’ll train heavy; otherwise, prioritize floor space and safe failure options.
Track cost per exercise: each item should enable multiple compound lifts.
If you’re dropping a gym membership or personal training, invest in coaching cues via reliable programming and video feedback.
Include a timer, chalk, and mat.
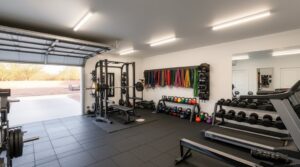
Build a Budget Home Gym: 3 Price Tiers
Even if you’re starting from zero, you can build a home gym that supports progressive overload by matching your equipment to three practical budget tiers: a minimal setup that covers the main movement patterns, a mid-tier kit that expands loading options and exercise selection, and a higher-value “serious” tier that improves safety and barbell capacity without wasting square footage.
Tier 1: buy a pull-up solution, rings or suspension trainer, a kettlebell, bands, and a mat—enough for push/pull/hinge/squat/core.
Tier 2: add a stable bench, floor protection, and a cable-style pulley to increase workout variety and manage fatigue with smaller load jumps.
Tier 3: add a rack with safeties, a quality flat bench, and storage so you keep setups fast and consistent.
Prioritize equipment maintenance (bolt checks, rust control, strap inspection) to protect output and longevity.
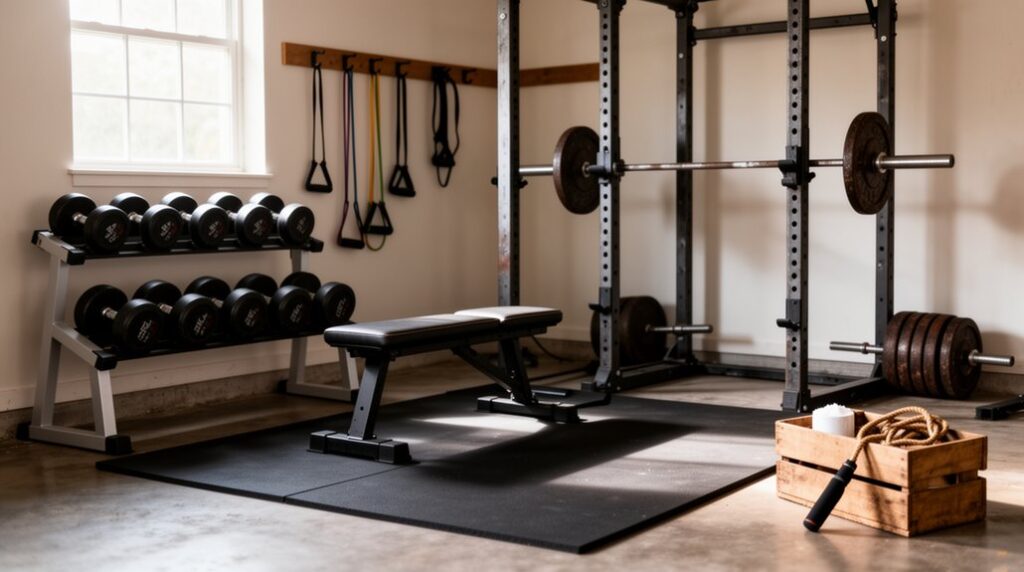
Choose Weights: Adjustable Dumbbells vs Barbell
Once you’ve picked a tier, your biggest training ROI usually comes from deciding how you’ll load movements week to week: adjustable dumbbells or a barbell.
Adjustable dumbbells win on space and weight variety: you can microload pressing, rows, split squats, and accessories with small jumps, which improves practice quality and reduces form breakdown. Choose models that change fast; long changeovers cut density and total volume.
A barbell excels when you want maximal absolute loading and consistent mechanics across reps. It’s the simplest tool for heavy hip hinges, squats, and presses, enabling clearer strength progression via linear increases and repeatable setup.
If you’re starting with limited cash, dumbbells cover more exercises per dollar; if you’re chasing top-end strength, prioritize a barbell plus plates.
Budget Bench, Rack, and Pull-Up Solutions
You’ll get more training density per square foot if you pair a space-saving rack (folding wall rack or compact squat stands) with a stable bench that meets a high load rating and has minimal pad wobble.
For pull-ups, you can start with a doorway bar rated for your bodyweight plus dynamic forces, or choose a rack-mounted/ceiling-mounted bar for better rigidity and grip options.
Next, you’ll compare cost, footprint, and safety (steel gauge, hole spacing, hardware, anchoring) so your setup supports progressive overload without wasted space or money.
Space-Saving Budget Racks
Three pieces of gear deliver the best strength-to-square-foot ratio on a budget: a sturdy adjustable bench, a compact rack solution, and a pull-up option you’ll actually use consistently.
For the rack, prioritize a wall-mounted folding unit or a half rack with a short footprint, so you keep walkways clear and still train heavy. Choose 11‑gauge steel uprights when possible, confirm the published load rating, and anchor to studs or use a stable flat-foot base to control tipping under re-racks.
Look for Westside hole spacing through the bench zone to dial in safeties and J-cups precisely. Add spotter arms and plate pegs for compact storage and a multi-function design that supports squats, presses, pulls, and rack pulls without extra frames.
Low-Cost Bench And Pull-Up Options
Where can you cut cost without sacrificing training quality? Start with a flat bench rated for at least 600–1,000 lb and a grippy, 12–14 gauge steel frame. Flat pressing, rows, and step-ups don’t require adjustability.
If you need incline, add inexpensive wedge blocks or a stable riser, but verify the bench doesn’t rock under load.
For pull-ups, prioritize a secure doorway unit with multi-point contact, or build DIY pull-up bars from 1″ schedule-40 pipe and anchored flanges; test with static hangs before kipping.
Pair your bar with affordable resistance bands to scale volume: use band-assisted pull-ups, face pulls, and triceps pressdowns.
You’ll preserve progressive overload while keeping footprint and cost low.
Conditioning at Home (No Big Machines)
How do you build real conditioning at home without dropping cash on a treadmill or rower? You use density, intervals, and full-body patterns that drive heart rate fast.
Start with Cardio routines like jump rope, shuttle runs, or stair repeats: 10–20 minutes of 30 seconds hard/30 seconds easy, keeping effort at 8–9/10.
Add low-impact options—loaded carries with a backpack, burpee-to-step-back complexes, or kettlebell/dumbbell swings if you’ve got one.
Track progress with total work completed or average pace, not sweat.
Finish every session with Flexibility exercises that protect output: 60–90 seconds per side of calves, hip flexors, hamstrings, and thoracic rotation.
Pair nasal breathing to accelerate recovery.
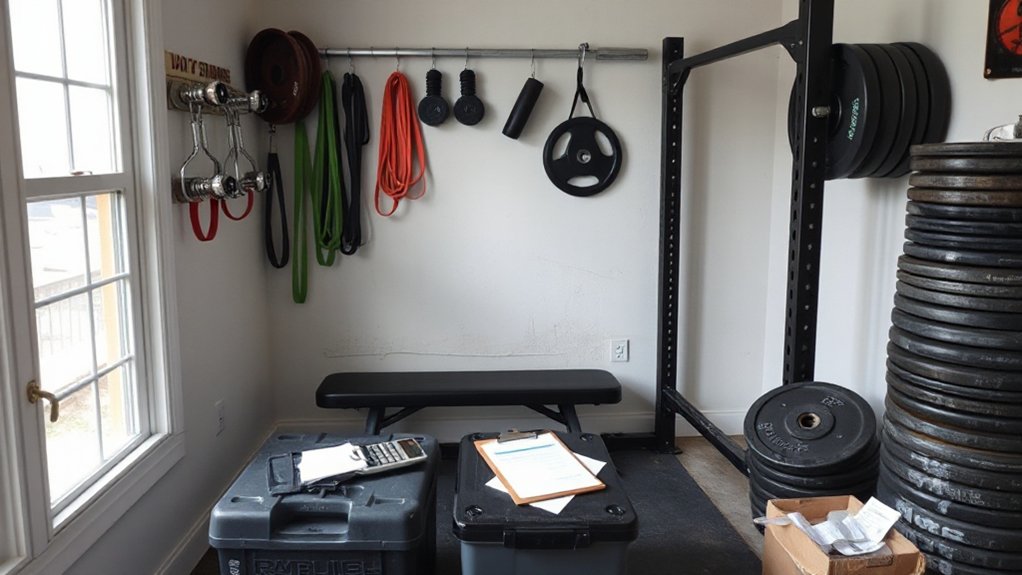
Find Used Budget Home Gym Deals (And Inspect)
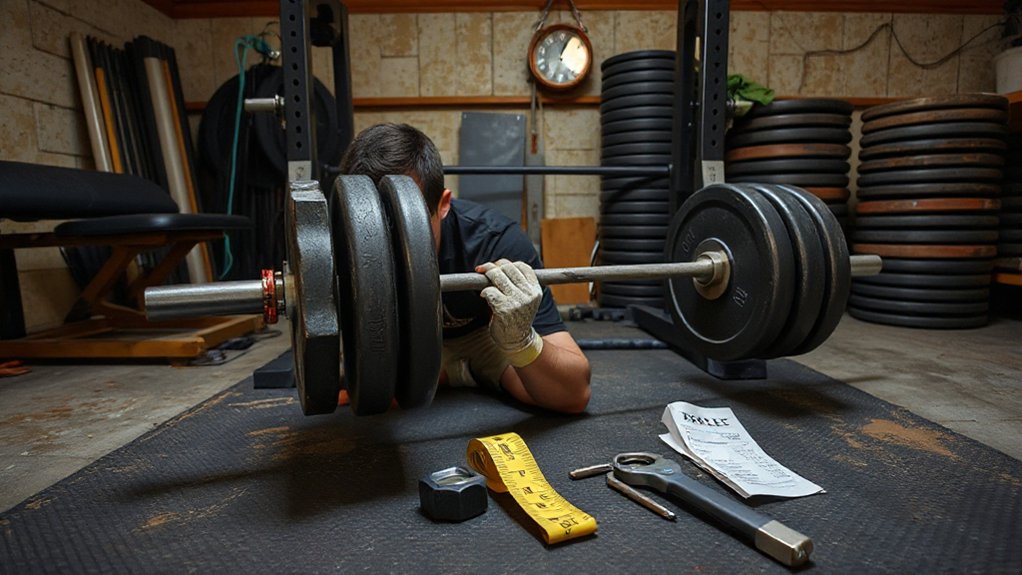
Used gear can cut your home-gym bill by 40–70% if you shop with a checklist and inspect like you’re buying safety equipment, not décor. Start with local listings, gym closures, and college surplus; filter for commercial brands, standard plates (1–2 inch), and rack compatibility. Ask for model numbers and load ratings, then verify recalls.
Bring an inspection checklist: check welds for cracks, holes for elongation, and uprights for twisting. Spin sleeves on barbells; they should rotate smoothly with minimal lateral play. Roll the bar to spot bends. Inspect knurling wear, collar damage, and rust pitting.
For adjustable benches, test every incline pin, pad attachment, and wobble under bodyweight plus a hard brace. Negotiate with cash and pickup.
Avoid These Budget Home Gym Money Traps
Scoring solid secondhand equipment only saves money if you don’t give it back on the back end through “budget” mistakes that raise injury risk or force early upgrades.
Don’t buy odd plates, nonstandard bars, or mismatched collars; poor fit accelerates sleeve wear and makes loading unstable.
Skip “all‑in‑one” gimmicks with weak gauge steel, sloppy bushings, and low stated load ratings—fatigue failure isn’t a bargain.
Don’t ignore floor and rack anchoring needs; a tipping rack or sliding bench ends workout routines fast.
Avoid bargain bumpers that smell strongly or shed crumbs; low‑density rubber rebounds unpredictably.
Ultimately, don’t stock tools you won’t use: one reliable bench, bar, and adjustable load preserves fitness motivation and prevents clutter costs.
Progressive Overload With Minimal Home Gym Gear
Even if your home gym only has a barbell or a pair of adjustable dumbbells, you can still drive measurable strength and muscle gains by applying progressive overload—the evidence-backed practice of increasing training stress over time.
With minimal equipment, you’ll progress by manipulating load, reps, sets, tempo, range of motion, and rest. Track every session: when you hit the top of a rep range at a target RIR (0–3), add 1–2 kg per dumbbell or 2.5–5 kg to the bar next workout.
If weight jumps are too large, add reps first, then sets, then slow eccentrics (3–5 s) or paused reps to raise time-under-tension. Use unilateral variations and longer ROM (deficit RDLs, split squats) to increase stimulus without new gear.
Frequently Asked Questions
How Do I Reduce Noise and Vibration for Apartment-Friendly Lifting?
Use Soundproofing mats under a stable platform, add vibration dampers on rack/bench feet, and control bar descent. You’ll cut impact transmission and low‑frequency structure‑borne noise. Keep loads centered and avoid drops to reduce vibrations.
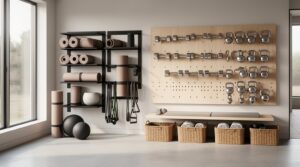
What’s the Best Way to Store Equipment in a Small Shared Space?
You’ll store best by going vertical: wall-mounted racks, pegboards, and labeled bins—because floors are apparently sacred. Prioritize Storage organization and Space optimization: keep heavy items low, use rolling carts, and enforce a return-to-home rule.
Do I Need a Fan or Dehumidifier to Prevent Rust and Odors?
Yes—if your space runs humid or stagnant, you’ll need one. Prioritize air circulation with a fan and humidity control via a dehumidifier to keep RH under ~50%, reducing rust risk and odor-causing microbial growth.
How Can I Insure My Home Gym Equipment Against Theft or Damage?
You’ll insure gear by adding a scheduled personal property rider, confirming homeowners/renters theft coverage, and keeping serials and receipts. Compare Insurance options for replacement-cost terms, and pair them with Equipment warranties for non-accidental failures.
Which Basic First-Aid and Safety Items Should Every Home Gym Include?
Include First aid kit: adhesive bandages, gauze, tape, antiseptic wipes, shears, cold pack, gloves. Add safety gear: CPR mask, AED if possible, eye wash, fire extinguisher, flashlight, phone access, emergency numbers posted nearby.
Conclusion
You don’t need a huge budget to build a high-performance home gym—you need clear goals, measured space, and high-ROI essentials. Start with versatile tools (adjustable dumbbells, bands, bench, pull-up bar), then add load or complexity as your numbers improve. Buy used when it’s structurally sound, and skip gimmicks that don’t drive progressive overload. Track reps, load, and rest like data. Why pay for machines that don’t scale?