You can’t protect your home’s exterior until you know where it’s weak. Start by walking the perimeter and looking for easy wins: a flimsy door frame, a loose strike plate, a dark side path, or shrubs that hide movement. Check windows for quick pry points and note whether ladders or tools sit in plain reach. Once you spot these gaps, you’ll know which upgrades actually reduce risk—and which ones just look secure.
Walk the Perimeter: Exterior Security Weak Spots
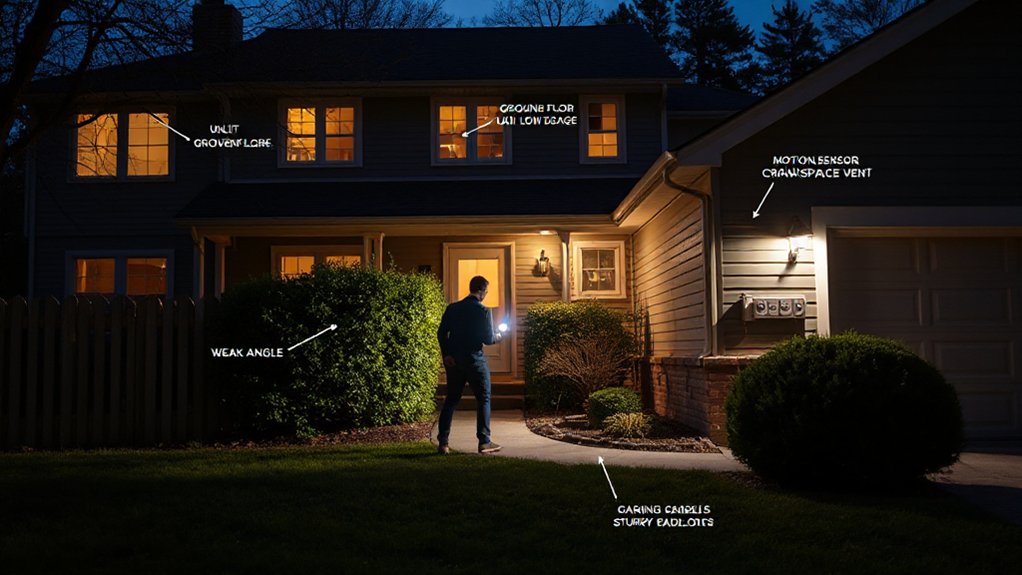
Where would someone try first if they wanted in fast? You should walk your perimeter the same way: start at property edges, then move toward windows, gates, and blind corners.
Check Perimeter fencing for gaps under panels, loose pickets, climbable footholds, and hidden latch releases. Test every gate: does it sag, bounce open, or let a hand reach the latch from outside?
Trim shrubs that create concealment near windows and along fence lines. Map nighttime lighting; note dark zones, burned bulbs, and fixtures that can be unscrewed or switched off.
Look for ladders, bins, firewood stacks, or patio furniture that boosts reach. Add Security signage where it’s visible from approaches, not buried behind landscaping.
Document fixes and recheck monthly.
Exterior Door Security: Reinforce the Door and Frame
Even if you’ve got cameras and lighting, an exterior door can still be the fastest way in if the frame, strike, or hinges fail under a hard kick or shoulder hit.
Start with door reinforcement: swap hollow-core or thin panels for a solid wood, steel, or fiberglass slab, and check for rot, cracks, or delamination. Add a full-length reinforcement channel or wrap kit so force spreads across the door skin instead of punching through one weak spot.
For frame strengthening, inspect the jamb and header for splits, soft wood, or gaps, then replace compromised sections with hardwood or metal-reinforced jambs.
Reinforce hinge-side integrity with longer screws into studs and hinge bolts, and keep clearances tight so prying tools can’t bite easily.
Lock Upgrades: Deadbolts, Strike Plates, and Smart Locks
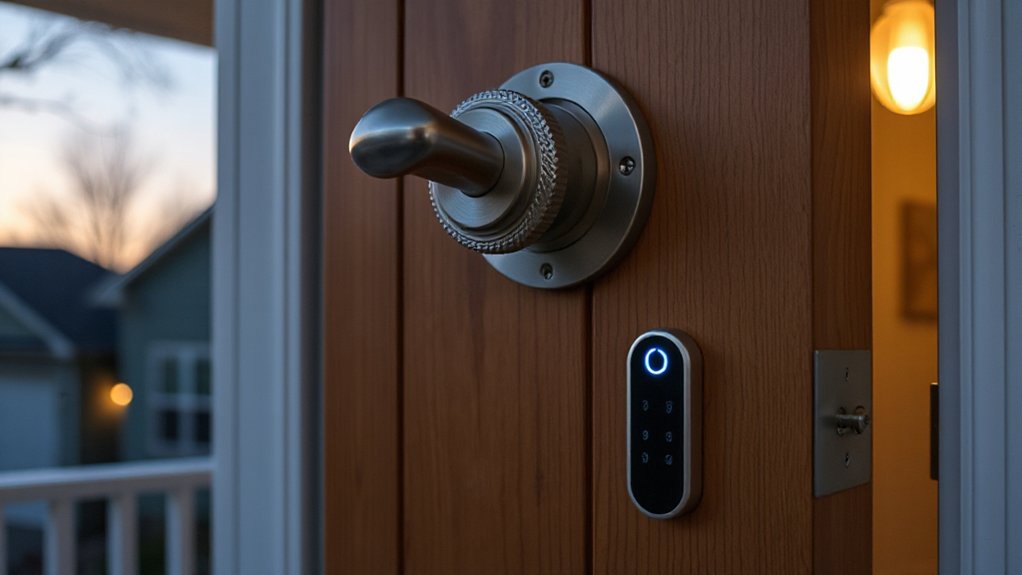
If your exterior door can be forced, a weak lock fails fast, so you should upgrade to a high-security deadbolt with a hardened bolt and pick/drill resistance.
You also need a reinforced strike plate that’s anchored into the framing with long screws, because the jamb often gives way before the lock does.
Together, these upgrades make kick-ins harder, louder, and slower—exactly the risk you want to create for an intruder.
High-Security Deadbolts
Because most break-ins start with a quick test of your door hardware, a high-security deadbolt gives you a critical edge by resisting the two most common attacks: forced kicks and lock manipulation.
Choose a Grade 1 deadbolt with a hardened steel bolt, a reinforced cylinder, and pick- and bump-resistant pins. Use a 1-inch throw and a tight-fitting collar to reduce pry points, and avoid cheap single-cylinder models that bind or wobble.
Install it precisely: align the bolt to throw smoothly, and verify the door closes without rubbing.
Add it to your Property maintenance checklist, re-tightening screws and lubricating annually.
Pair upgrades with your neighborhood watch habits—report casing behavior, and don’t advertise when you’re away.
Reinforced Strike Plates
When someone kicks or pries at your door, the strike plate—not the deadbolt—often fails first, letting the latch tear out of soft jamb wood in seconds. You can reduce that weak-point risk by installing reinforced strike plates that spread force across the frame instead of concentrating it at two tiny screws.
Choose a heavy-gauge plate that includes metal reinforcement and a boxed receiver to protect the latch and deadbolt. Replace factory screws with 3-inch hardened screws that bite into the wall studs, not just the jamb.
If your door has sidelights, treat it as higher risk and upgrade both the latch plate and deadbolt plate. After install, test alignment: the bolt should throw smoothly without rubbing, or you’ll weaken the frame over time.
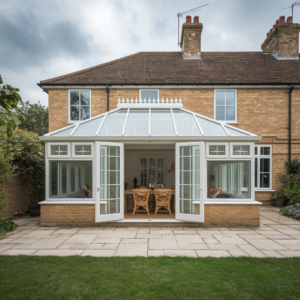
Exterior Window Security Without Making Rooms Dark
Windows are a high‑risk entry point, but you don’t have to sacrifice daylight to secure them. You can apply clear security window film to slow shattering.
Add daylight‑friendly window grilles that resist prying, and use strategic exterior lighting to remove hiding spots and expose tampering.
When you combine these measures, you raise the effort and time a break‑in takes while keeping rooms bright.
Clear Security Window Film
How do you harden your exterior glass without turning your rooms into dim, cave-like spaces? Clear security window film does it by adding a tough, transparent layer that holds shattered glass together, slowing smash-and-grab attempts and reducing flying shards.
For window tampering prevention, you’re buying time: film forces an intruder to keep striking or prying, increasing noise, exposure, and the chance they’ll abort.
Choose film rated for security use (thicker mil options) and pair it with a proper attachment system that anchors the film to the frame; film alone can peel under repeated blows.
Have it installed edge-to-edge, check corners for lift, and replace scratched or bubbling sections.
Keep frames sound, or the weakest point will still fail.
Daylight-Friendly Window Grilles
Even if you want more exterior protection, you don’t have to sacrifice daylight to get it—daylight-friendly window grilles stop quick pry-and-pop entries while keeping rooms bright.
Choose narrow-profile aluminum or steel bars with wider spacing that still blocks hand access to latches. Prioritize tamper-resistant one-way screws, through-bolted frames, and welded corners so attackers can’t twist or peel the grille off.
Install quick-release mechanisms on any bedroom egress window, and test them monthly so safety doesn’t become a liability.
If you want curb appeal, pick Decorative grille options that match your trim, but avoid ornate designs that create footholds.
Pair grilles with daylight friendly window film to reduce shatter-and-reach risk without darkening interiors. Keep gaps tight around frames.
Strategic Exterior Lighting
A well-planned exterior lighting setup makes your windows a hard target without darkening your rooms, because you’re controlling what happens outside the glass—not blocking what comes through it. Use layered lighting design: soft perimeter wash plus targeted highlights on window approaches, locks, and ground-floor corners.
Place outdoor fixtures to eliminate hiding pockets, not to blast glare into the panes. Aim beams downward at 30–45 degrees and shield bulbs, so you light faces and hands without reflecting into bedrooms.
Add motion activation on side yards and rear windows, but keep a low-level dusk-to-dawn baseline so sudden changes don’t create deep shadows.
Choose 3000–4000K LEDs for clear color recognition on cameras and bystanders. Test from the street and inside at night.
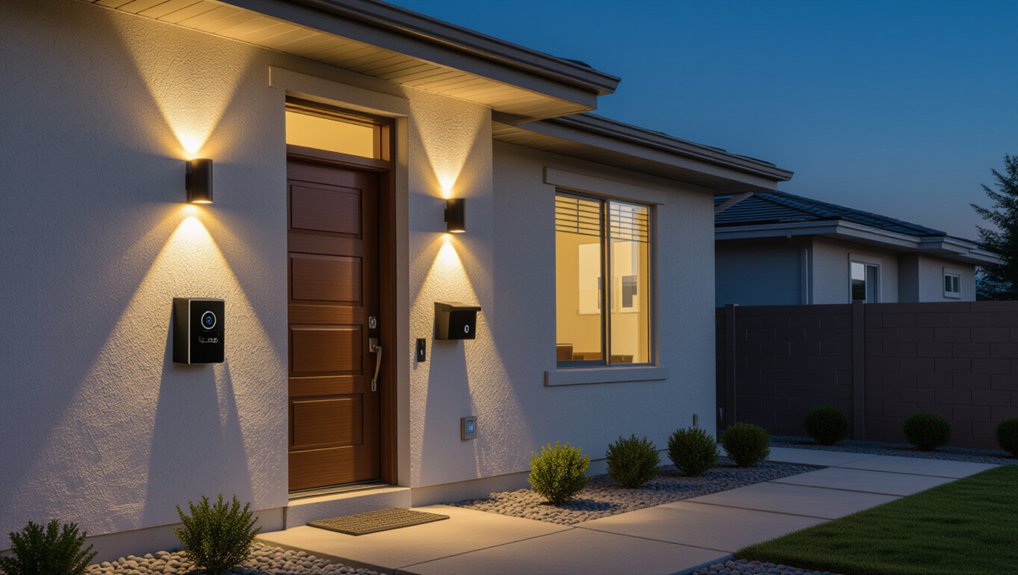
Exterior Security Lighting: Entries, Paths, and Sides
Because darkness gives intruders cover and time, you should treat exterior security lighting as a hard barrier around your entries, walkways, and side yards.
Prioritize every door: mount bright, shielded fixtures above and beside it to eliminate shadow pockets around locks and thresholds. Use motion sensors at primary approaches and side gates so light spikes the moment someone enters your perimeter.
Aim lights downward to prevent glare that can blind you while leaving areas unlit. Line paths with low, consistent landscape lighting so you can spot movement and trip hazards without creating deep contrast.
On side yards, add wide-beam floodlights tied to dusk-to-dawn settings, then test for dead zones from the street and inside windows. Replace failed bulbs immediately.
Landscaping for Security: Trim Hiding Places
While a well-kept yard looks harmless, overgrown landscaping can hand an intruder concealment right up to your doors and windows. Keep shrubs below window-sill height and thin them so you can see through to the wall.
Prune tree limbs up to at least 6–8 feet to remove climbing aids and reduce shadowed pockets near entry points. Don’t let dense hedges form corridors to gates, garages, or back doors; adjust your landscaping design to keep clear sightlines from the street and neighbors.
Place thorny, low-growing plants under vulnerable windows, but don’t create blind corners. Stay consistent with shrub maintenance: trim monthly in peak growth, remove dead branches, and clear leaf piles that hide tools or footprints.
Cameras and Video Doorbells: Placement and Privacy Basics
When you position cameras and a video doorbell strategically, you cut down blind spots that intruders exploit and you capture usable evidence instead of shaky, poorly lit clips.
Prioritize camera placement at entry approaches: mount units 8–10 feet high to reduce tampering, angle them to cover faces, and avoid aiming into bright windows or direct sunrise that washes out details.
Use overlapping views so one camera can see another’s field, deterring vandals and catching approach paths.
Add motion lighting to improve nighttime identification, and test recordings in rain and glare.
For privacy considerations, mask neighboring windows, limit audio where required, post notices if local laws expect it, and secure cloud accounts with strong passwords and 2FA.
Secure the Garage, Gates, and Backyard Entry Points
Good camera coverage helps you spot activity, but you still need to harden the spots burglars prefer to work in—out of view and behind the house.
Start with Garage safety: lock the interior door from garage to home with a deadbolt, add a door reinforcer, and disable the emergency release from outside by zip-tying it near the trolley (leave enough slack to operate it inside). Use a solid hasp and shrouded padlock on side garage doors.
Next, secure gates: install a keyed latch, use non-removable hinge pins, and add a ground anchor so the gate can’t be lifted.
Build backyard barriers with thorny plantings under windows, motion lighting, and gravel strips that broadcast footsteps. Keep ladders and tools locked away.
Frequently Asked Questions
What Exterior Security Upgrades Boost Home Insurance Discounts?
You’ll usually get discounts for monitored alarms, Smart locks, Security lighting, exterior cameras, and impact-resistant doors/windows. You should document installation, choose certified gear, and keep maintenance logs—insurers won’t credit upgrades they can’t verify.
How Do I Secure a Rental Property Without Permanent Modifications?
You secure a rental without permanent mods by installing peel-and-stick window alarms, using battery security lighting, adding door-jammer bars, swapping in removable smart locks, and placing cameras. You’ll deter opportunistic intruders and reduce liability risks.
What Security Measures Help During Extended Vacations or Long Absences?
During long absences, you’ll cut risk by using monitored alarm systems and surveillance cameras, scheduling timed lights, pausing mail, locking valuables away, and asking a neighbor for check-ins. You’ll also test batteries, Wi‑Fi, and alerts.
How Can I Reinforce Exterior Security for Historic Homes With Restrictions?
About 34% of burglars enter via front doors, so you’ll harden yours discreetly: use Historic preservation‑approved strike plates, reinforced hinges, interior window films, and smart locks. You’ll prioritize Restriction compliance while cutting forced-entry risk.
What Are the Best Ways to Protect Packages From Porch Theft?
You’ll curb porch theft by using Security cameras with motion alerts, adding Smart locks on a lockbox, requiring signature delivery, scheduling holds or lockers, and improving lighting and visibility. You’ll reduce exposure windows and deter opportunists.
Conclusion
You don’t need a fortress, but you do need layers. Walk your perimeter and fix the weak links: reinforce doors and frames, upgrade deadbolts and strike plates, and secure windows with film or grilles without losing light. Add motion lighting to erase shadows, trim shrubs to remove cover, and place cameras where they capture faces—not neighbors. Lock down garages, gates, and side yards. Think of it like armor: every plate closes a gap.