Nearly 30,000 garage-door injuries send people to the ER each year, and most start with simple neglect. You can cut risk fast by working methodically: shut off power to the opener, lock the door in place, wear eye protection, and stage the right tools before you touch a bolt. Then you’ll identify what’s safe to tighten and lube yourself—and what can snap, bind, or crush if you guess wrong.
Start With DIY Garage Repair Safety and Tools
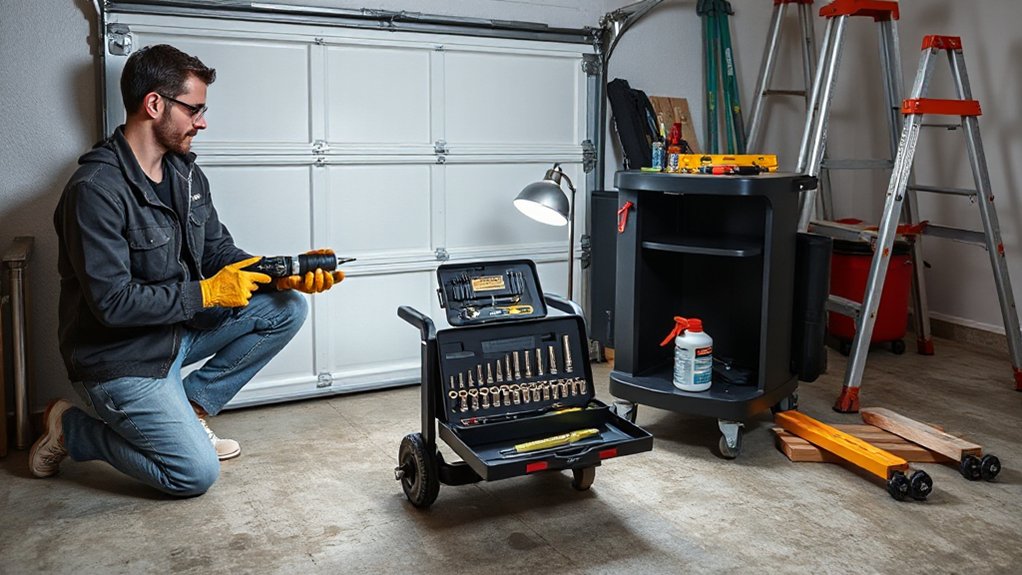
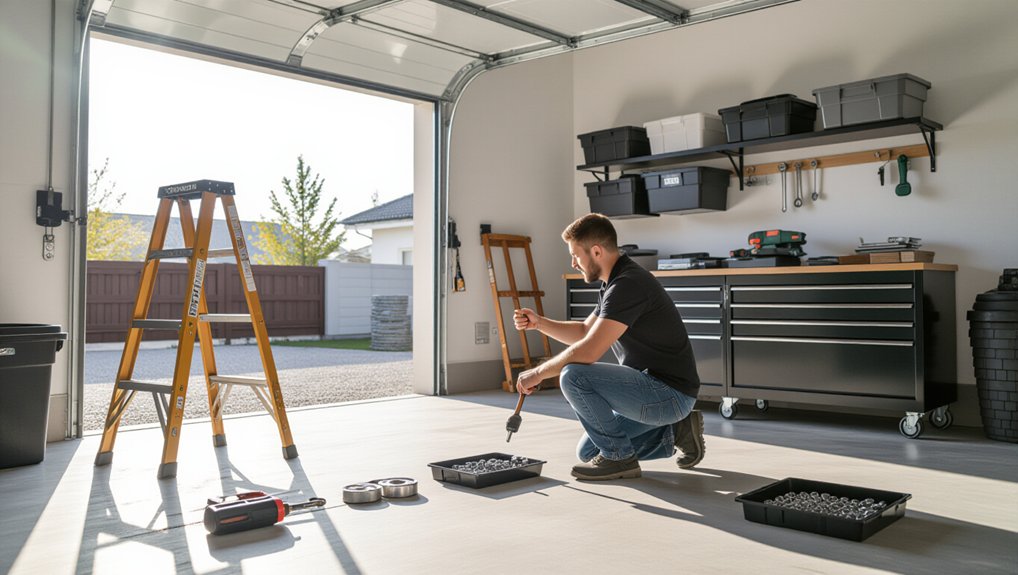
Before you touch anything in your garage, set up a safe workspace and gather the right tools so you don’t turn a small repair into an injury. Clear the floor, improve lighting, and keep kids and pets out. Unplug power tools, and shut off circuits if you’ll open outlets. Put on safety glasses, cut-resistant gloves, and hearing protection.
Next, practice Garage safety by stabilizing ladders, checking extension cords for cuts, and keeping a charged ABC extinguisher within reach.
For tool organization, stage tools on a magnetic strip or tray, not on the door track or ladder steps.
Stock a tape measure, level, adjustable wrench, socket set, hex keys, screwdrivers, clamps, and a torque wrench. Keep lubricants and solvents capped, labeled, and stored away from ignition sources.
Know What Garage Door Repairs NOT to DIY
Next, identify repairs you shouldn’t DIY: if the torsion or extension springs look worn, broken, or misadjusted, stop and call a pro because stored energy can release violently.
Then inspect the lift cables and drums—if you see fraying, slack, or misrouting, don’t touch them, since a cable failure can drop the door without warning.
Secure the door in the down position, disconnect power to the opener, and schedule qualified service before you continue any other work.
Avoid Spring Repairs
Although you can handle many basic garage door fixes yourself, you shouldn’t DIY any repair that involves the torsion or extension springs. Springs store extreme energy, and a slip can fracture fingers, break jaws, or whip tools across the garage, so treat spring issues as a stop-work condition.
To stay within spring safety limits, follow this checklist:
1) Disconnect the opener and keep the door fully closed.
2) Lock the door in place with locking pliers on the tracks.
3) Inspect springs from a distance for gaps, rust, deformation, or loose set screws.
4) If the door feels heavy, rises unevenly, or slams shut, don’t adjust tension.
5) Tag the door “Do Not Operate” and call a trained technician.
Leave Cable Fixes Alone
Spring hazards aren’t the only stop-work issue—garage door cables can fail just as violently. If you see frayed strands, rust, slack, or a drum that’s jumped a groove, don’t attempt cable repairs. Cables carry lift force from the springs, so a “simple” rewrap can whip, pinch, or drop the door.
Do this instead, step-by-step:
1) Stop using the door; don’t cycle it “to test.”
2) Pull the release only if the door is fully closed; otherwise leave it engaged.
3) Unplug the opener and lock out controls.
4) Keep the door down and clear the area.
5) Call a qualified technician for proper tension adjustments, drum alignment, and cable replacement with correct hardware and torque.
Tighten Garage Door Tracks, Hinges, and Bolts
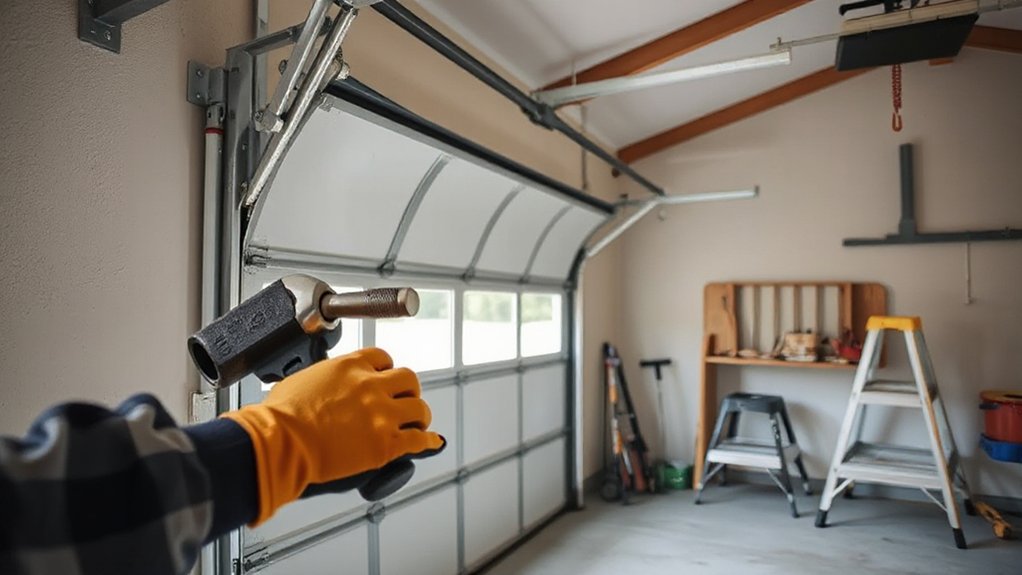
Start by unplugging the opener and clamping the door in place.
Then inspect track alignment for gaps, bends, or misaligned brackets.
Next, tighten hinges and mounting brackets with the correct socket or wrench, keeping hardware snug but not over-torqued.
Finally, secure any loose bolts along the tracks and rollers.
Recheck that the door moves smoothly by hand before restoring power.
Inspect Track Alignment
Before you adjust anything, run the door up and down and watch the rollers ride in the tracks—any rubbing, binding, or visible gaps usually mean the tracks have drifted out of alignment.
Pull the emergency release, keep the door fully closed, and disconnect power so the opener can’t cycle.
Verify the vertical tracks stay plumb with a level, then check the horizontal tracks slope slightly toward the back of the garage.
Measure the spacing between each track and the door edge; it should stay consistent top to bottom.
If your model has garage door sensors, confirm they’re unobstructed and aligned so they don’t mask a travel problem.
After checks, reconnect power and test operation; stop if you hear grinding.
Tighten Hinges And Brackets
Once you’ve confirmed the tracks sit where they should, lock the door fully down, pull the emergency release, and unplug the opener so nothing can move while you work.
Put on gloves and eye protection, then support the door section you’re servicing with a clamp on the track.
Inspect each hinge for elongated holes, cracked knuckles, or missing rollers; if you see distortion, plan hinge replacement instead of forcing alignment.
Tighten the track brackets to the framing using a wrench until the bracket sits flush and the track stays plumb, but don’t bend the track.
Add bracket reinforcement by installing an angle brace or lagging into solid studs where the wood is soft.
Finish by cycling the door by hand to confirm smooth travel and no binding.
Secure Loose Bolts
After you’ve checked hinge condition and bracket alignment, go back and secure every loose fastener so the track and door hardware can’t shift under load. Cut power to the opener, pull the release cord, and clamp the door to the track to prevent movement.
With a socket and wrench, tighten track lag screws into framing and snug hinge bolts to manufacturer torque—don’t overtighten and strip threads. Replace rounded, rusted, or stretched bolts and use matching grade hardware with washers.
Add medium-strength threadlocker where vibration loosens joints, but keep it off rollers and bearings. Confirm bolt security by marking heads with paint and rechecking after 10 cycles.
Your goal is repeatable alignment and verified fastener stability across tracks, hinges, and brackets.
Lubricate Rollers and Hinges to Stop Squeaks
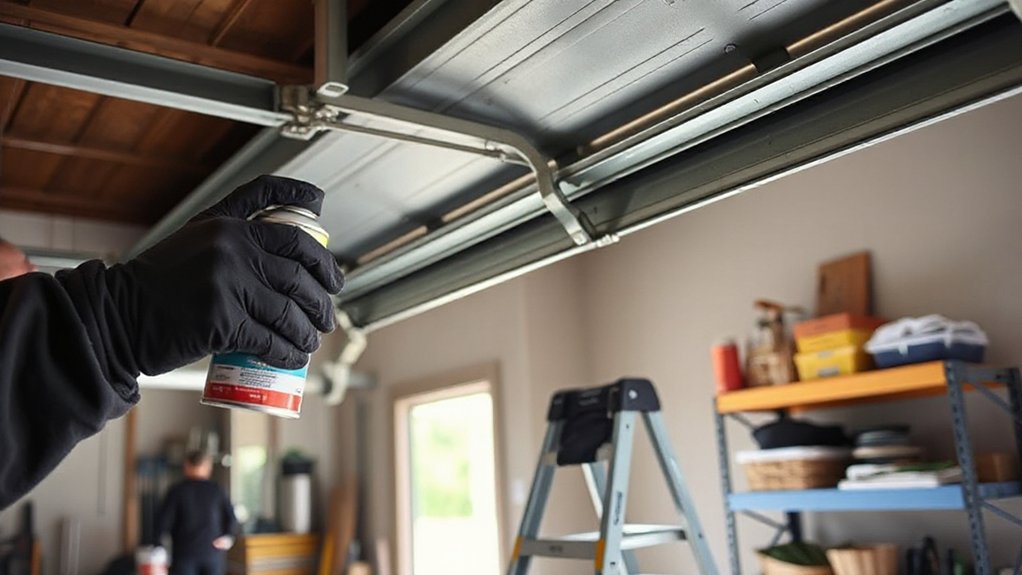
If your garage door squeaks every time it moves, lubricating the rollers and hinges is usually the fastest fix you can do safely. Start by closing the door, unplugging the opener, and locking the door to prevent movement. Wear safety glasses and gloves.
Clean each hinge pivot and roller stem with a rag to remove grit. Apply a silicone-based spray or garage-door-specific lube sparingly to hinge knuckles and steel roller bearings; avoid nylon roller treads and the track. Wipe off excess to keep dust from building up.
Raise and lower the door by hand twice to distribute lubricant, then listen for squeak elimination. If noise persists, inspect for seized bearings or cracked hinges and replace those parts instead of over-lubing.
Restore power and test opener operation.
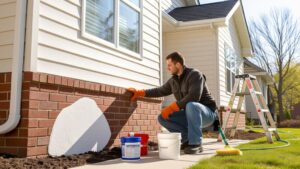
Seal Concrete Cracks and Block Garage Moisture
Quiet hardware makes the door run smoother, but cracks in the garage slab can still pull in water, raise humidity, and damage stored items.
Start by wearing gloves, eye protection, and a respirator if you’re grinding. Sweep, vacuum, then degrease the crack; let it dry fully.
Chase the crack with a cold chisel or angle grinder to create clean, square edges, then vacuum dust again.
For hairline cracks, inject polyurethane or epoxy crack filler.
For wider gaps, pack backer rod first, then apply a self-leveling concrete sealant and tool it flush.
After curing, roll on a penetrating Concrete sealing product across the slab for Moisture blocking.
Keep traffic off until cure times are met.
Replace Garage Door Weatherstripping and Bottom Seal
Because worn weatherstripping and a cracked bottom seal let rain, pests, and cold air slip in under the door, replace them as soon as you notice daylight at the edges or water tracks on the slab.
Unplug the opener, then confirm Automatic door sensors still align and won’t be bumped.
Raise the door to waist height, clamp it to the tracks, and wear gloves and eye protection.
Pry off the old side and top vinyl, scrape adhesive, and wipe the channel clean.
Press-fit or nail the new weatherstripping tight to the jamb, keeping an even gap.
For the bottom seal, slide out the retainer’s old rubber, brush the track, and pull in the new seal with soapy water.
Close the door and verify full contact for Garage door insulation.
Use a Monthly DIY Garage Repair Prevention Checklist
After you’ve replaced weatherstripping and the bottom seal, keep the rest of the garage door system from drifting into bigger failures by running a quick monthly prevention checklist.
First, disconnect the opener and lift the door manually; it should move smoothly and stay halfway.
Next, inspect springs, cables, and rollers for frays, rust, or flat spots—don’t adjust torsion springs yourself.
Tighten track and hinge fasteners, then wipe tracks clean; don’t grease them.
Lubricate rollers’ bearings, hinges, and the opener rail with garage-door lubricant.
Test photo-eyes alignment and auto-reverse using a 2×4.
Finish with garage organization: clear debris from corners, store chemicals sealed, and support pest control by sealing gaps and resetting traps.
Frequently Asked Questions
How Can I Soundproof My Garage for a Home Gym or Workshop?
You can soundproof your garage by sealing gaps, adding Soundproofing materials, and isolating vibration. Install weatherstrips, mass-loaded vinyl, and acoustic panels; float floors. Maintain Garage ventilation safely with baffles and guarantee electrical outlets remain accessible.
What’s the Best Way to Insulate Garage Walls and the Door?
Start with fiberglass batts or rigid foam between studs, then add vapor barrier—hear the hush. For the door, install an insulated kit. Use Insulation materials rated fire-safe; finish Wall sealing with foam, caulk, gloves.
How Do I Add Extra Lighting and Outlets Safely in My Garage?
Add lighting/outlets by shutting off power, mapping loads, and running code-rated cable in conduit to GFCI outlets. Do ceiling fixture installation with secure boxes. Get permits, label circuits, and keep garage door maintenance clear of wiring.
Which Garage Flooring Options Resist Oil Stains and Tire Marks Best?
You’ll get the best oil- and tire-mark resistance from Epoxy coatings; Rubber tiles follow. Step 1: degrease/etch concrete. Step 2: apply rated epoxy. Step 3: cure fully. Step 4: use slip-resistant rubber.
How Can I Deter Pests and Rodents From Entering the Garage?
Keep uninvited “night visitors” out: inspect gaps, then install Pest proof seals on doors, vents, and penetrations. Store food in metal bins, declutter, eliminate water, and set snap rodent traps; wear gloves.
Conclusion
You keep your garage dependable by working like a pit-crew, not Icarus. First, lock out power, wear eye protection, and stage your tools. Next, avoid springs and high-tension cables—leave those to pros. Then tighten tracks, hinges, and bolts; lubricate rollers, hinges, and the opener rail. After that, seal concrete cracks, replace weatherstripping, and install a snug bottom seal. Finally, run monthly sensor and auto-reverse tests to prevent failures.