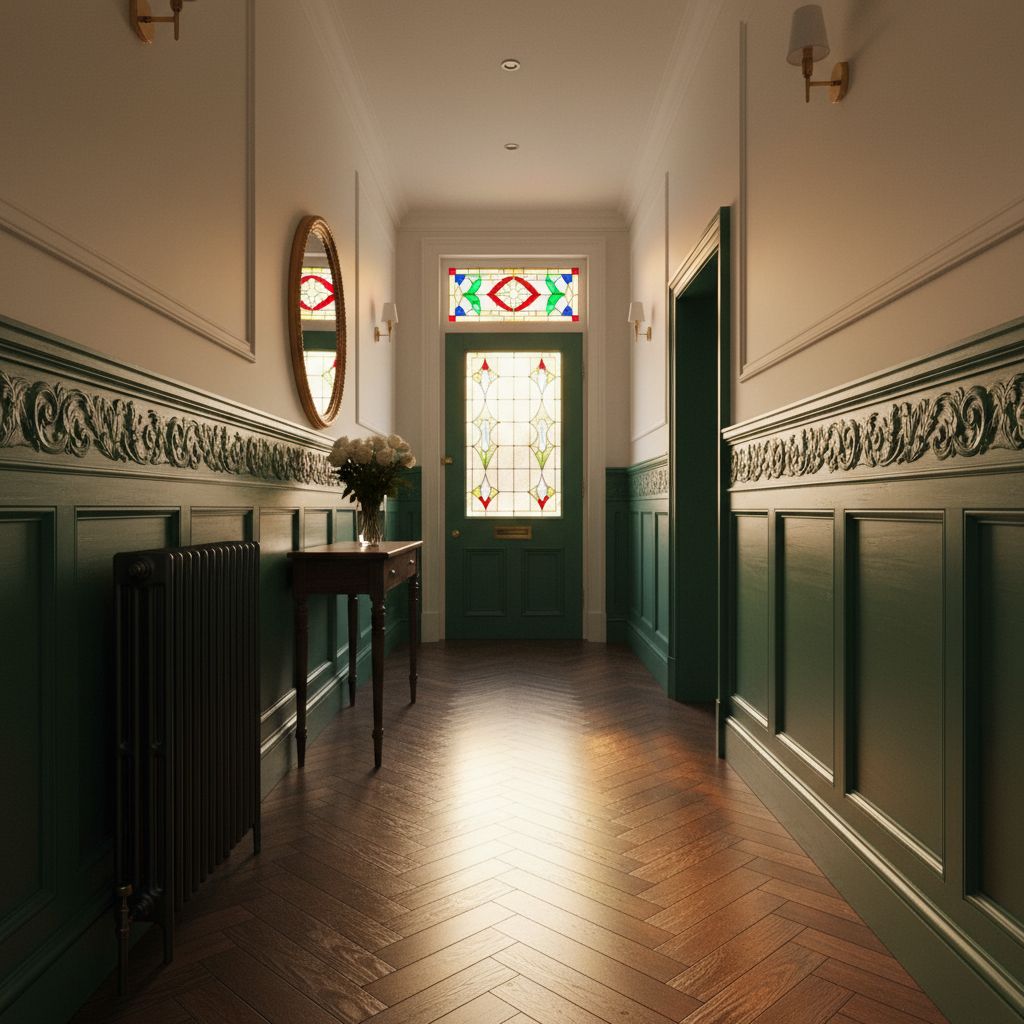
You probably don’t know that vertical radiators enhance a hallway and can reduce cold spots in a hallway by creating a higher convective column than a low panel model. You’ll need to confirm wall height, door swing, and minimum clearances, then match BTU output to corridor volume and heat loss. You should also check existing pipework and valve positions before you commit to placement. Get these specs wrong, and you’ll lose efficiency and create hazards—so start with the measurements that matter most.
Decide If a Vertical Radiator Suits Your Hallway
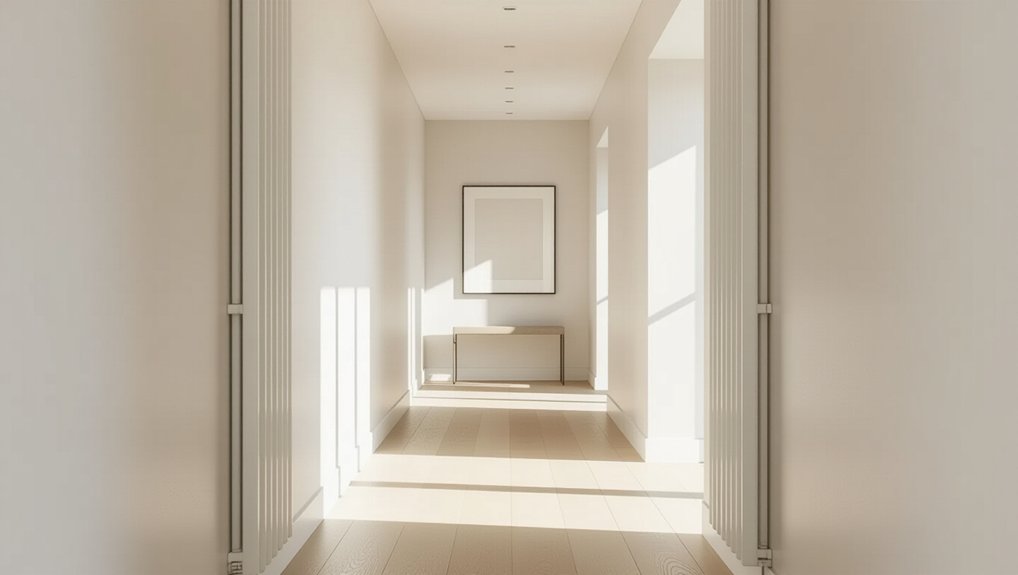
Although a vertical radiator can free up valuable wall length in a narrow hallway, you should verify it fits your available height, heat-load requirements, and installation constraints before you commit.
Start by matching the unit’s BTU/h (or watts) output to your hallway’s calculated heat loss, accounting for insulation, external walls, and frequent door opening.
Choose a model compatible with your system: hot-water (hydronic), electric, or dual-fuel, and verify working pressure, maximum temperature, and valve orientation.
For safety, check surface-temperature ratings, fit thermostatic controls, and ensure wiring or pipework meets local codes.
Compare panel design, finish, and color as Aesthetic options, but prioritize low-water-content designs and accurate thermostats to improve energy efficiency.
Confirm corrosion protection if humidity is present too.
Measure Wall Space, Doors, and Clearances
Start by measuring the usable wall height from finished floor to any obstructions (cornice, dado rail, switches) so the radiator’s overall height and valve set fit within spec.
Then map every door’s swing arc and hardware projection, and place the radiator outside that envelope to prevent impact and pinch hazards.
Finally, confirm the installed depth plus pipework maintains a safe walkway clearance that meets your minimum passage requirement and local code guidance.
Measure Usable Wall Height
Before you choose a vertical radiator, measure the hallway’s usable wall height so the unit won’t conflict with doors, trims, or required clearances. Start at finished floor level and measure to the lowest obstruction: picture rail, dado, coving, thermostat, or fuse box.
Then subtract the manufacturer’s minimum top and bottom gaps for convection and servicing, plus any valve height and pipework entry zone.
Confirm skirting depth and keep the radiator’s lower edge above it to avoid trapped dust and heat staining.
Check wall insulation build-up and lining thickness so brackets anchor into solid structure, not insulation alone.
Proper mounting and unobstructed airflow protect radiator efficiency and reduce overheating risk.
Verify clear access for bleeding, isolation valves, and safe cleaning.
Account For Door Swing
Because hallway doors often open flat against the wall, you must map each door’s swing arc and keep the radiator completely outside that clearance zone. Measure from the hinge pin to the door’s leading edge to establish the radius, then mark that arc on the wall and floor plan.
Confirm whether the door has closers, stops, or rising hinges that change the effective sweep. Account for door swing considerations at every opening, including cupboards and understair doors, so impact can’t dent panels or shear valves.
If space is tight, specify an inward-opening alternative or a constrained hinge before you relocate heating pipework. Maintain service access to bleed points and TRVs without requiring the door to be removed.
Plan aesthetic integration by aligning the radiator’s vertical axis with nearby trim lines.
Maintain Safe Walkway Clearance
While a vertical radiator saves floor area, you still need to verify that it won’t reduce the hallway’s safe walkway width once doors, skirting, and trim are accounted for. Measure the finished wall plane to the opposite obstruction, then subtract door leaf thickness at full swing and any architrave projections.
Keep the remaining clear width compliant with your local code and your household’s needs, especially for carrying loads or mobility aids. Maintain specified offsets: don’t let valves, TRVs, or pipe shrouds protrude into the circulation line; use recessed connections where possible.
Confirm the radiator’s depth plus brackets stays inside the clearance envelope. You can still add decorative accents by choosing slim profiles that preserve energy efficiency without creating pinch points.
Check Hallway Pipework and Valve Positions
Even if you’ve chosen the right vertical radiator size, you still need to verify the hallway pipe run and valve locations so the installation meets clearance, flow, and safety requirements. Map the existing pipework layout, noting floor voids, joist direction, and any concrete slab constraints. Then confirm you can route flow and return without creating trip points or exposed runs.
Check valve positioning against the manufacturer’s connection spec (bottom/bottom, bottom/side) and keep the TRV head accessible and clear of curtains, skirting, and door swings. Maintain minimum clearances from corners and architraves so you can isolate, bleed, and service the unit.
If pipe centres don’t match, specify approved extension tails rather than forcing misalignment. Pressure-test joints and verify balancing access before boxing-in.
Calculate the BTU Output Your Hallway Needs
Before you commit to a vertical radiator model, calculate the hallway’s heat load in BTU so the unit can maintain setpoint without short-cycling the boiler or leaving cold spots.
Measure hallway length, width, and ceiling height to get volume, then note insulation level, exterior wall area, glazing type, and infiltration (drafts at doors).
Use a heat-loss calculator or Manual J-style estimate: BTU/h ≈ Area × U-value × ΔT + infiltration load.
Base ΔT on your design indoor temperature and local winter outdoor design temperature.
Add a 10–15% safety margin, not oversized excess, to protect Radiator efficiency and stable system return temperatures.
Confirm the radiator’s published output at your system’s supply/return temps (e.g., 180/160°F or 75/65°C) to verify predictable Heat distribution.
Choose the Best Placement for Even Heat
Once you’ve sized the radiator to the hallway’s BTU load, placement becomes the main control for uniform comfort and safe operation. Mount it on an exterior wall or near the biggest heat-loss surface so convection counters downdrafts and reduces cold spots.
Keep clearances to manufacturer specs: maintain airflow at the top and bottom, and don’t place it behind doors or tight furniture runs that trap heat. Center it along the corridor’s length when possible to balance radiant throw and air circulation.
Maintain safe offsets from switches, curtains, and handrails, and avoid pinch points on narrow routes. Plan valve access for bleeding and isolation.
Color options won’t change output, but placement can affect installation costs through pipe reroutes and wall prep.
Pick a Style and Finish That Handles Scuffs
Although hallway radiators often sit in high-traffic pinch points, you can reduce visible wear and prevent sharp-edge hazards by choosing a robust style and finish rated for knocks, scuffs, and frequent cleaning.
Prioritise rounded-profile columns or flat panels with hemmed edges so impacts don’t raise burrs or chip corners. Specify steel or aluminium with proven Material durability and a warranty that covers coating failure.
For the finish, choose an epoxy-polyester powder coat (60–80 μm) or a baked enamel system with high pencil-hardness and abrasion resistance; request test data for salt-spray and detergent wipe-downs.
If you need maximum aesthetic appeal, select textured matt or satin sheens that hide micro-scratches better than high gloss, and match colour via RAL codes for future touch-ups.
Keep It Safe: Surfaces, Airflow, and Upkeep
You’ll reduce burn risk by specifying cool-to-touch panels or low-surface-temperature models, especially in narrow hallway pinch points.
You’ve got to maintain clear airflow paths—keep required side/top clearances, don’t block convective slots, and position furniture and coats away from the radiator’s intake and exhaust.
You can keep performance and safety predictable with simple routine cleaning and checks: vacuum fins, wipe surfaces with non-abrasive cleaners, and verify mounts, valves, and bleed points stay secure and leak-free.
Cool-To-Touch Surface Choices
In narrow hallways where people brush past the radiator, choose a vertical unit with a verified cool-to-touch outer skin to reduce contact-burn risk. Look for independent test data stating maximum surface temperature under rated output, and confirm compliance with relevant low-surface-temperature guidance for domestic areas.
Prioritize powder-coated steel panels with insulated front faces or double-skin construction, since they limit outer-case temperatures while maintaining heat output. Specify rounded edges, recessed valves, and tamper-resistant covers to prevent snagging and finger traps.
Confirm the mounting kit’s load rating, torque requirements, and wall-type suitability so the casing can’t loosen under impact. For cool to touch surfaces, check emitter type and water-flow limits; your safety considerations should include child and pet contact, and cleaning-chemical resistance.
Maintain Clear Airflow Paths
Because vertical radiators rely on a stable convective plume, keep the airflow path clear by specifying minimum stand-offs (typically ≥50–100 mm from floor and ≥50 mm from ceiling/cornice). Maintaining an unobstructed face clearance allows the panel to draw cool air at the base and discharge warm air at the top without recirculation.
Don’t place coat hooks, shoe benches, umbrellas, or framed art within the discharge zone; doing so will reduce output and create localized hot spots.
If you need protection in a narrow corridor, specify Decorative grille options with ≥70% free area and no lint-trapping mesh. Also, ensure maintenance of service access to valves.
Avoid thick curtains or door swings that block intake. If clearances can’t be met, document alternative heating methods to maintain the design heat loads.
Simple Cleaning And Checks
A simple, scheduled clean-and-check routine keeps a vertical hallway radiator safe, efficient, and within spec: vacuum the front and rear convector gaps (and any grille) to prevent lint buildup. Wipe accessible surfaces with a non-abrasive cleaner to avoid finish damage and skin-contact burns. Verify nothing has migrated into the intake/discharge path.
Before servicing, isolate power or valves and let the emitter cool to a touch-safe temperature. Check brackets, fixings, and clearances meet the manufacturer’s minimums, especially near Decorative accents that could trap heat. Inspect for leaks, corrosion, or paint blistering; record any changes.
Bleed air if your system requires it, then confirm stable flow and uniform surface temperature. Finally, verify TRV/thermostat response and listen for water hammer—small issues can erode energy efficiency quickly.
Frequently Asked Questions
Do Vertical Radiators Increase or Reduce Overall Heating Bills?
They don’t inherently raise bills; you’ll see savings if you size and balance them correctly. Picture warm air rising evenly. Your cost comparison hinges on energy efficiency: proper output, safe clearances, insulated walls, and controlled thermostats.
Can I Install a Vertical Radiator Without Professional Plumbing Help?
You can, but only if you’re competent with DIY installation and meet Plumbing requirements. You’ll isolate and drain the circuit, fit valves/brackets, guarantee correct pipe centres, pressure-test for leaks, bleed air, then balance safely.
Are Vertical Radiators Compatible With Heat Pumps or Low-Temperature Systems?
Yes—if you size them for low flow temperatures; heat pumps often run 35–45°C, about 30% lower than boilers. You’ll need larger output, correct ΔT ratings, and safe installation, yet gain design versatility, aesthetic appeal.
What Warranty Length and Aftercare Support Should I Expect From Manufacturers?
You should expect 5–10 years coverage on bodies, 1–2 years on valves/controls under Warranty policies. You’ll want responsive aftercare services: hotline, spares availability, certified installers, clear fault reporting, and documented maintenance requirements.
How Long Does a Vertical Radiator Installation Typically Take in a Hallway?
You’ll typically complete a vertical radiator installation in 2–4 hours, or 4–8 hours if pipework changes. You’ll confirm radiator placement for hallway space efficiency, isolate the circuit, pressure-test, bleed, and leak-check.
Conclusion
Choose vertical radiators Ireland and UK home owners love, and you turn your hallway into a “spine” that carries heat where footfall is heaviest. You’ve measured clearances, verified pipe centers and valve access, and matched BTU to volume and insulation, so output isn’t guesswork. Place it to prevent cold bands, keep airflow paths open, and select a tough finish for scuffs. Maintain safe surface temps, bleed regularly, and inspect brackets for secure loading.