Table of Contents
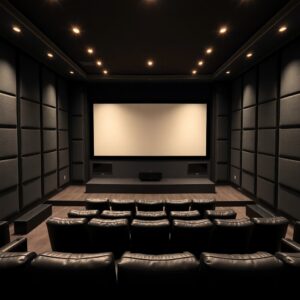
Building a dedicated home cinema is one of those projects where the gap between a good result and an extraordinary one is almost entirely determined by the quality of the decisions made before a single thing is purchased or installed. The room acoustics, the light control, the seating geometry, the technical infrastructure — these are the invisible foundations that everything else sits on, and getting them right from the start is what separates a basement with a big screen in it from a genuine cinema experience.
The project described here is one we completed in a large Victorian house in west London — a full basement conversion of approximately 45 square metres, previously used as storage and a defunct boiler room, transformed into what the clients now describe, without hyperbole, as the best room in the house. It took fourteen weeks from structural start to final calibration. Here’s how every significant decision was made and why.
The Brief and the Baseline
The clients — a couple in their late forties, both with serious interest in film, one of them with a background in audio — came to us with a brief that was more specific than most. They knew what they wanted because they’d spent years thinking about it. A proper cinema, not a media room. A room designed exclusively for the purpose, not a room that also had other functions. A space that would seat eight people in genuine comfort, with a picture and sound quality that justified the investment. And a room that felt like a designed space rather than a technical installation.
The basement had been partially tanked years earlier, which gave us a workable starting point structurally, though the waterproofing needed upgrading in sections. The original room dimensions were roughly 9 metres by 5 metres — a good aspect ratio for cinema use, avoiding the worst of the modal resonance problems that plague square or near-square rooms. Ceiling height was 2.6 metres, which was adequate but left no room for acoustic treatment elements that would drop below 2.4 metres — a constraint that shaped some of the ceiling decisions.
One existing structural column in the room, non-negotiable, needed to be incorporated into the design rather than worked around awkwardly.
Waterproofing and Structural Work First
Nothing else can proceed until the basement envelope is right. We upgraded the existing tanking with a cavity drain membrane system on the two walls that had shown evidence of occasional seepage — managing water ingress rather than trying to form an impermeable barrier, which is the appropriate approach for Victorian basement construction. New drainage channels at the base of these walls feed to a sump pump with a battery backup.
The floor received a new power-floated concrete screed over the existing slab, incorporating underfloor heating throughout — electric mat system, capable of warming the full 45 square metres adequately without the pipe-work constraints of a wet system. The thermal mass of the concrete stores the heat well, and in a room used in the evenings the floor temperature can be set to pre-warm before the cinema session begins.
Ventilation was designed before anything else was installed. A home cinema generates significant heat — from the projector, from the amplification, from eight people in a sealed room for two hours. A properly specified MVHR system with adequate supply and extract rates, combined with a separate equipment ventilation circuit for the projection and amplification rack, keeps the room at a comfortable temperature without the noise of conventional air conditioning. The ventilation noise floor was specified at NC-20 or below — inaudible under any content.
The Room Within a Room
Acoustic isolation — preventing sound from travelling from the cinema to the rest of the house, and from the rest of the house to the cinema — is a construction challenge entirely separate from the acoustic treatment within the room. Both matter. Both needed to be addressed.
The isolation approach used here is a room within a room: new walls, ceiling, and floor surface built independently of the existing basement structure, with resilient mounts breaking the structural connection between the new inner room and the outer shell. Sound transmission through buildings happens primarily through structure — vibration travelling through the fabric — and the resilient mount breaks that transmission path. Combined with the mass of the construction and sealing at all penetrations, the result is a room with an STC (Sound Transmission Class) rating adequate to run the cinema at full volume at any hour without it being audible in the rooms above.
The floor surface — over the underfloor heating — is a floating system: acoustic underlayer, 18mm structural chipboard, and then the finished floor material. This floating assembly breaks the impact sound transmission path between the cinema floor and the structure. The finished floor is a dark walnut engineered timber, which absorbs some sound and contributes to the acoustic character of the room.
New walls — separate from the existing basement walls — are constructed in dense concrete block, staggered stud framing with mineral wool in the cavity, and double-layer plasterboard on resilient bars. The ceiling is similarly decoupled: a suspended ceiling on resilient hangers, with mineral wool above and double-layer plasterboard below.
The Screen and Projection Setup
The screen wall drives every other spatial decision in a cinema room, so it was specified early and everything else worked outward from it.
The screen is 4.2 metres wide — a 2.35:1 cinemascope aspect ratio, which is wider than the standard 16:9 and produces a more genuinely cinematic field of view. At the primary viewing distance of 4.5 metres, this gives a horizontal viewing angle of approximately 47 degrees, which is toward the upper end of the range where screen immersion begins to feel properly cinematic rather than just large television.
The screen is an acoustically transparent material — a woven fabric that allows sound to pass through with minimal loss. This allows the three front speakers of the surround sound system — left, centre, right — to be positioned behind the screen at the correct listening-axis height rather than above or below it, which is the standard professional cinema configuration and the one that produces the most convincing spatial relationship between picture and sound.
The projector is a 4K laser unit mounted on a custom steel ceiling bracket, positioned for a throw distance that produces the target image size with a fixed focal length lens. Laser projection was specified over lamp-based technology for two reasons: the colour accuracy and dynamic range are superior, and the light source has a rated lifespan of 20,000 hours before any maintenance is required. The image quality in a properly darkened room with a calibrated projector is, quite simply, better than any flat panel at any price.
The projector housing incorporates a motorised lens cover that closes when the system is not in use, protecting the lens optics. The projector itself is fed via a dedicated HDMI 2.1 signal path from the source equipment in the rack, with the cable routed invisibly through the ceiling void.
The Sound System
The client’s audio background meant that the sound system specification was the most detailed and considered element of the whole project. Rather than recount the full specification, the design principles are worth describing.
The system is a 9.4.4 configuration — nine main channels in the horizontal plane, four bass channels, and four height channels for Dolby Atmos and DTS:X overhead sound processing. This is a significant system, appropriate to the room size and to the ambition of the brief. It’s not a sensible specification for a modestly sized room or a casual use case — in those contexts, a simpler system would be more appropriate. Here, with a room of 45 square metres, eight seats, and clients who take audio seriously, it’s proportionate.
The speaker positions were determined by the room geometry and the acoustic treatment plan, working simultaneously. Front left, centre, and right behind the screen. Surrounds at the correct height and angle for the seating configuration. Rear channels for the back of the room. Height channels mounted in the ceiling at the positions specified by the Dolby Atmos installation guidelines, which are the result of significant research into psychoacoustic effect at each channel position.
All cabling — speaker cable, signal cables, power — was installed during the construction phase, before any internal finishes. The cables run in conduit through the walls and ceiling, with termination points at each speaker position and a central equipment rack in a ventilated housing behind a locked panel in the side wall. The equipment rack is accessible for maintenance without entering the cinema room — a practical detail that becomes very important when something needs adjusting during a session.
Acoustic Treatment Within the Room
With the room isolated from the outside, the acoustic treatment inside the room addresses how sound behaves within it — the reflections, the bass buildup, and the balance between absorption and diffusion that produces a room that sounds right.
The acoustic design was carried out by a specialist consultant working from measurements of the empty room, producing a treatment specification that addressed the specific problems of this specific room rather than applying a generic formula.
Front wall: absorption panels behind the screen, flanking the screen opening on both sides. The area between the screen and the side walls — the “acoustic windows” that the front channels fire from — needed careful treatment to control the energy bouncing from the wall around the speakers.
Side walls: absorption panels at the first reflection points, identified by the geometric calculation described above. The panels are fabric-wrapped rockwool in a dark charcoal fabric, sized at 600mm by 1200mm, positioned symmetrically on both side walls at the calculated reflection positions. Between the absorption panels, sections of wooden diffuser — a mathematical QRD (Quadratic Residue Diffuser) pattern in dark-stained MDF — scatter the remaining reflected energy rather than absorbing it, preserving some acoustic liveliness in the room.
Rear wall: a combination of absorption at centre and diffusion either side. The rear wall treatment also integrates the second row of seating — the raised tier — which itself contributes absorption through the upholstered surfaces.
Ceiling: a cloud of absorption panels above the primary listening positions, positioned on the ceiling directly above seats, absorbing the ceiling reflections that are among the most damaging to stereo and surround sound imaging.
Corners: floor-to-ceiling bass traps in all four vertical corners of the room, addressing the low-frequency buildup that makes bass sound boomy and indistinct in untreated rooms. The structural column was incorporated into the bass trap design on the relevant corner, effectively turning a structural constraint into an acoustic asset.
Seating, Tiering, and the Spatial Experience
Eight seats in two rows, with the second row raised on a timber-framed platform to give clear sightlines over the first row to the screen. The riser height was calculated from the viewing geometry — the eye level of a seated person in row two needs to clear the head of a seated person in row one when the screen is at the specified height. We ended up with a 300mm riser, which produces the correct viewing geometry and has the additional benefit of providing the underfloor void used for the rear speaker cable routing.
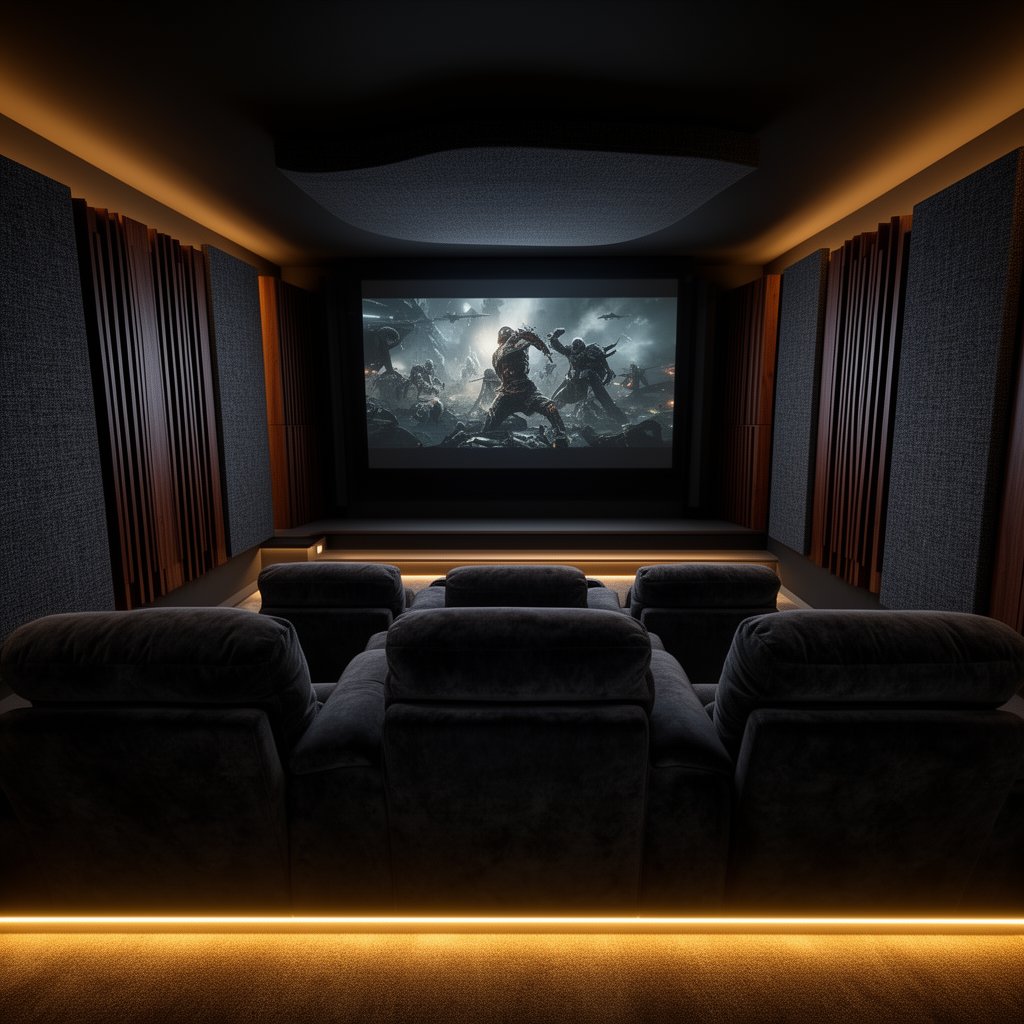
The seats are dedicated cinema recliners — powered recline, motorised headrests, USB charging at each position, and a cupholder arrangement that actually works rather than the afterthought cupholders on most domestic cinema seating. The fabric is a deep charcoal velvet that contributes to the absorption of the room. Armrests are wide, the seat depth is generous, and the recline mechanism is quiet — all attributes you only appreciate after sitting through a two-hour film in something that doesn’t have them.
The aisle between the rows is 900mm, which is the minimum for comfortable passage when the front row is occupied. The side aisles are 600mm, which is tight but workable. In a room this size, with eight seats and the projection geometry determined by the screen size, there isn’t much latitude in the seating layout.
The structural column, which had been the most awkward element to incorporate, ended up positioned at the left edge of the aisle between the rows — outside the critical sight lines for all eight seats. It’s clad in the same fabric as the side wall panels, which means it reads as an acoustic element rather than a structural obstruction.
Light Control and Lighting Design
A cinema room needs complete darkness when in use and thoughtful lighting design when not. Both deserve attention.
The basement has no natural light penetration — the only light is artificial, which is an acoustic and light control advantage but means the room needs lighting that can be genuinely pleasant for the periods when it’s being set up, cleaned, or used as a social space between films.
The lighting is zoned and fully dimmable: a warm perimeter LED strip concealed behind a reveal at low level, which provides an atmospheric glow without directing light toward the screen; recessed ceiling downlights on a separate circuit for general ambient use when the cinema function is not active; and individual aisle lights at foot level that remain on at minimum brightness during projection, allowing movement without compromising the picture.
All lighting is controlled from a single panel beside the entrance door, with preset scenes: Cinema (all lighting off except minimum aisle), Interval (perimeter strip at 30%, aisle lights normal), Setup (full ambient on), and House (standard room lighting for non-cinema use).
The blackout is complete. The entrance door incorporates a light trap — a short corridor with light-absorbing surfaces on both sides — that allows entry and exit without light spilling into the cinema from the staircase. This detail is the difference between a room that can be used with family members arriving and leaving during a film and one that can’t.
Calibration and the Final Result
After all the construction was complete and the equipment installed, the sound system and projector were professionally calibrated — the projector to the target colour space and gamma for a darkened cinema room, the audio system using room measurement software and a calibrated microphone to set channel levels, delays, and equalisation for the specific acoustic properties of the finished room.
Calibration is not glamorous and it takes a full day. It is also one of the most important days in a home cinema project, because an uncalibrated system in a good room sounds worse than a calibrated system in a merely adequate room. The measurements taken during calibration revealed that the acoustic treatment had done its job — the room’s frequency response was remarkably flat before any electronic correction, which meant the equalisation was mild rather than corrective, and the system was performing at close to its full potential from the first test screening.
The first evening the clients used the room properly — a film they’d both seen before, chosen specifically so they could concentrate on the experience rather than the content — they watched it in silence. At the end, she said it was better than any cinema she’d been to. He said it was better than most cinemas and as good as the best. We’ll take that.
What It Cost and Whether It Was Worth It
Full basement conversion plus cinema fitout of this specification is not an inexpensive undertaking. The structural work — waterproofing, underfloor heating, room-within-room construction — represents a significant proportion of the total, before any of the cinema-specific elements begin. The audio system, the projection setup, the seating, the acoustic treatment, and the lighting design all add to this.
The total investment for this project was substantial. Whether it was worth it is a question only the clients can answer, and their answer — evidenced by how frequently the room is used and how rarely they now go to a commercial cinema — is unambiguous.
What the investment produces is a room that doesn’t depreciate the way a commercial audio-visual installation typically does. The construction elements are permanent. The acoustic treatment is permanent. The projector and audio system will be updated over time as technology improves, but the room itself will serve for decades. In that context, the cost per hour of use over the lifetime of the installation is considerably lower than it appears at the outset.
Build it once and build it properly. That’s the principle that applies to every element of this project, from the waterproofing specification to the cable routing to the seat selection. It’s also the principle that, applied consistently, produces a room that genuinely delivers on the ambition that a home cinema project represents.