
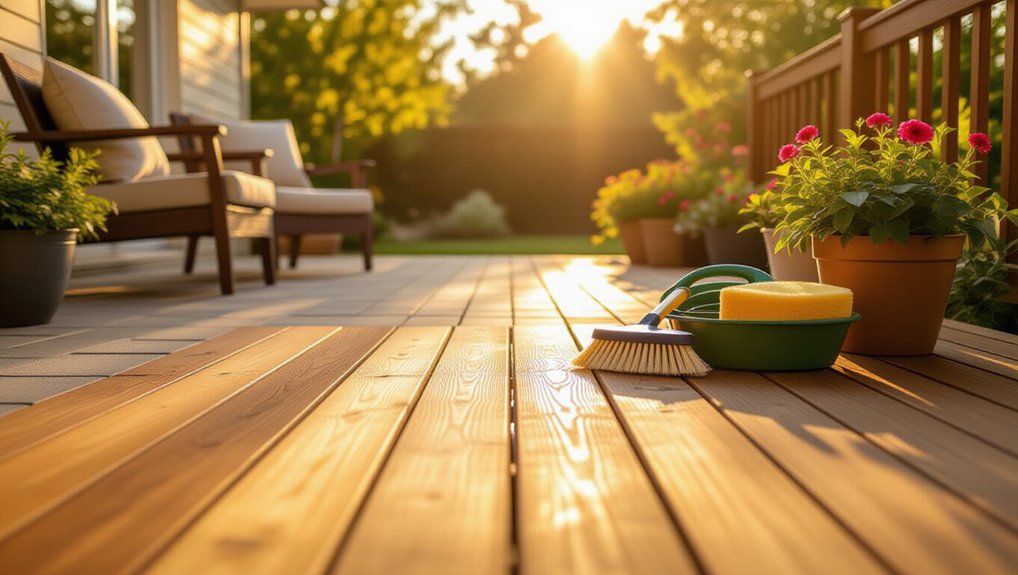
You don’t need a full overhaul to keep your patio and deck sharp—you just need a quick system. Start with a two-minute safety scan, then sweep tight corners, under chairs, and along steps so the surface looks intentional. Pull weeds from cracks before they spread, and lift pots on feet to protect drainage and stain-free zones. But the real difference shows up when you choose the right wash and sealer for your materials…
Grab Your Tools and Do a 2-Minute Safety Check
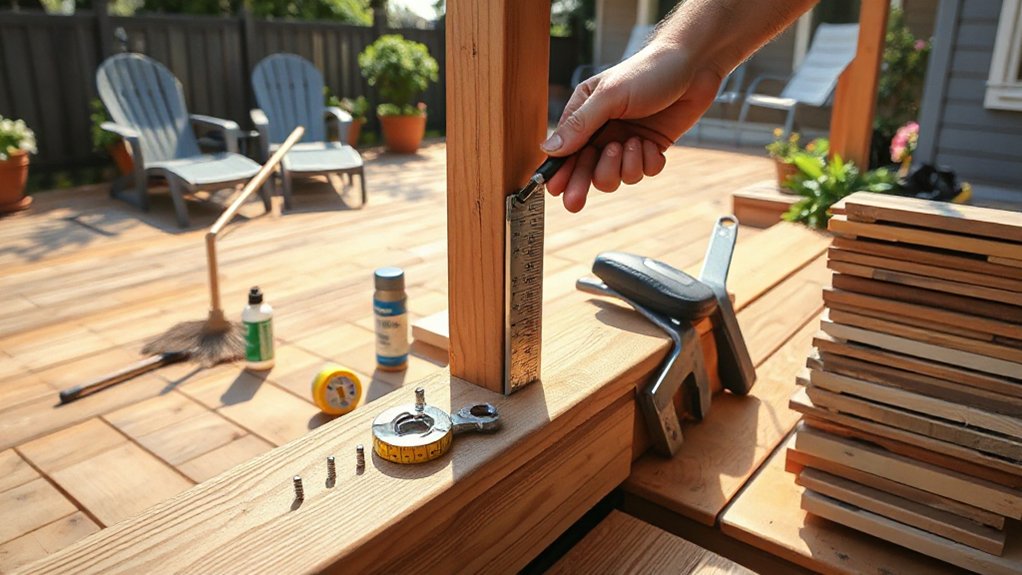
Before you start tightening screws or swapping boards, take two minutes to do a quick safety sweep with your basic kit—work gloves, eye protection, a sturdy screwdriver or drill, a level, and a bright flashlight. Treat it like Tool safety meets design prep: you’re protecting yourself and your layout vision.
Run an inspection checklist with your eyes and hands. Check railings for wobble, stair treads for flex, and fasteners for rust streaks that can stain decking and nearby planters. Use the level to spot subtle slopes that send water toward furniture zones or container groupings.
Aim the flashlight along board seams to catch cupping, splinters, or lifted nails before they snag bare feet. If you find hazards, mark them with painter’s tape so fixes stay organized and your patio’s flow stays clean.
Sweep First (Corners, Under Furniture, Steps)
Start with a 5-minute sweep that targets the grit you don’t see from standing height—corners, under furniture legs, and every stair tread and riser—because that hidden debris grinds into boards and makes your whole layout feel messy.
Use a stiff broom for decking grooves, then switch to a hand brush along edges where planters sit so soil doesn’t migrate into traffic lanes.
Slide garden furniture out just enough to reach shadow lines; when you push it back, you’ll notice cleaner negative space and tighter circulation.
Sweep steps from top to bottom so you don’t re-dust finished areas.
Finish by clearing the zone around outdoor lighting bases and cords, keeping fixtures crisp and pathways visually bright after dusk.
Pull Weeds and Clear Cracks and Joint Gaps
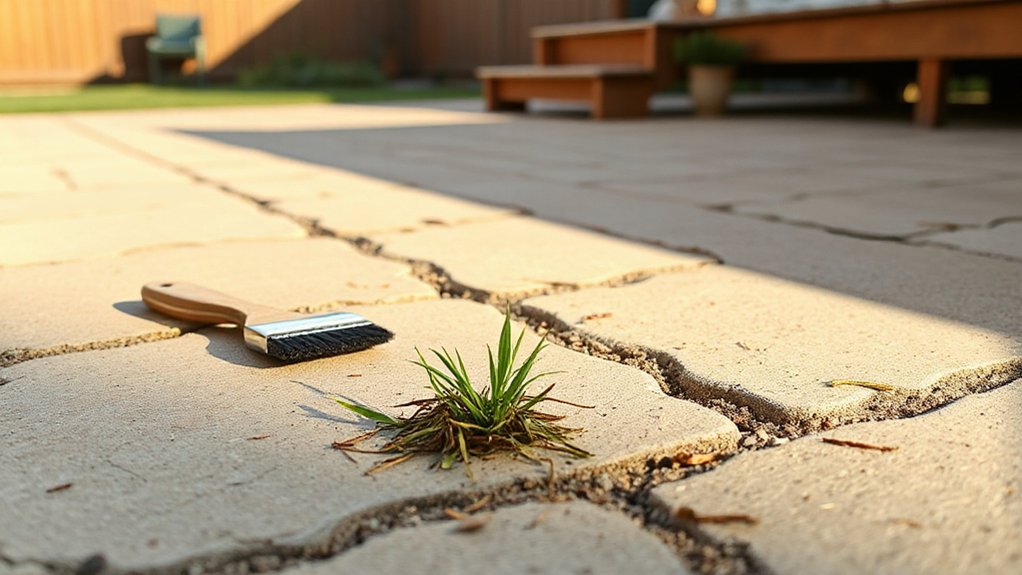
With the loose grit swept away, you can spot what’s really interrupting the lines of your patio or deck: weeds and the dark seams where debris packs into cracks and joint gaps.
Pull weeds at the base so you remove the roots, not just the green. Work section by section, starting near garden furniture so seating zones feel intentional, not overgrown.
Use a narrow hand tool to lift compacted grit from joints, then brush it out so pavers read crisp and planks look tailored.
Keep plant-savvy choices in mind: if you like a soft edge, leave moss only where it won’t spread into walking lanes.
After clearing, check how outdoor lighting grazes the surface—clean joints sharpen shadows and make the whole layout feel calmer at night.
Wash Safely: Hose vs. Pressure Washer Settings
Once the joints look sharp, you can wash the surface in a way that keeps the finish—and the surrounding plantings—intact. Start with a wide fan nozzle and steady hose pressure; it lifts grit without scarring wood grain or etching pavers.
Work from the house outward so rinse water doesn’t track back across seating zones, and sweep it toward a drain line or gravel edge.
If you switch to a pressure washer, dial it down and test in a hidden corner. Keep the wand moving, hold it at a shallow angle, and stay back to protect stain, sealant, and mortar.
Shield beds with breathable fabric, mist shrubs first, and rinse leaves after. These small choices maximize cleaning safety and preserve your layout’s crisp lines.
Remove Common Patio and Deck Stains (Oil, Rust, Mildew)
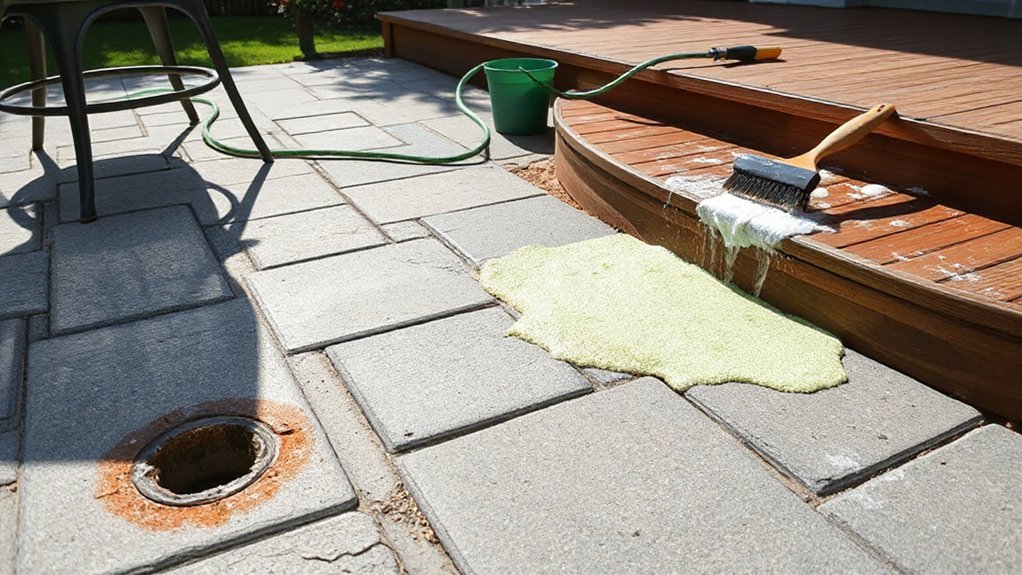
After a gentle wash brings the true color back, the stains that still telegraph through—oil halos under the grill, rust blooms near metal legs, and mildew in shaded corners—need targeted treatment so the surface reads clean and the layout feels intentional.
For oil, blot, then sprinkle baking soda or kitty litter to pull residue before scrubbing with a degreasing cleaning solution and a stiff nylon brush; rinse toward a drain, not your planting beds.
For rust, spot-apply oxalic acid or a lemon-and-salt paste, keep it damp, then rinse fast to protect nearby pavers and pots.
For mildew, use oxygen bleach, not chlorine, so adjacent boxwoods and herbs don’t suffer; scrub along board grain.
Finish stain removal with a clear water rinse and let sun and airflow dry the zone.
Tighten Loose Deck Boards, Screws, and Railings
Even if your deck looks freshly washed, a single wobbling board or rattling railing makes the whole space feel slapdash. Start with a quick deck board inspection: walk the traffic paths from grill to table to planter edge, and mark any bounce, squeak, or lifted corners. Drive down proud screws, replace stripped fasteners, and add exterior-rated deck screws where nails have loosened.
Check board gaps so water can drain away from container feet and low trough planters. Next, do a railing stability assessment: push at posts, corners, and stair runs, then tighten bolts, brackets, and lag screws until everything feels rock-solid.
A firm deck frames your plantings cleanly, keeps furniture aligned, and makes outdoor lighting look intentional.
Sand Splinters and Smooth Rough Deck Spots
With the boards and railings locked in, you can turn your attention to the spots that snag bare feet and catch on outdoor cushions. Walk the deck in raking light, mark rough patches with painter’s tape, then sand with the grain using 80-grit followed by 120-grit for a satin feel.
Vacuum thoroughly for sand removal, especially along seams where grit hides and grinds. Ease sharp edges on steps and bench tops so traffic flows smoothly between dining and lounge zones.
For splinter prevention, spot-seal sanded areas or recoat with a penetrating deck finish that won’t look plasticky. Keep planters slightly elevated on feet, so trapped moisture doesn’t raise grain again.
You’ll preserve clean lines and a barefoot-friendly surface all season.
Swap Cracked Pavers or Reset Wobbly Stones
Stepping across the patio at a low angle, you’ll spot the culprits fast: hairline-cracked pavers, sunken corners, and stones that rock underfoot. Fix them now, and your whole layout reads cleaner—crisp edges, consistent joints, and safer paths that guide guests toward containers and seating zones.
For paver replacement, lift the damaged unit with a thin pry bar, then scrape out old bedding. Add fresh sand or stone dust, tamp it, and set the new paver flush with its neighbors.
For stone leveling, pull the wobbly stone, build up the base in thin layers, and check height with a straightedge. Reset, tap down, then sweep jointing sand tight.
Keep finished grades slightly sloped away from beds so roots stay dry.
Reseal and Waterproof: Choosing the Right Sealer
Once your pavers sit flat and your joints look sharp, lock in that clean grid by resealing and waterproofing the surface. Choose a sealer that matches your look: a matte penetrating sealer keeps stone natural and glare-free, while an acrylic topcoat deepens color for a lounge-like finish.
For decks, pick a UV-stable, water-shedding formula that won’t yellow beside pale furniture and planters. Prioritize Sealant durability where traffic funnels—steps, grill zones, and sliding-door landings—and go lighter in quiet seating corners to preserve texture.
Use smart waterproofing techniques: clean thoroughly, let the surface dry, then apply thin, even coats to avoid puddling. Mask edging near beds so overspray doesn’t spot foliage or soil.
Follow a 10-Minute Weekly Patio/Deck Maintenance Routine
Give your patio or deck 10 minutes a week, and you’ll keep the surface crisp enough to frame your containers and seating layout. You’ll sweep and spot clean, then check drainage paths and pull leaf litter from corners and around planters so water doesn’t stain or warp boards.
Finish with quick sealant touch-ups on scuffs and high-traffic zones to preserve that fresh, finished look.
Sweep And Spot Clean
Even if you don’t have time for a full washdown, a 10-minute weekly sweep-and-spot-clean keeps your patio or deck looking intentionally styled instead of accidentally neglected. Start by sweeping from the far corner toward your exit, so you don’t track grit back through your seating zone.
Then spot-clean what your eye lands on first: around door thresholds, under a bistro set, and beside planters where splashes show. Use a damp cloth with mild soap on rail caps and tabletops, and a soft brush for textured boards. Treat it like design editing—remove visual noise so greenery reads crisp and furniture lines stay sharp.
As quick gardening tips, pinch dead blooms and wipe dusty pots. Finish with a two-minute furniture arrangement reset: square rugs, align chairs, and center the table.
Check Drainage And Debris
Because water always takes the path of least resistance, you’ll want to spend a few minutes each week checking that runoff can actually leave the space instead of pooling where it stains and warps. Walk the perimeter and look for blocked gaps between boards, clogged scuppers, or leaf-packed corners where water lingers. Use a hand broom or gloved fingers to lift out twigs, seed pods, and mulch that migrate from planters.
Then scan your layout: nudge pots off low spots, and elevate saucers on feet so air and water move freely. Clear drains before storm preparation, especially under railings and along steps.
For plant protection, keep soil from washing onto the deck by topping pots with gravel and trimming overhangs that shed debris. You’ll keep lines crisp, surfaces even, and puddles gone.
Quick Sealant Touch-Ups
Where do tiny bald spots in your finish show up first—along stair noses, under chair legs, and at the drip line beneath planters? Catch them weekly and your whole outdoor “room” keeps its polished look.
Sweep, then spot-clean with a damp rag so the touch-up bonds, not beads. Keep a small jar of matching sealant and a foam brush in a weatherproof bench near the door for fast access.
Feather the edges, brush with the grain, and don’t flood seams; smart application techniques prevent shiny patches.
Rotate pots onto saucers or risers so moisture doesn’t halo the boards, and shift furniture a few inches to spread wear.
These quick strokes boost sealant durability and preserve your layout’s calm, curated lines all season.
Frequently Asked Questions
How Often Should I Re-Stain or Paint a Wooden Deck?
You should re-stain every 2–3 years, or paint every 3–5, depending on sun and traffic. Pair Deck cleaning with Stain maintenance, so your layout, containers, and greenery pop against fresh-toned boards.
What Plants or Planters Are Safest for Decks Without Causing Moisture Damage?
Choose Plant safety picks: small, drought-tolerant plants in raised pots. You’ll prevent moisture by using breathable planter materials like terracotta or resin, adding pot feet, saucers, and a drainage layer, plus rotating placements.
Can I Use Outdoor Rugs on My Deck Without Trapping Water Underneath?
Yes, you can—if you don’t cosplay a swamp curator. Choose breathable, quick-dry rugs, lift corners, and rotate weekly. Use weatherproofing tips and rug placement strategies: allow airflow, avoid planters over rugs, and sweep beneath.
How Do I Prevent Patio Furniture From Scratching or Denting Decking Boards?
Stop scratches by adding protective pads to every leg, then refine furniture placement with wide, stable bases. You’ll prevent dents by spreading weight and avoiding drag. Anchor seating near planters to define zones and soften lines.
What’s the Best Way to Keep Bugs and Spiders From Nesting Under the Deck?
Seal gaps with 1/4-inch mesh, keep the under-deck dry, and store wood away—your best Pest control for nest prevention. Like my basil thriving after pruning, you’ll deny bugs shade; trim plants, add lighting.
Conclusion
Keep your patio and deck looking great by treating maintenance like a quick design ritual, not a chore. You’ve swept the corners, pulled the weeds, washed with care, and smoothed what snagged. Now seal, reset, and refresh—small moves, big visual payoff. Shift furniture to balance sun-fade, lift pots for airflow, and trim spillover greenery to frame the space. Because a deck isn’t just boards and stone—it’s your outdoor room.