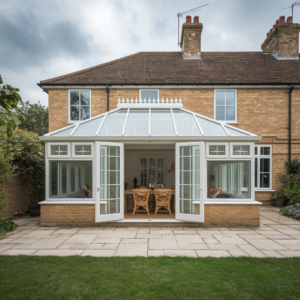
You’ll extend your home’s service life when you treat exterior walls like an envelope system that needs routine verification. Start with scheduled inspections for cracks, staining, efflorescence, and soft or spalled areas, then confirm sealants, weeps, flashing laps, and drainage paths still function as intended. Clean with material-compatible, low-pressure methods and control moisture before it migrates behind finishes. The next step is deciding what to repair now versus monitor, because the wrong call compounds quickly…
Inspect Exterior Walls: Cracks, Stains, Soft Spots
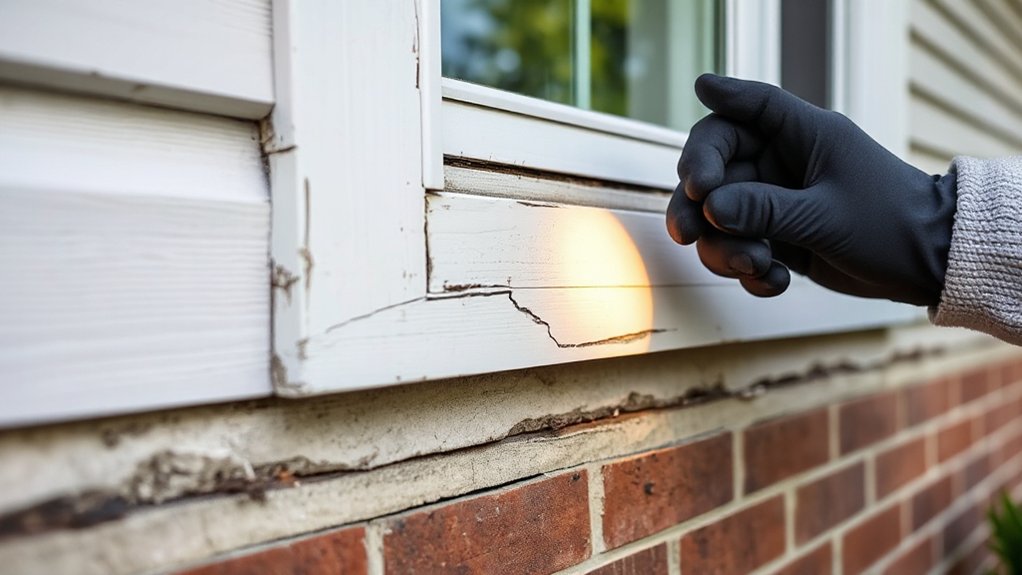
Before you plan any repairs, inspect the entire exterior wall system methodically for defects that indicate moisture intrusion or material failure.
Start at grade and work upward, documenting crack width, length, and orientation; note stepped masonry cracks, horizontal displacement, and widening at corners.
Perform a basic Structural assessment: check plumbness with a level, verify control-joint continuity, and look for differential settlement indicators at openings and lintels.
Identify stains: rust weeps, efflorescence, algae bands, and dark halos under penetrations often trace leakage paths.
Probe suspected soft spots with light hand pressure and a blunt awl to confirm delamination, rot, or spalling without enlarging damage.
Flag areas showing Material deterioration for timely, code-compliant repair planning.
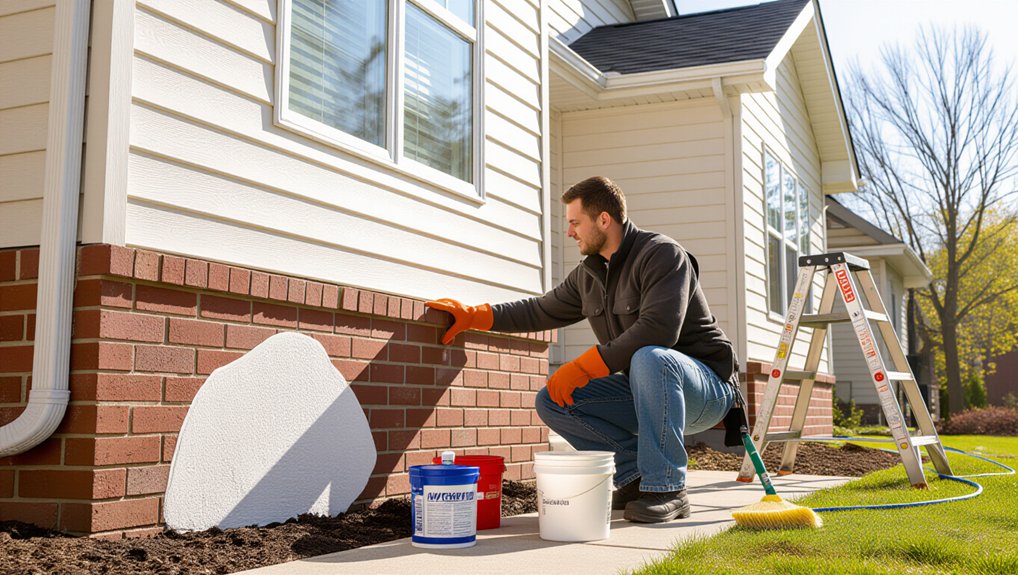
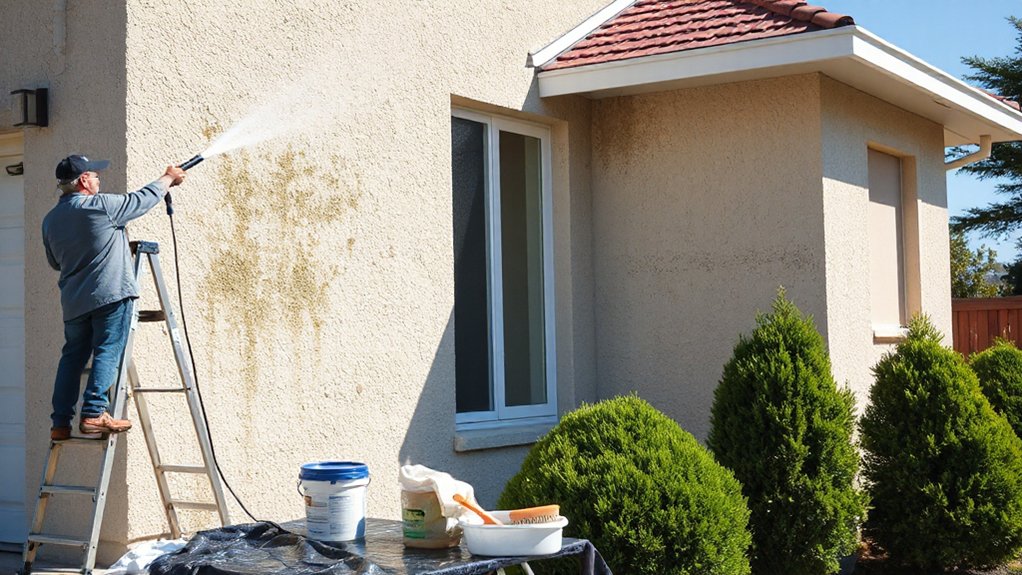
Clean Exterior Walls Safely (Brick, Stucco, Siding)
Select a cleaner that’s compatible with your wall system—use pH-neutral or masonry-specific products for brick and stucco, and follow the siding manufacturer’s label to avoid etching, discoloration, or coating failure.
Wash using controlled, low-pressure methods (soft brush, garden-hose rinse, or low-pressure sprayer) and keep spray patterns downward and away from joints, flashings, and weep paths so you don’t drive water behind the cladding.
Control moisture by rinsing thoroughly, ensuring drainage paths stay clear, and addressing shaded or persistently damp areas promptly to limit mold growth.
Choose The Right Cleaner
How do you choose a cleaner that removes grime without etching, bleaching, or degrading the wall system? Start by identifying the substrate and coating: fired brick, lime/cement stucco, vinyl, fiber-cement, or painted wood. Match chemistry to material per manufacturer data sheets and ASTM guidance; avoid acids on masonry (risk of efflorescence and mortar attack) and avoid strong oxidizers on colored finishes.
For eco-friendly cleaning in DIY maintenance, select pH-neutral, biodegradable surfactants with no added solvents, and confirm compatibility with adjacent sealants and metals.
For biological staining, choose an EPA-registered exterior biocide labeled for the surface, then verify dwell-time limits on the label. Always confirm dilution ratios, temperature range, and rinsability, and spot-check for colorfastness on an inconspicuous area.
Use Safe Washing Methods
Because exterior wall assemblies fail when water or pressure drives contaminants past the face, you should wash from the least aggressive method upward: start with low-pressure rinsing (typically ≤1,000 psi at the nozzle), a wide fan tip, and a controlled spray angle, then step up only if the substrate tolerates it.
Keep the wand 12–24 inches off the surface and spray downward to avoid forcing water behind laps and joints.
For brick, follow BIA guidance: pre-wet, use non-acidic chemical cleaning when needed, and rinse thoroughly.
For stucco, avoid power washing unless it’s sound; use soft-brush agitation plus low pressure.
For fiber-cement and vinyl siding, stay under manufacturer limits, use a fan tip, and never use a zero-degree nozzle.
Test a small, hidden area first.
Prevent Moisture And Mold
Where does mold on exterior walls usually start? It typically begins at persistent wetting points: failed flashing, clogged weeps, missing drip edges, and soil-splash zones near grade.
You should inspect per ASTM E2112 principles: confirm water-shedding laps, sealed penetrations, and intact sealant joints at windows, doors, and utilities.
Maintain 150–200 mm clearance between siding or stucco and soil, and keep gutters discharging away from the foundation.
To prevent regrowth after cleaning brick, stucco, or siding, you’ll need ventilation improvement and moisture barriers.
Verify vented soffits and unobstructed cavity airflow; don’t block drainage planes with caulk.
Repair WRB tears, replace damaged housewrap, and ensure rainscreen gaps remain open.
Finally, limit shading vegetation and correct irrigation overspray.
Prevent Water Damage: Gutters, Flashing, Drainage
Even minor roof-runoff issues can drive bulk water behind cladding and into the wall assembly, so you’ll need to treat gutters, flashing, and site drainage as a single, continuous drainage system.
Prioritize Gutter maintenance: clear debris, confirm correct slope to outlets, secure hangers, and extend downspouts to approved discharge points away from the foundation. Verify leaders don’t dump onto siding or at window heads.
Perform Flashing inspection at roof-to-wall transitions, kickout flashings, drip edges, penetrations, and above openings; confirm laps shed water shingle-style and don’t rely on sealant as primary defense.
Maintain positive grade (typically 5% minimum for 10 feet) and keep splash blocks or drains functioning.
Ensure weep paths remain unobstructed to relieve cavity water.
Repair Cracks and Gaps Before They Spread
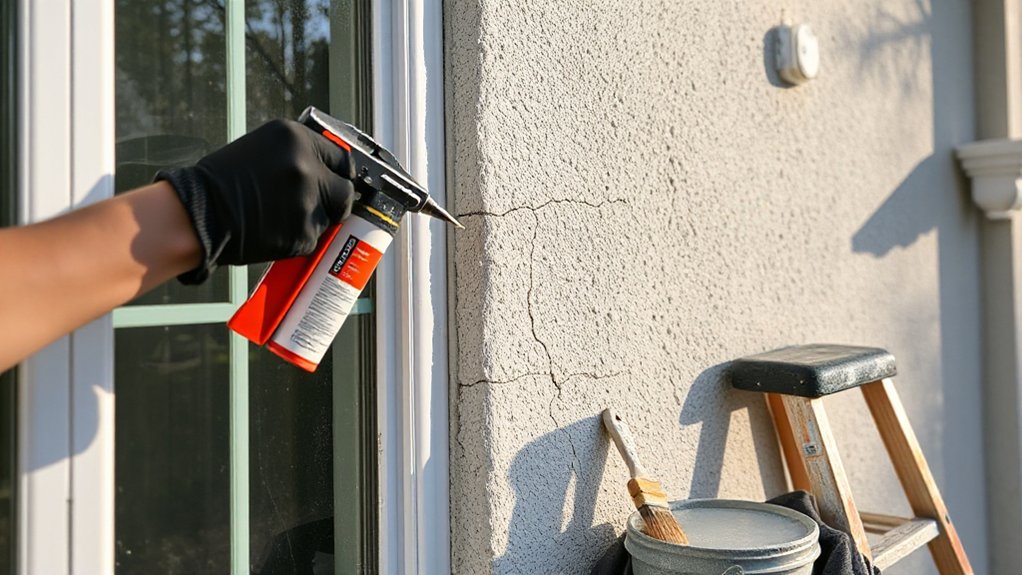
Although hairline cracks and small gaps can look cosmetic, they often become water and air entry points that accelerate freeze–thaw damage, corrosion, and decay inside the wall assembly.
Inspect joints at trim, penetrations, control joints, and *intersections*; probe for movement and failed sealant.
For Crack sealing, route and clean masonry cracks, then fill with compatible elastomeric sealant or epoxy per manufacturer data and ASTM C920/C881 where applicable.
For cladding gaps, use Caulking techniques: remove loose material, dry the substrate, install backer rod to control depth, then gun a continuous bead with proper joint geometry (2:1 width-to-depth).
Tool immediately for adhesion, avoid three-sided bonding, and confirm drainage paths remain clear.
Recheck after the next storm.
Know When It’s Time to Repaint or Reseal Exterior Walls
If you wait until coatings fail visibly, moisture intrusion and UV degradation can progress past the finish and into the substrate. Inspect annually and after major storms; note chalking, gloss loss, peeling at laps, hairline checking, and caulk edge separation.
Use ASTM D3359 adhesion checks on suspect areas and document film condition. Repaint when adhesion drops, porosity increases, or water no longer beads on sealed masonry. Reseal when joints show shrinkage or cohesive tearing.
Follow manufacturer recoat windows and dry-film thickness targets, and confirm substrate moisture meets spec before coating. Consider weather impact: high UV, wind-driven rain, and freeze-thaw accelerate cycles.
Your color selection matters; darker hues heat the film and shorten service life.
Remove and Prevent Mold, Mildew, and Algae Growth
Because exterior biofilm establishes quickly on damp, shaded surfaces, you should treat mold, mildew, and algae as a moisture-and-nutrients problem rather than a cosmetic one.
Start with Mold removal by dry-brushing loose growth, then wash with a low-pressure rinse to avoid driving water behind cladding. Apply an exterior biocide registered for the substrate, follow label dwell time, and rinse thoroughly; don’t mix bleach with ammonia or acids.
For porous masonry, use oxygen bleach or quaternary ammonium products compatible with mortar.
Improve Growth prevention by correcting drainage: extend downspouts, maintain 6–8 in. grade clearance, and keep sprinklers off walls. Increase drying by trimming vegetation for airflow and sunlight. Repair failed caulk and flashing to stop recurring wetting.
Inspect quarterly for recurrence.
When to Call a Pro for Exterior Wall Problems
Routine cleaning and drainage fixes will handle many biofilm issues, but some exterior wall conditions signal concealed moisture, structural movement, or system-level failure that you shouldn’t troubleshoot with surface treatments.
Call a qualified contractor when you see step cracking, bulging cladding, spalling masonry, soft sheathing, persistent efflorescence, or staining that returns after drying cycles.
Bring in an envelope specialist if sealants fail at joints, flashings leak, or EIFS shows impact damage and delamination.
If moisture readings exceed material baselines, you’ll need invasive inspection and ASTM-appropriate sampling to map wet areas and confirm decay.
You’ll also need pros for lead paint, high elevations, or electrical hazards; they’ll enforce safety precautions.
Early diagnostics deliver cost effective solutions.
Frequently Asked Questions
How Often Should Exterior Walls Be Inspected in Different Climates?
You should set Inspection frequency by Climatic challenges: inspect annually in mild climates, semiannually in freeze‑thaw or heavy rain zones, quarterly in coastal/salt or high‑UV regions, and after major storms per manufacturer guidance.
What Exterior Wall Materials Add the Most Resale Value?
You’ll boost resale most with fiber-cement siding, brick veneer, and high-quality stucco—buyers value durability, low maintenance, and fire resistance. Pair them with Exterior wall insulation and tested Wall sealing techniques to meet performance standards.
Will New Landscaping Plants Damage Exterior Walls Over Time?
Yes—if shrubs press like green bristles against siding, you’ll see Landscaping impact: trapped moisture, root heave, and clogged weeps. Control Plant growth effects by meeting clearance standards, pruning, and keeping irrigation off walls.
Does Exterior Wall Color Affect Indoor Temperature and Energy Bills?
Yes, your exterior wall color affects indoor temperature and energy bills. Lighter, high-albedo finishes improve Color impact and temperature regulation by reflecting solar gain; darker colors absorb heat, increasing cooling loads, per ASHRAE-aligned performance assumptions.
Are There Eco-Friendly Products for Exterior Wall Maintenance and Protection?
Yes—you can use Eco friendly coatings and biodegradable sealants rated low‑VOC, APEO‑free, and water‑based. Choose products meeting ASTM D1653/D6083 and ISO 11890; follow manufacturer surface‑prep, film‑thickness, cure‑time, and UV‑resistance specifications.
Conclusion
Maintain exterior walls by staying sharp and systematic: scan for cracks, stains, and soft spots, then clean with substrate‑safe solutions that meet manufacturer specs. Manage moisture with maintained gutters, proper grading, sound flashing, and clear weeps to stop seepage. Seal small separations before they spread, and repaint or reseal when coatings fail adhesion or chalk. Mitigate mold, mildew, and algae with approved biocides. If you spot structural shift, persistent dampness, or widespread delamination, call a pro.