You’ll get better durability fast if you start like an inspector: check the roof edges, corner trim, slab condition, and vent openings for water paths. Then you correct runoff with proper grading, gutters, and downspout extensions before you spend money on finishes. After that, you seal cracks and penetrations, weatherstrip the door, and add ventilation to control condensation. The best part is how a few hardware and floor upgrades change everything…
Inspect Roof, Corners, Slab, and Vents First
Before you spend money on upgrades, start with a tight inspection of the roof, corner joints, slab edge, and vent openings, because these four areas usually fail first under wind, water, and pests.
For Roof inspection, verify shingles or panels are fastened to manufacturer schedule, check flashing at ridges and penetrations, and replace cracked sealant with rated polyurethane.
At corners, confirm shear panels and metal straps are intact, nails aren’t overdriven, and siding joints are back-primed and caulked with paintable, exterior-grade sealant.
At the slab edge, look for spalling, exposed rebar, or gaps at sill plates; pack gaps with backer rod and sealant, then add a metal termite shield where required.
Finish with a Ventilation assessment: clear screens, confirm net free area, and install corrosion-resistant louvers.
Fix Grading, Gutters, and Runoff Early
Set the yard grade so it slopes away from your slab or skids to keep water from soaking the base and wicking into framing.
Install continuous gutters with properly sized downspouts, and extend discharge with solid leaders or splash blocks to move runoff well clear of the structure.
You’ll cut rot, corrosion, and frost-related movement by keeping bulk water off the roof edge and away from the foundation line.
Correct Yard Slope
If water can reach your garage or shed wall, it will, so correct the yard slope and roof runoff right away. You want positive drainage away from the slab, skids, or foundation to limit rot, mold, and frost heave.
As a rule, regrade for about 6 inches of fall within the first 10 feet, using compacted, inorganic fill (clayey soil beats topsoil). Keep finished grade at least 6 inches below siding and 2 inches below wood framing, and don’t bury trim.
For yard drainage in flat spots, create a shallow swale that carries water to daylight or a gravel-filled trench. Finish with erosion control: seed, mulch, or stone.
Check after storms; adjust slope correction before water tracks form.
Improve Gutters And Downspouts
Correcting the yard slope handles surface water, but you’ll still need gutters and downspouts to control roof runoff so it doesn’t dump at the slab edge or skids.
Size gutters for your roof area; 5-inch K-style suits most sheds, while larger roofs may need 6-inch. Fasten hangers into rafters or fascia with corrosion-resistant screws, keep joints sealed, and maintain a slight pitch toward outlets.
Add a leaf guard to reduce clogs, but still provide cleanout access. Use 2×3 or 3×4 downspouts, strap them securely, and terminate with gutter extensions that discharge well away from the foundation and door threshold.
Direct splash blocks or buried pipe to daylight, and avoid tying into sanitary lines.
Seal Cracks and Gaps to Stop Leaks
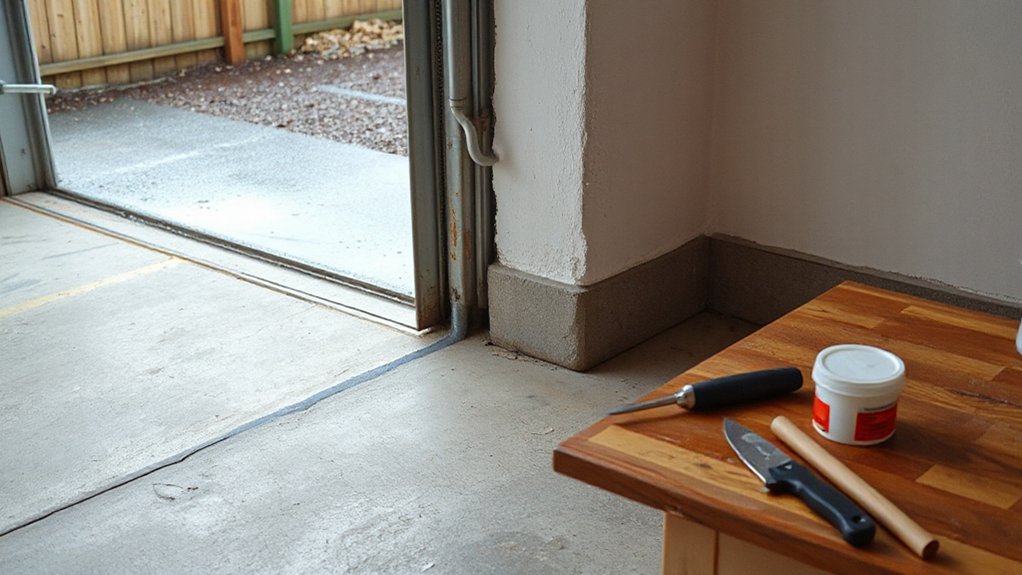
A small crack or gap can funnel a surprising amount of water into your garage or shed, so seal them before they turn into rot, rust, or mold. Start by tracing leaks at slab edges, wall penetrations, and siding-to-foundation joints, then clean to bare, dry material.
Use the right crack fillers for the substrate: polyurethane for moving joints, hydraulic cement for active masonry seepage, and epoxy for stable concrete cracks. Follow manufacturer joint-width limits and cure times. Backer rod lets you hit proper depth and saves sealant.
For caulking techniques, tool a continuous bead, maintain a 2:1 width-to-depth ratio, and avoid thin smears. Don’t seal over trapped moisture. Recheck after the first hard rain and touch up.
Weatherproof Doors, Windows, and Trim
Seal door and window perimeters with exterior-grade, UV-resistant weatherstripping so you don’t leave air and water paths at the jambs and head.
Set a durable threshold—aluminum with a replaceable rubber seal works well—and fasten it per the manufacturer so the sill sheds water instead of wicking it inside.
Protect exterior trim by installing code-style flashing (drip cap at heads, kickout where needed) and lapping it shingle-fashion over the WRB to direct water out.
Seal Gaps With Weatherstripping
Where do drafts, rain spray, and insects usually sneak in first? At the moving joints: door jambs, window stops, and trim seams. Tighten those gaps with code-appropriate weatherstripping so you don’t trap bulk water or block required egress operation. Use EPDM or silicone compression strips on door frames, and felt or brush seals where you need low friction.
For window sealing, apply closed-cell foam tape to stops and add backer rod plus exterior-rated sealant at wider cracks; keep weep paths open. Clean and dry substrates, then fasten per manufacturer spacing so the seal stays continuous.
Pair this with door insulation only after you’ve sealed air leaks; otherwise you’ll just insulate a draft. Replace crushed or UV-brittle strips promptly.
Install Durable Door Thresholds
After you’ve tightened jambs and stops with weatherstripping, address the biggest leak point left: the door bottom. Add a raised, durable threshold to block wind-driven rain and pests and to reduce dust. Choose door threshold materials rated for exterior exposure: aluminum with a vinyl cap, composite, or thermally broken models for cold climates. Match the height to your door sweep so you still get full contact without binding.
Follow threshold installation tips that keep it code-sensible and long-lasting: set the threshold on a clean, flat slab; shim low spots so it won’t rock; fasten into framing or approved anchors at manufacturer spacing; and tool a continuous bead of polyurethane sealant under and at end joints. Leave the top surface unsealed for drainage.
Protect Trim With Flashing
Even if you’ve got tight weatherstripping, unflashed trim can still wick water behind the casing and into the jamb or sheathing. Treat doors and windows like a shingle system: every layer laps to drain.
Install a sloped head flashing (drip cap) that extends past the trim, then tape its top flange to the WRB with code-listed flashing tape.
At jambs, run self-adhered flashing over the sill pan and up the sides, keeping lower edges free to weep.
Back-prime decorative trim on all faces, especially end grain, and leave a small gap above horizontal surfaces to prevent capillary pickup.
Seal only where manufacturers allow, so your aesthetic accents don’t trap moisture.
Use stainless or hot-dipped fasteners.
Add Ventilation to Reduce Condensation and Rot
Moisture sneaks into a garage or shed through temperature swings, wet gear, and unsealed gaps, then condenses on cool framing and roof sheathing—so you’ll want ventilation that moves damp air out before it feeds rot and mold.
Start with code-aligned Ventilation systems: continuous soffit intake plus a ridge vent, or high gable vents paired with low inlets. Size net free area per local code (often 1/150, or 1/300 with a ceiling air barrier or balanced vents).
Add corrosion-resistant vent screens to block pests while keeping airflow.
If you’ve got electricity, install a humidistat-controlled exhaust fan and duct it outdoors, not into an attic.
Keep insulation from blocking soffits with baffles.
This moisture control upgrade protects sheathing, fasteners, and stored tools.
Reinforce Doors, Hinges, and Locks
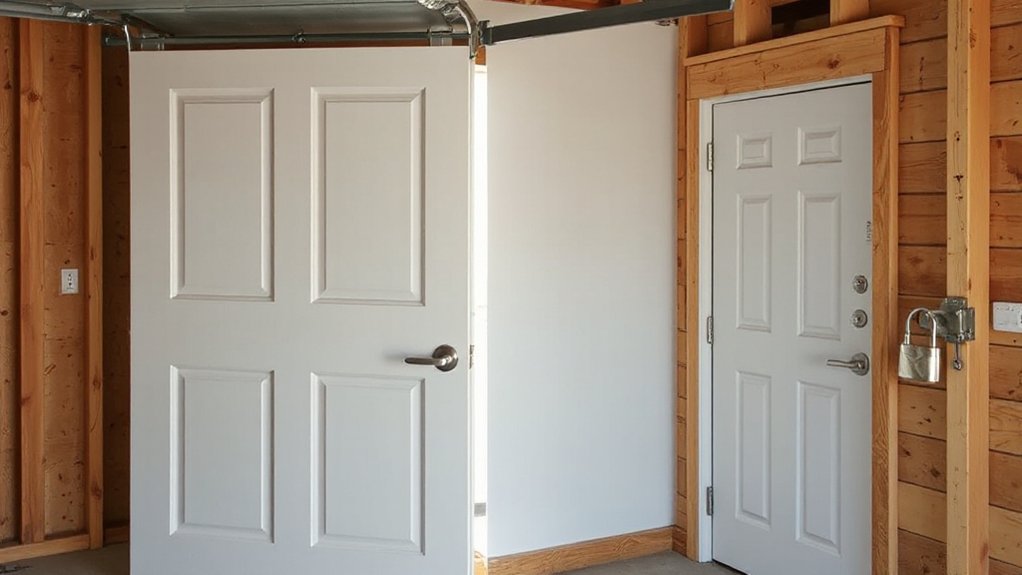
Because doors take the most daily abuse—and often serve as your weakest security point—you’ll get a big durability bump by upgrading the slab, hinges, and lock hardware as a system.
Replace thin hollow-core doors with exterior-rated steel or solid-core slabs, and verify the jamb is sound, plumb, and fastened into framing with 3 in. structural screws.
For hinge reinforcement, use ball-bearing hinges and swap short hinge screws for long screws that bite studs; add a continuous hinge on wide or heavy doors.
Improve lock security with a Grade 1 or 2 deadbolt, a reinforced strike plate, and a 3 in. throw.
Seal fastener penetrations, keep clearances even, and adjust latches so the door closes without slamming.
Upgrade Floors for Heavy Loads and Spills
If you store heavy equipment or work with oils and chemicals, your floor needs to act like a structural surface and a containment layer, not bare concrete or flimsy OSB.
Start by confirming your slab meets minimum thickness and is crack-controlled; patch spalls and fill joints with a compatible polyurea to keep spills from wicking below.
Grind or shot-blast for proper CSP so coatings bond, then apply a moisture-mitigating primer if vapor emission is high.
Finish with Heavy duty epoxy and broadcast aggregate for slip resistance.
For point loads, choose load bearing coatings rated for hot-tire pickup, chemical splash, and compressive strength.
Add curb edges at doors or tool bays to contain fluids and simplify cleanup.
Use Tough Wall Finishes That Resist Moisture
Once you seal up the floor, treat the walls like a wet-area assembly so they don’t wick water, grow mold, or soften at fasteners. Use moisture-resistant gypsum board where allowed, or cement board on splash zones; tape and mud seams per manufacturer. Prime with a stain-blocking, mildew-resistant primer, then topcoat with a scrubbable enamel or epoxy wall paint rated for damp locations.
Keep the bottom edge 1/2 inch off slabs and seal that gap with backer rod and polyurethane sealant. At hose bibs, benches, and battery stations, add FRP panels or PVC sheets over furring, fastening into studs.
For Decorative wall finishes, choose washable textured coatings that won’t trap dirt or delaminate.
Frequently Asked Questions
Do I Need a Permit for Reinforcing My Garage Door or Adding Vents?
You might need a permit, depending on your city and HOA. Garage door reinforcement that changes framing or loads often requires review. Vent installation regulations may require permits for roof/wall cuts, fire ratings, and weatherproofing.
What Durability Upgrades Add the Most Resale Value to a Property?
You’ll add most resale value by fixing moisture and structure: upgrade the Garage foundation with proper drainage, and prioritize Roof sealing with code-rated underlayment and flashing. You’ll also install rated doors, vents, and corrosion-resistant fasteners.
Which Insulation Type Works Best for Unheated Garages and Sheds?
For a little extra coziness, you’ll get best results with closed-cell spray foam; it seals air leaks and boosts Thermal efficiency. You’ll also use fiberglass batts or rigid foam boards as code-compliant Insulation materials, plus vapor control.
How Often Should I Inspect and Maintain Durability Upgrades After Installation?
Inspect quarterly and after major storms; do a full annual check. You’ll tighten fasteners, reseal joints, clear Garage organization clutter, and test Shed lighting. Replace cracked caulk, corroded hardware, or wet insulation to stay code-compliant.
What Are Cost-Effective Upgrades for Renters Who Can’T Modify Structures Permanently?
You can add removable weatherstripping, door sweeps, and magnetic vent screens; use bolt-on hasps and padlocks for Garage security; install freestanding shelves, pegboards, and bins for Shed organization; choose corrosion-resistant hardware.
Conclusion
Skip these upgrades, and your garage or shed can rot so fast it’ll feel like it’s dissolving in real time. Start by checking the roof, corners, slab, and vents, then fix grading, gutters, and downspout discharge to keep water off the foundation. Seal every crack and penetration with rated sealants. Weatherstrip doors and windows, add balanced ventilation, and reinforce hinges with long screws into studs plus heavy-duty locks. Finish with epoxy floors and moisture-resistant wall panels.