Table of Contents
Learning how to restore Edwardian sash windows for timeless elegance and light is one of the most impactful skills you can bring to a period property renovation. Sash windows are so central to the character of Edwardian and Victorian houses — and, for that matter, Georgian ones — that their condition affects the entire property. A beautifully restored interior, a freshly decorated facade, a carefully maintained garden: all of it is undermined by sash windows that rattle in their frames, refuse to open, drip cold air through their meeting rails, and wear thick coats of paint that have turned their original crisp profiles into soft-edged approximations of what they once were.
The argument for restoration rather than replacement is both economic and aesthetic, and it’s the stronger argument. A well-restored original sash window — stripped, repaired, draught-proofed, re-glazed where necessary, and properly finished — performs considerably better than its condition before restoration suggested, and considerably better thermally than its reputation implies. It also performs better, in most cases, than a like-for-like uPVC replacement in aesthetic terms, and in the case of a listed property, replacement may not be an option regardless of preference.
Understanding the Edwardian Sash
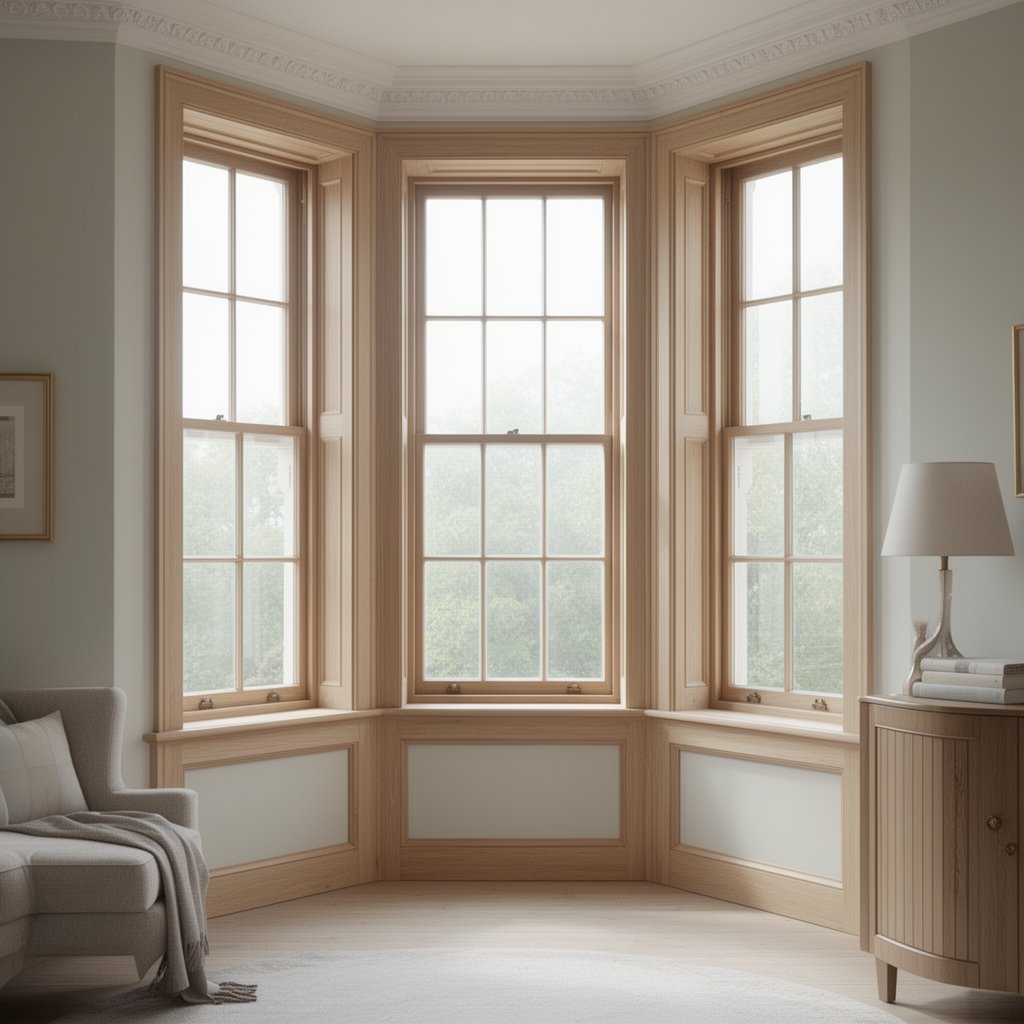
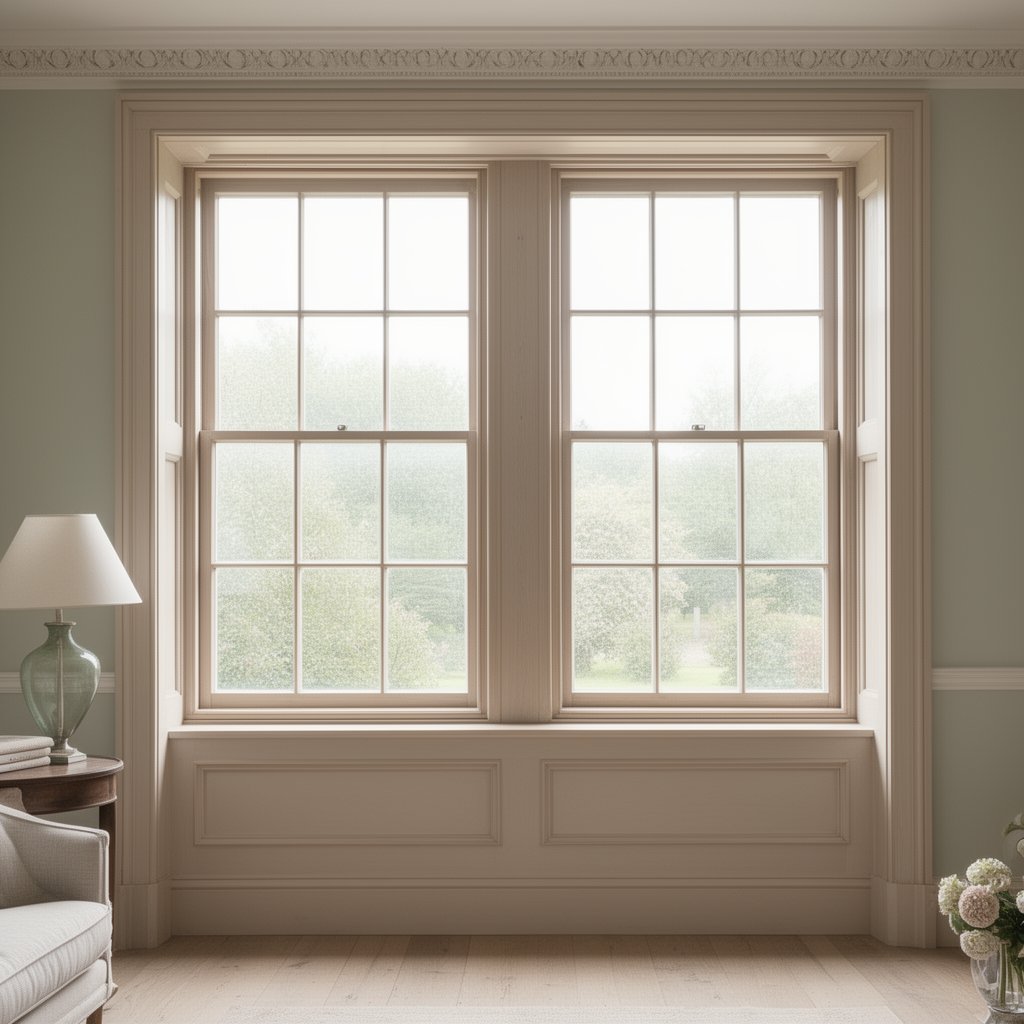
Edwardian sash windows — produced in the period roughly 1901 to 1914, though the type continues into the interwar period in many houses — share their basic operating mechanism with their Victorian and Georgian predecessors but have some characteristic features of the period.
The glazing bars tend to be finer than in earlier periods, and the glass panes larger — Edwardian houses often have relatively large single panes of glass in the upper sash, sometimes with decorative leaded or stained glass in the upper portion. The horns — the decorative extensions of the upper sash stile below the meeting rail — are a Victorian introduction retained in Edwardian windows, helping to prevent the sash from twisting as it operates.
The box frame — the structural housing of the window within the wall opening, containing the weights that counterbalance the sashes — is in most Edwardian windows made from relatively good-quality softwood. The original weight system uses cast iron sash weights on twisted cords running over pulleys at the top of the pulley stile. When everything is working correctly, this system allows the sash to be moved to any position with one hand and held there without a catch. When the cords have broken — which is one of the most common failure modes — the sashes become either fixed or propped, and the whole window is compromised.
Assessment: Understanding What Needs Doing
A systematic assessment of each window before any work starts produces a clear picture of what the restoration involves and in what sequence it needs to be done.
Frame and sill condition. The cill — the horizontal timber at the base of the window externally — is the most vulnerable element to water damage because it collects water and holds it against the timber if the paint film fails. Prodding the cill with a small screwdriver reveals whether the timber is sound — firm timber, soft timber, or active rot. Localised rot in an otherwise sound cill is repairable. A cill that’s extensively decayed may need replacement.
The box frame itself, being largely hidden within the wall, is less vulnerable to water ingress — but it’s worth checking the condition of the pulley stiles and the bottom rail of the lower sash, which are more exposed. Run a finger along the joints between elements and look for paint breakage, swelling, or staining that indicates moisture movement.
Sash condition. The sashes — the moving frames that hold the glass — need checking for paint build-up, damage to the timber, and condition of the glass. Heavy paint accumulation in the meeting rail joint is one of the most common causes of a window that won’t open. If a painted sash is stuck, the joint between the meeting rails is usually the culprit rather than the parting beads or the frame.
Glass condition. Original Edwardian glass — whether clear or with decorative elements — is worth retaining wherever it’s intact. Original hand-made or early machine-made glass has a slight variation in thickness and surface that produces a subtly different light quality from modern flat glass. It has value as original fabric quite apart from its decorative qualities. Where glass is cracked, broken, or missing, replacement should use glass of an appropriate type — a specialist glazier can advise on the options.
Cord condition. Sash cords that are frayed, partially broken, or fully broken need replacement as part of any proper restoration. A window with broken cords is not functioning as intended, and the stress of operating with only one functional cord places additional wear on the remaining hardware.
Paint Removal: The Foundation of Good Restoration
Every subsequent stage of the restoration works better if the window has been properly stripped first. Paint removal from sash windows is time-consuming and needs the right approach for the timber profiles involved.
Hot air guns — rather than open-flame blowlamps — are the appropriate tool for softening and lifting paint from flat timber surfaces. The heat needs to be applied with a moving rather than static technique to avoid scorching the timber beneath, and the softened paint is removed with a flat scraper working in the direction of the grain. The risk with heat tools on glazed windows is thermal shock to the glass — the gun should be directed at the timber, not the glass, and the scraping should move away from the glass edge.
Moulded profiles — the ovolo or ogee sections of the sash stiles, the staff bead, the parting bead — need wooden profile scrapers or proprietary detail scrapers rather than flat ones. Dragging a flat scraper across a curved profile gouges the timber rather than stripping the paint.
Chemical strippers work well on the most detailed profiles and on the meeting rails, where the geometry makes hot-air removal impractical. A paste-form stripper applied generously, left for the appropriate dwell time, and removed with wooden tools is effective on most paint types. The chemical residue needs to be fully neutralised and dried out before any new finish is applied.
For windows with many layers of paint — common in houses with a long painted exterior — a combination of hot air gun for the flat areas and chemical stripper for the details is often the most efficient approach.
Timber Repair: Splice, Fill, and Consolidate
Once stripped, the timber condition becomes visible and the repair decisions can be made.
Rot repair is the most significant intervention. Localised soft areas — typically at the base of the cill, at the junction of the cill and jamb, and at the base of the lower sash — are cut back to sound timber and repaired using epoxy wood consolidant and filler. The consolidant is applied to the cleaned, dry timber and allowed to soak in and cure, hardening the remaining fibres before the filler is applied. The filler — a two-part resin system — is applied, shaped to the profile while still workable, and then left to cure fully before being abraded back flush and smooth for painting.
Epoxy repairs in timber windows are extremely durable. They don’t rot, they don’t shrink, and they take paint as well as the surrounding timber once properly prepared. For localised cill repair, they’re a more practical solution than a full cill replacement and produce results that are effectively invisible.
Splice repairs for more extensive damage — where a significant section of a stile or rail is beyond the range of filler repairs — involve cutting out the damaged section and scarfing in new timber to match. The new timber should be of a similar density and grain to the original, treated with a wood preservative before installation, and glued and pinned to the surrounding timber. A well-executed splice, tapered to give the joint as much glue area as possible, is very strong.
Swollen or distorted sashes that won’t fit back into the frame correctly after stripping sometimes need to be planed or sanded back to clear the frame properly. The critical gaps are: 2mm clearance between the sash stile and the inner face of the pulley stile, 3mm between the meeting rails of the upper and lower sash when both are closed, and adequate clearance at the sill to allow the lower sash to travel down without binding. Adjusting these clearances is judgement work — too tight and the window sticks in wet weather, too loose and it rattles.
Draught Proofing: The Transformation That Changes Everything
Original sash windows are not inherently draughty. They’re precisely fitted mechanisms that operated with minimal air infiltration when new. What makes them draughty as they age is wear in the components, warping of the timber, and the accumulation of paint in joints that were designed to be close-fitting but not sealed.
A properly executed draught proofing system — either the traditional pile weatherstripping type or the more modern spring bronze strip — fitted into rebates routed into the sash and frame closes the gaps that develop with age and makes an original sash window perform at a level that surprises most clients who’ve been living with the draughts.
The pile type uses a fine brush-seal strip fitted into a routed groove, creating a continuous seal along all four edges of each sash. The spring bronze type uses a thin strip of phosphor bronze that flexes against the face of the opposing member to form a seal. Both work well; the pile type is slightly more effective in the meeting rail joint, the spring bronze type is more traditional in character.
When fitted as part of a full restoration — stripped, repaired, draught proofed, reweighted, and properly painted — an Edwardian sash window performs so differently from its pre-restoration condition that the same property in cold weather feels physically different. The difference in thermal comfort is real and measurable.
Reweighting: Restoring the Counterbalance
Replacing broken or frayed sash cords is one of the most satisfying parts of sash window restoration, because the change in operation is immediately and dramatically apparent. A window that previously required physical force to open and would only stay up when propped becomes effortlessly operable with one hand, moving smoothly and staying in any position without assistance.
Accessing the weight pockets requires removing the staff beads — the planted moulding strips that hold the inner sash in the frame — taking out the lower sash, removing the parting beads, and taking out the upper sash. The pockets are accessed via small removable panels on the inner face of the pulley stile, or by carefully removing the lining board on older windows.
The new cord — traditional waxed cotton sash cord, available from joinery suppliers in appropriate grades — is run over the pulley, tied to the weight in the pocket, and nailed into the groove in the sash stile. The correct weight for each sash is important: the weights should be slightly lighter than the sash, so that the sash tends to rise rather than fall when released. Incorrect weighting produces either a window that slams shut or one that won’t stay up.
Paint Finish: Completing the Restoration
The paint system applied to restored sash windows determines how they look and how long the restoration lasts. The right approach is oil-based paint throughout — primer, undercoat, and finish — applied over timber that is fully dry, fully repaired, and properly prepared.
Primer should be applied within twenty-four hours of any bare timber being exposed, to prevent moisture uptake that would cause the timber to swell back against the tight clearances just established. A solvent-based primer penetrates the timber and provides a firm foundation for the undercoat.
Undercoat builds the paint film and provides the grip for the topcoat. Two undercoats are better than one on stripped timber, particularly where the surface has been chemically stripped and the grain is slightly raised. Light sanding between coats with fine paper keeps the surface flat.
The finish coat on external joinery should be a full gloss oil-based paint. Eggshell or satin on sash windows looks slightly wrong — the period expectation was a high gloss that weathered gracefully and could be flatted and re-glossed when needed. Modern exterior gloss paints in oil-based formulations produce exactly the right surface.
The Result
A fully restored set of Edwardian sash windows — stripped, repaired, draught proofed, reweighted, and properly painted — doesn’t just look better than before the restoration. It functions better, performs better thermally, and makes the property feel more genuinely alive in a way that’s difficult to articulate precisely but immediately perceptible to anyone who spends time in it.
The light that comes through well-maintained original glass, the smooth and silent operation of a properly weighted sash, the absence of cold air movement that draught proofing produces — these things add up to a quality of experience that no replacement window, however technically advanced, fully reproduces. The original windows, restored and maintained, are better than any replacement. That’s true even before you factor in the aesthetic, the heritage value, or the planning constraints that often make replacement the harder option anyway.
Restore the windows. It’s worth every hour the work takes for that period property feel..