
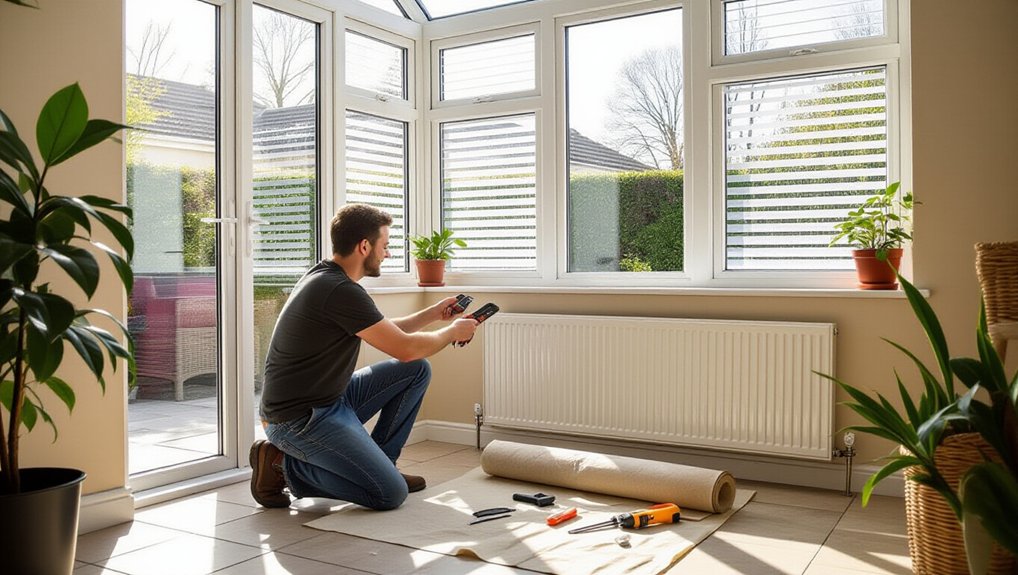
You can cut conservatory heat loss and summer overheating with low-cost DIY measures if you first quantify the problem: check for drafts at frames, doors, and roof junctions, then verify surface temperatures and condensation risk against basic U‑value and ventilation targets. You’ll seal leakage paths with weatherproof sealants, add glazing film or secondary layers, and control solar gain with blinds and vent strategy. The biggest gains often come from one overlooked junction…
Quick Checks to Spot Conservatory Heat Loss
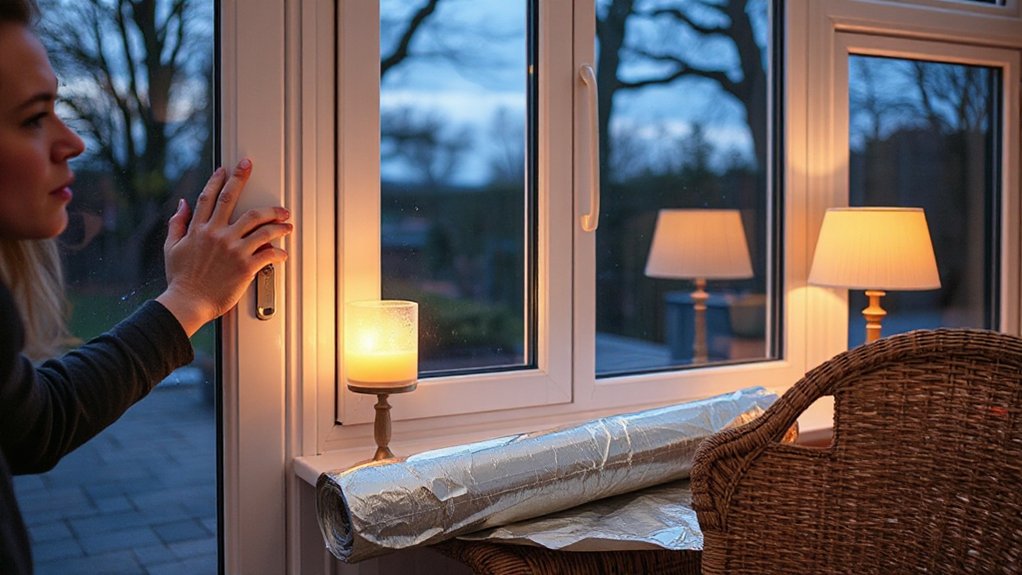
Although a conservatory can feel warm in direct sun, you can quickly verify heat-loss paths by running a few objective checks against basic building-performance expectations.
Log indoor/outdoor temperature and RH for 48 hours; if the room drops >2°C per hour after sunset with stable heating, you’re losing heat fast.
Use a cheap IR thermometer at dawn to compare roof glazing, frames, dwarf walls, and floor; surfaces >3°C colder than adjacent areas indicate weak conservatory insulation.
At night, run a smoke pencil near junctions between roof and wall (not doors) to spot convective loops.
Check U-values on glazing labels; anything above ~1.6 W/m²K underperforms modern targets.
Trial thermal curtains and measure the overnight delta-temperature improvement.
Seal Conservatory Gaps Around Doors and Frames
Start by mapping air-leak hotspots at door thresholds, frame mitres, and glazing beads using a smoke pencil or thermal camera, since even a 1–3 mm gap can drive noticeable draughts.
You then install the correct-rated weatherstripping (compression, brush, or EPDM) and sealants per the manufacturer’s spec for temperature range, adhesion, and UV resistance.
Finish by verifying closure force and uniform contact along the full perimeter with a paper-strip test, then recheck seasonally as frames move with temperature and humidity.
Identify Air Leak Hotspots
Before you buy sealant, pinpoint where your conservatory is actually leaking air—because even a 1–2 mm gap around a door leaf, threshold, or window frame can drive noticeable draughts and heat loss under typical winter pressure differences (around 10–20 Pa).
Start with airflow analysis: on a windy day, run the extract fan in an adjacent room to induce negative pressure, then track draught direction using a smoke pencil or incense stick along frames, corner joints, trickle vents, and service penetrations. Log locations and approximate leakage length in a simple sketch.
Follow with thermal imaging: after a 10–15°C indoor–outdoor delta for 30–60 minutes, scan jambs, sills, and glazing beads for cold streaks that match your smoke findings. Prioritise repeatable hotspots.
Apply Weatherstripping And Seals
Once you’ve mapped the repeatable draught paths, seal them with the right weatherstripping and sealant so you cut air leakage without compromising door operation or drainage. Aim for continuous contact along the sash/door perimeter; even 1 mm gaps can drive meaningful infiltration under modest pressure differences.
Select Weatherstripping materials by location: EPDM or silicone rubber for UV-exposed frames, brush pile for sliding tracks, and closed-cell foam only where compression is controlled.
Use sealing techniques that match substrates: neutral-cure silicone on uPVC/aluminium, hybrid polymer on mixed materials, and low-modulus sealant at movement joints.
Backer rod sets correct joint depth (≈2:1 width-to-depth) for durability.
Keep weep holes and drainage channels clear and unsealed to maintain moisture management.
Test And Maintain Fit
Even after you’ve applied new weatherstripping and sealant, you need to verify the door and frame still achieve uniform compression and alignment under real operating loads. Close and latch the door, then measure reveal gaps at top, hinge, and lock sides; aim for consistent clearance within 1–2 mm.
Use a thin paper strip to test gasket compression every 150–200 mm; you shouldn’t pull it free without resistance.
Check for light leaks at dusk and confirm no drafts using a smoke pencil, targeting air leakage comparable to EN 12207 Class 3 performance.
Re-torque hinges, adjust keeps, and lubricate rollers to maintain fit seasonally.
Stable seals also help ventilation systems balance designed airflow, and window tinting reduces thermal distortion that can re-open gaps.
Cheap Glazing Fixes (Film, Curtains, Secondary Glazing)
After you’ve sealed frame and door gaps, you can cut solar gain and winter losses further with low-cost glazing upgrades that target U‑value and g‑value performance.
You’ll get the fastest summer impact from heat-reflective window film with published solar rejection data and a compliant fire/adhesive rating, applied to clean glazing to prevent edge lift and haze.
For year-round improvement on a budget, you can fit DIY secondary glazing (magnetic acrylic or shrink-film systems) to create a tighter air layer and reduce draught-driven heat transfer without replacing the primary units.
Heat-Reflective Window Film
If your conservatory overheats because solar radiation passes straight through the glazing, heat‑reflective window film gives you a low‑cost, standards‑based way to cut solar gain without changing the frames.
Choose films with published EN 410 solar/visible transmittance and g‑value data, and target a meaningful SHGC reduction (often 0.10–0.30) to lower peak temperatures.
Use exterior-grade Reflective coatings where possible; they reject more solar load than internal films because the heat doesn’t enter the glass as much.
For Window tinting, check EN 12600 impact performance and any warranty limits on thermal stress, especially on sealed units.
Install to the manufacturer’s edge-clearance spec, squeegee out water, and seal edges to prevent lifting and moisture.
Secondary Glazing On Budget
Because single-skin conservatory glazing typically dominates heat loss and draught discomfort, secondary glazing gives you a low-cost way to cut the U‑value and improve airtightness without touching the existing frames.
Fit magnetic acrylic panels or clip-in polycarbonate to the inside of each window frame, aiming for a 6–20 mm still-air cavity. Even a modest cavity can reduce convective looping and improve surface temperatures.
Use closed-cell EPDM tape to meet the intent of airtightness detailing in UK Building Regulations Part L and limit infiltration paths.
If you need ultra-low cost, apply shrink-film kits, but treat them as seasonal.
Add lined curtains with taped edges to reduce radiant losses at night.
Secondary glazing postpones full glass replacement while delivering measurable comfort gains.
Insulate the Conservatory Roof Without Rebuilding
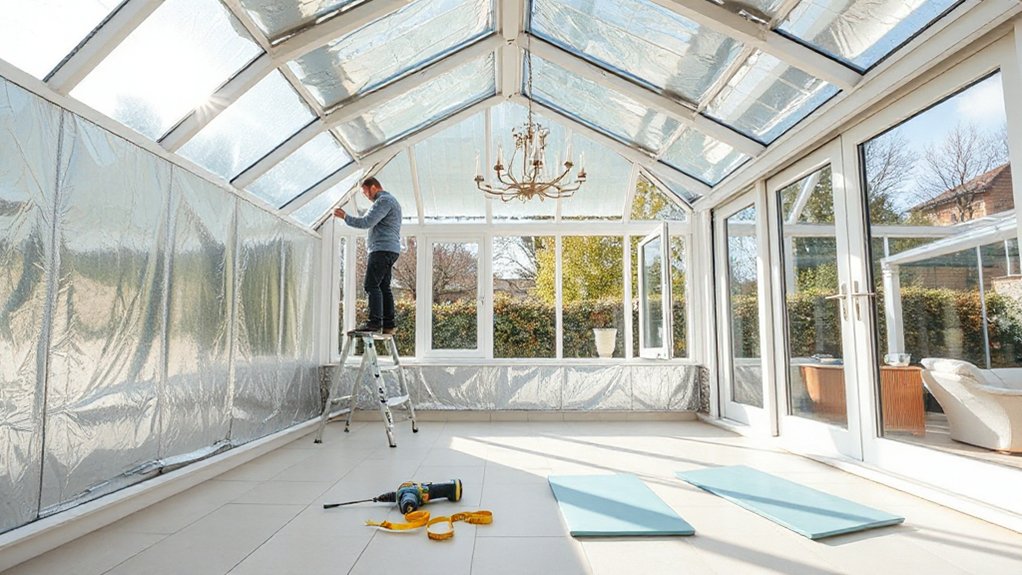
While a full roof replacement can push U-values down to ~0.18–0.35 W/m²·K (typical for insulated solid systems), you can still cut conductive and radiant heat transfer by retrofitting insulation to the existing conservatory roof from the inside.
Fit multi-layer foil or quilt insulation materials beneath polycarbonate/glass, leaving a continuous 20–50 mm air gap to preserve drainage and limit condensation risk.
Tape all joints to reduce convective looping; target airtightness at laps and around glazing bars.
Maintain roof venting: keep trickle vents and ridge openings clear, and avoid blocking eaves paths, so moisture can purge to outside.
Use fixings that don’t bridge thermally, and verify surface temps stay above dew point in winter using basic hygrometer readings.
Warm Up the Conservatory Floor With Simple Layers
Even though most conservatory heat loss still comes through glazing, a cold floor can dominate perceived comfort via radiant asymmetry and downdraughts. Therefore, start by building a simple layered system that reduces conduction from the slab and adds surface insulation.
For hard floors, use floor layering: a thin foam or felt underlay (typically 6–10 mm) plus a dense rug. You can gain roughly 0.2–0.4 m²·K/W depending on products, cutting contact heat loss and improving mean radiant temperature at ankle height.
Prioritise rug placement where you sit and where air falls off glazing, keeping edges taped to prevent trip hazards. Seal perimeter gaps at skirtings with acrylic sealant to limit draught paths.
Choose low-VOC materials and follow manufacturer fire and slip ratings.
Blinds and Ventilation to Stop Summer Overheating
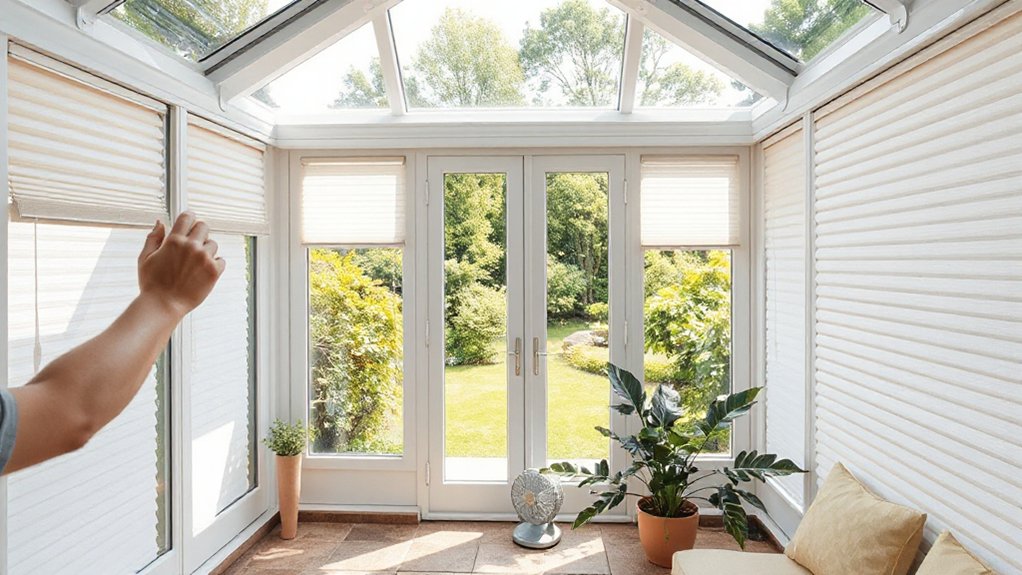
A warmer floor improves winter comfort, but summer performance in a conservatory usually hinges on solar gain through the roof and glazing, so you’ll get the biggest temperature drop by controlling sun and purging heat.
Install reflective roof blinds or external awnings; external Summer shading blocks radiation before it enters, cutting peak gains far more than internal fabric. Aim for light-coloured, low-emissivity linings and tight side channels to reduce bypass.
For Ventilation strategies, create a high–low airflow path: crack low windows and fully open roof vents to exploit stack effect.
Target at least 4–6 air changes per hour in hot spells; use a fan to boost flow if wind is low.
Fit insect screens so you’ll ventilate longer.
Frequently Asked Questions
How Much Does DIY Insulation Typically Reduce Conservatory Heating Bills?
You’ll typically cut conservatory heating bills by 10–25% with DIY insulation, depending on U-values and air leakage. Install thermal curtains and window films; you’ll reduce radiant and convective losses, meeting EN 673 expectations.
Do I Need Planning Permission for Secondary Glazing or Roof Insulation?
You usually don’t need planning permission for secondary glazing or roof insulation; you’ll follow Building permits and Legal restrictions. Check local rules, listed-building status, and material changes; document U‑values and fire ratings; get approval if external appearance changes.
Which DIY Fixes Work Best for Listed Buildings or Conservation Areas?
In listed buildings, you’ll get best results from reversible, low-impact fixes: secondary glazing, draught sealing, and removable thermal blinds. They support Heritage preservation and protect Structural integrity, aligning with BS 7913’s minimum intervention and moisture risk controls.
How Can I Reduce Condensation and Mould After Improving Airtightness?
You’ll reduce condensation and mould by controlling humidity to 40–60% RH, boosting Ventilation strategies (trickle vents, intermittent extract to EN 13141), and applying mold prevention techniques: thermal bridging fixes, dew-point checks, rapid drying, HEPA cleaning.
What Are Safe Heating Options for a Conservatory With Limited Electrics?
You’ll use a plumbed radiator or low-watt (500–1000W) oil-filled electric heater on a dedicated RCD circuit; avoid LPG/paraffin. Optimize radiator placement under glazing; upgrade insulation materials to meet BS 7671 and ventilation limits.
Conclusion
You don’t need a PhD in “Conservatory Sauna Engineering” to hit comfort KPIs. You’ve audited drafts (thermal weak points), sealed frames to cut infiltration, and added low‑e film/secondary glazing to lift U‑value performance toward typical UK targets. You’ve insulated the roof and layered the floor to reduce conductive losses, then deployed blinds, shading, and controlled venting to cap solar gain. Result: fewer kWh wasted, steadier °C, and a room that stops cosplaying as weather.