
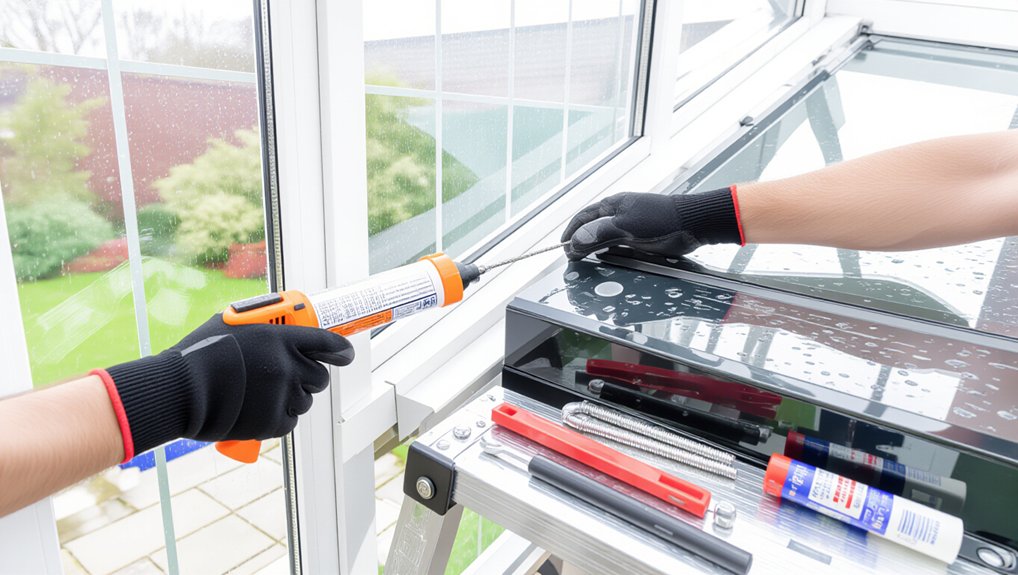
Your conservatory can look spotless yet still let water and cold air sneak in. You start by checking glazing bars, flashing, roof panels, and frame joints for hairline gaps, failed sealant, and staining that signals hidden leaks. You clear gutters and test downpipes so overflow can’t track back under the roof edge. Then you seal drafts at doors and windows with the right trims and silicone—but one common fault often gets missed, and it’s usually the real cause…
Diagnose Conservatory Leaks, Draughts, and Damp Fast
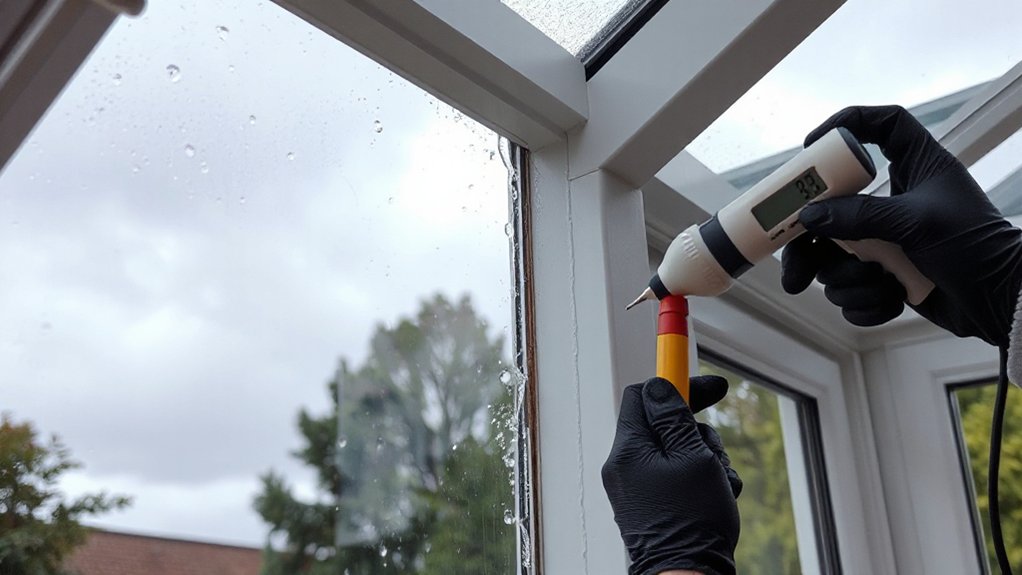
If you spot a damp patch, a cold draught, or a drip after rain, start by pinpointing exactly when and where it happens, because that tells you whether you’re dealing with water ingress, air leakage, or condensation. Check during heavy rain, windy spells, and clear cold mornings.
Trace moisture up to its highest point; gravity lies, capillary action doesn’t. Feel for airflow around frames, roof bars, trickle vents, and floor junctions using a lit incense stick. Note if droplets form on the inside glass: that’s humidity, not a roof leak.
Log indoor temperature and relative humidity; aim for under 60% RH. Use Conservatory insulation to reduce cold surfaces, then plan Ventilation improvement with extractor fans or passive vents to balance moisture fast.
Reseal Failed Joints and Cracked Sealant
Check every frame joint and glazing edge for sealant that’s cracked, shrinking, lifting, or letting in water or draughts when you press along it.
Cut out the failed bead completely, clean and dry the surfaces, then mask the line so you can lay a continuous new seal.
Tool it firmly into the joint, remove the tape, and let it cure fully before exposing it to rain or washing.
Identify Failed Sealant
Because sealant is your conservatory’s first line of defence against water and draughts, you’ll want to spot failure early and deal with it before leaks spread.
Start with a slow visual check of every joint where frames meet glazing, sills, and wall abutments, especially on the weather-facing side. Look for hairline cracks, gaps, lifting edges, shrinkage, or sealant that’s gone chalky, brittle, or glossy and detached.
Press lightly with a fingertip; failed material will crumble, peel, or feel hollow.
Inside, watch for damp staining, bubbling paint, mould specks, and cold draught lines after windy rain.
Note areas with previous sealant application, as layered beads often split first.
Use a torch and mirror to confirm.
Reseal Joints Properly
Once you’ve found a split bead or loose section, reseal the joint straight away so water can’t track behind the frame. Cut out all failed sealant with a sharp knife, then scrape away residue so the new bead bonds properly.
Clean the area with isopropyl alcohol, let it dry, and mask both sides for a crisp line. Apply a compatible, exterior-grade silicone or hybrid sealant in one continuous pass, pushing it into the gap to restore joint integrity.
Tool the bead within the open time using a wet profiling tool, not your finger, to avoid contamination. Remove tape before skinning. Keep the joint dry for 24 hours, and don’t paint unless the product allows it.
This routine improves sealant longevity and stops recurring leaks year-round.
Repair Slipped Roof Panels and Broken End Caps

When a conservatory roof panel slips out of position or an end cap cracks, water can track into the glazing bars and quickly turn a small defect into a persistent leak. A slipped roof usually shows as a gap at the eaves, uneven panel lines, or a panel that’s migrated after wind or thermal movement.
Start by checking from inside for daylight at joints, then inspect externally with safe access. Loosen the relevant glazing bar caps, slide the panel back to its correct seat, and confirm it’s fully engaged in the retaining channel.
Replace any distorted packers and tighten fixings evenly so you don’t pinch the panel. For broken end caps, remove the damaged piece, clean out debris, fit a like‑for‑like cap, and reseat the bar cap securely to restore drainage paths.
Fix Roof Vents and Ridge Flashing Leaks
Roof leaks don’t always come from slipped panels or cracked end caps; roof vents and ridge flashing often let water in where fittings break their seal or fixings work loose. Start by checking vent frames and ridge caps for hairline gaps, missing screws, and perished gaskets after wind or temperature swings.
For roof vents, remove the internal trim, tighten fixings evenly, and replace compressed seals so Roof ventilation stays effective without drawing rain inside. Re-bed the vent curb with a compatible butyl tape, then tool a neat bead of neutral-cure silicone only where the manufacturer allows.
At the ridge, lift the cover carefully, clear old mastic, and fit new sealing strips before re-screwing to the correct torque. Regular Ridge maintenance prevents repeat leaks.
Unblock Gutters and Fix Leaking Downpipes
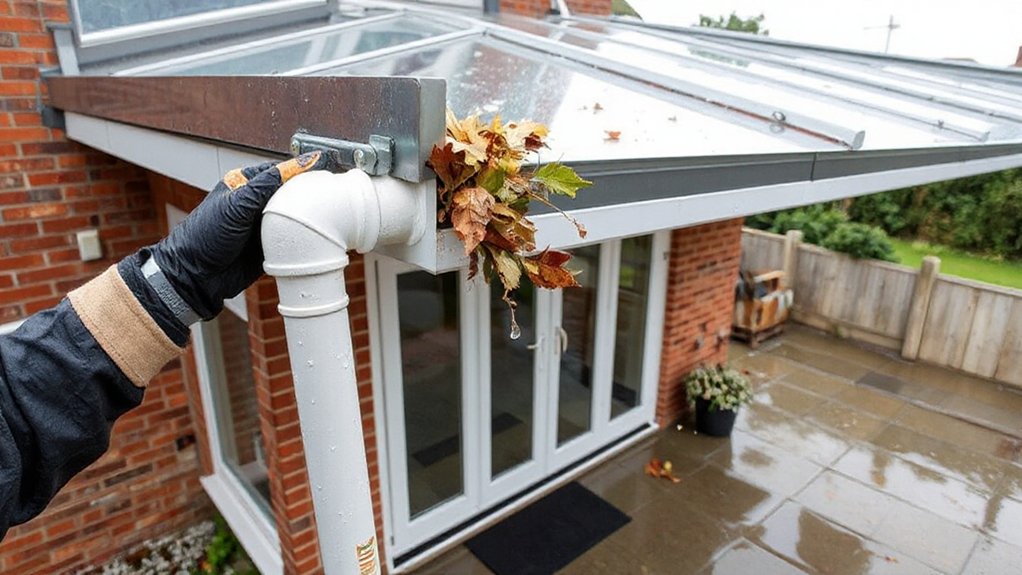
Next, you’ll clear blocked gutters so rainwater flows freely away from your conservatory instead of backing up under the eaves. You can scoop out debris, flush the run with a hose, and check the gutter fall and joints for standing water.
If downpipes leak, you’ll reseat or replace the seals, tighten the clips, and patch or swap cracked sections to stop drips at the wall and base.
Clear Blocked Gutters
How quickly can a small gutter blockage turn into a conservatory leak? In heavy rain, overflowing gutters dump water onto frames, seals, and brickwork, forcing moisture into joints. You’ll stop most issues with routine gutter cleaning and fast debris removal, especially after storms and autumn leaf-fall.
Start safely: use a stable ladder, gloves, and a bucket. Clear leaves, moss, and silt by hand, then flush along the run with a hose to confirm free flow to the outlet. Watch for standing water, slow drainage, or water spilling over the back edge—signs the channel still holds sludge.
Check joints and brackets for sagging that traps debris, then re-seat the gutter so it falls slightly toward the outlet. Clean again if runoff isn’t smooth.
Repair Leaking Downpipes
Even with the gutters running clear, a leaking or blocked downpipe can still force water back up and send it spilling over the conservatory edge. Start by running a hose from the top to confirm flow; if it backs up, disconnect the shoe and clear silt with a drain rod or plumber’s snake.
Check every joint for drips, especially at offsets, then reseat sections and replace worn seals or cracked collars. If the pipe’s split, cut out the damaged length and fit a new section with solvent weld or rubber couplers.
Re-secure loose brackets so the run stays vertical and pitched correctly. Protect decorative fixtures by taping them off, and match materials during historical restoration for authenticity and durability.
Seal Draughts at Conservatory Doors and Windows
Although a conservatory’s glazing looks airtight, small gaps around doors and window frames can let cold air in and warm air out, making the space harder (and pricier) to heat. Start by checking on a windy day: run your hand around frames, or hold a tissue near joints to spot movement.
Clean the rebates, then replace flattened weatherstrips with like‑for‑like compression seals. If gaps are uneven, adjust hinges and keep rollers so the door pulls tight against the frame.
Reseal external perimeter joints with exterior‑grade, low‑modulus silicone; tool a continuous bead and don’t bridge drainage weep holes. Finally, fit brush strips to sliding doors and add a draught excluder at thresholds.
You’ll boost Energy efficiency and restore thermal insulation fast.
When to DIY vs Call a Conservatory Repair Specialist
Before you reach for the sealant gun or spanner, decide whether the repair stays within simple, low‑risk maintenance or crosses into structural, glazing, or electrical work that needs specialist tools and warranties.
You can DIY small jobs: clearing guttering, reseating slipped trim, replacing brush strips, lubricating hinges, and reapplying external-grade silicone where joints have hairline gaps. Work in dry weather, prep surfaces, and test with a hose to confirm you’ve stopped leaks.
Call a conservatory repair specialist if panels are cracked, frames have moved, roof bars flex, or you see persistent condensation between double glazing. Also get help for failed flashing, damaged box gutters, or any wiring for heaters and lights.
Proper conservatory insulation upgrades and interior decoration follow once the shell’s sound.
Frequently Asked Questions
Do Conservatory Repairs Need Building Regulations Approval or Planning Permission?
Usually, you won’t need planning permission for like‑for‑like conservatory repairs, but you must meet building permit requirements if you alter structure, glazing, electrics, or heating. Check local rules, especially if your conservatory design changes size.
How Much Do Typical Conservatory Weather‑Tightness Repairs Cost in the UK?
You’ll typically pay £100–£300 for resealing, £200–£600 for gutter/roof joint fixes, and £300–£1,200 for glazing replacements. Add £200–£800 for conservatory insulation; window sealing techniques cut drafts, reduce repeat costs.
What Maintenance Schedule Best Prevents Future Leaks and Draughts?
Want fewer leaks and draughts? You should do a seasonal inspection every spring and autumn, clear gutters, check glazing bars, and test door/window seals. Track sealant longevity yearly, and re‑seal or replace gaskets before cracking starts.
Which Repair Materials Perform Best for uPVC, Aluminium, and Timber Frames?
For uPVC, you’ll use low‑modulus neutral‑cure silicone with proven sealant compatibility; for aluminium, you’ll choose EPDM gaskets and PU sealant; for timber, you’ll apply epoxy fillers, primer, and frame reinforcement techniques with stainless fixings.
Will Repairs Affect My Home Insurance Cover or Existing Conservatory Warranty?
Like tightening a loose helmet strap, repairs can affect cover or warranties if you don’t notify insurers or follow terms. Log conservatory insulation upgrades and window replacement, use approved installers, keep invoices, and seek written confirmation.
Conclusion
Stay on top of small faults and you’ll keep your conservatory dry, warmer, and cheaper to run. Even a tiny gap matters: the Energy Saving Trust estimates up to 25% of a home’s heat can escape through the roof, so failed roof seals and slipped panels hit comfort fast. Reseal joints, refit caps, clear gutters, and check vents after heavy rain. If panels crack, flashing lifts, or leaks persist, call a specialist.